
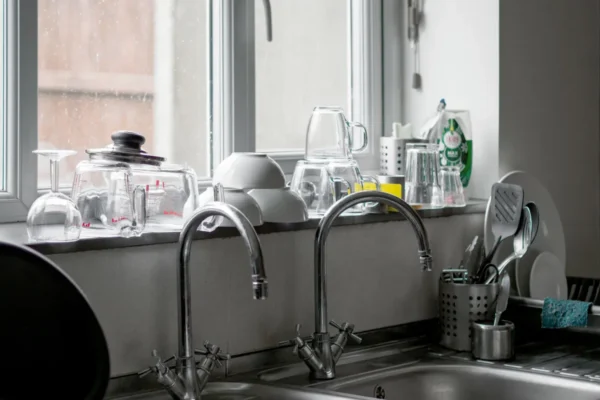
A kitchen faucet gets touched more than almost anything else in the room, which means it collects fingerprints, soap residue, grease, and mineral deposits faster than most other surfaces nearby. It also comes in more finish types than people usually expect, chrome, stainless steel, brushed nickel, matte black, and oil-rubbed bronze, and each one has slightly different sensitivities to cleaning products. Kitchen faucet cleaning that works well on one finish can dull or damage another, so knowing what you're working with matters before reaching for a cleaner. This guide is part of the Kitchen Sink & Faucet Cleaning Guide, and it covers the tools, products, and steps that keep a faucet looking clean without wearing down its finish.
The Best Way to Clean a Kitchen Faucet
Wipe the faucet daily with a soft microfiber cloth to remove water spots and fingerprints before they set in. For a deeper clean, use warm water with a few drops of mild dish soap, applied with a soft cloth, then rinse and dry thoroughly. Pay extra attention to the base of the faucet and around the handle, where grime tends to collect in small grooves. For mineral buildup around the spout, a light vinegar solution works on many finishes but isn't appropriate for all of them, so check your faucet's finish first.
That covers the everyday routine. The sections below go into the tools worth having on hand, which products fit which finishes, and how to avoid the scratches and dulling that come from using the wrong approach.
Tools Needed for Kitchen Faucet Cleaning
A small, simple kit handles almost every cleaning situation a kitchen faucet presents.
- Soft microfiber cloth: for daily wiping and drying without leaving lint or scratches
- Soft-bristle toothbrush: reaches into grooves around the base, handle, and spray head where grime collects
- Mild dish soap: safe for regular cleaning across most faucet finishes
- Distilled white vinegar: useful for mineral deposits, though not appropriate for every finish
- Small bowl or sandwich bag: for soaking a removable spray head or wrapping around a spout for a vinegar soak
Avoid anything abrasive, including scouring pads, steel wool, or abrasive powders, since these scratch nearly every faucet finish, even ones marketed as scratch-resistant. A soft touch with the right product does more good than scrubbing harder with the wrong one.
Know Your Faucet Finish Before You Clean
This is the step people skip most often, and it's the one that prevents the most damage. Different finishes react differently to acidic cleaners, abrasive tools, and even prolonged moisture exposure.
|
Finish type |
Cleaning approach |
What to avoid |
|
Chrome |
Mild soap and water daily; diluted vinegar for mineral spots is generally well tolerated |
Abrasive pads, which can create fine scratches over time |
|
Stainless steel |
Mild soap and water; a stainless-steel-specific cleaner helps restore shine if needed |
Bleach, which can cause pitting with repeated exposure |
|
Brushed nickel |
Mild soap and water only; avoid vinegar or acidic cleaners, which can strip the brushed texture |
Vinegar, abrasive tools, and anything acidic |
|
Matte black |
Mild soap and a soft cloth; dry immediately to avoid water spots showing on the matte finish |
Vinegar and abrasive cleaners, which can wear down the coating and expose the metal underneath |
|
Oil-rubbed bronze |
Mild soap and water; avoid anything acidic, which can strip the living finish and change its color unevenly |
Vinegar, harsh chemical cleaners, and abrasive scrubbing |
If you're not sure what finish your faucet has, checking the manufacturer's care instructions, often available through the brand's website or original packaging, is the safest way to confirm before applying anything beyond mild soap and water.
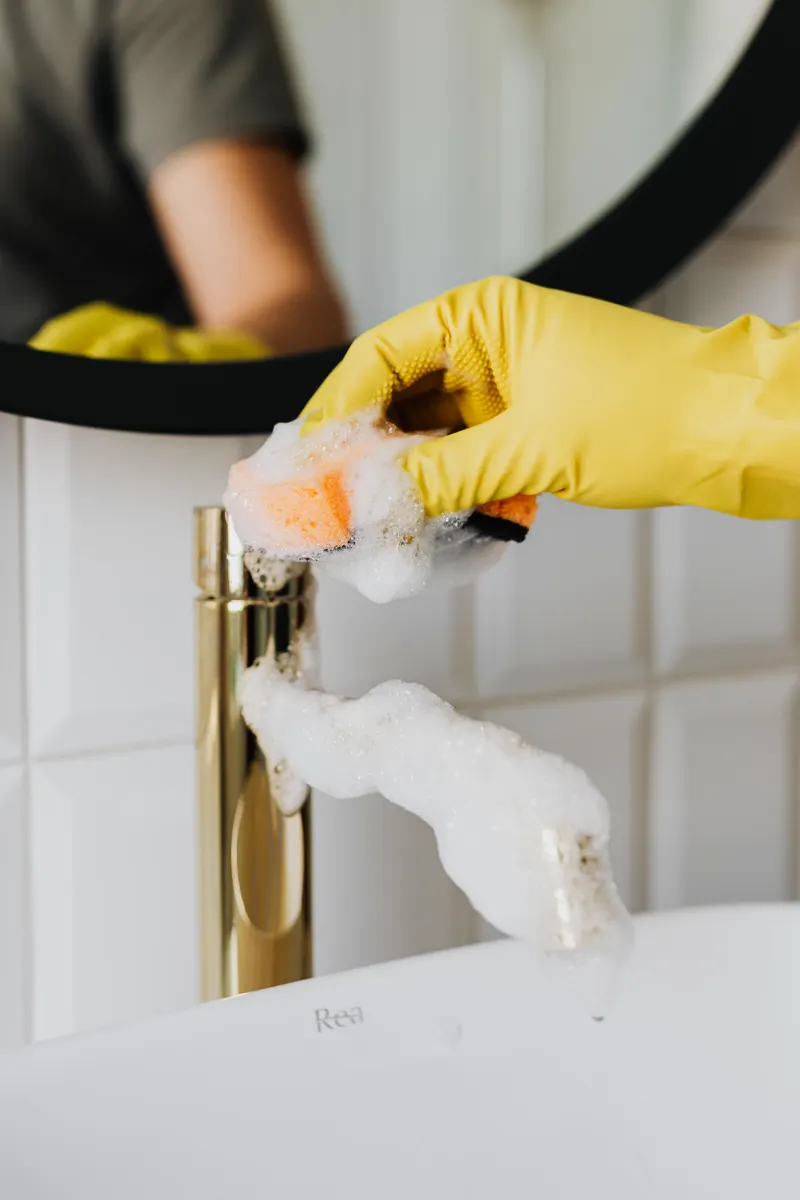
Photo Credit: https://kaboompics.com/
Step-by-Step Faucet Cleaning Process
- Wipe down the entire faucet with a dry microfiber cloth first to remove loose dust and surface debris.
- Dampen a soft cloth with warm water and a few drops of mild dish soap, then wipe the spout, handle, and base thoroughly.
- Use a soft-bristle toothbrush to clean around the base of the faucet, the handle joint, and any decorative grooves where grime tends to hide.
- Rinse the soap away with a clean, damp cloth, making sure no residue is left in the grooves.
- Dry immediately with a soft towel, especially on matte black or brushed finishes, where water spots show up more visibly than on polished chrome.
- Check the spray head or aerator (the small screen at the tip of the faucet where water comes out) for visible mineral buildup, since this is often the first place limescale becomes noticeable.
This full process takes about five to ten minutes and covers what most kitchen faucets need on a weekly basis, with daily wiping handling the rest in between.
Cleaning the Aerator and Spray Head
The aerator is the small mesh screen at the tip of the faucet that controls water flow, and it's one of the first places mineral deposits build up, especially in homes with hard water. A clogged aerator often shows up as uneven water flow or a faucet that seems weaker than it used to be.
- Unscrew the aerator by hand or with pliers wrapped in a cloth to avoid scratching the finish.
- Rinse it under running water to remove loose debris.
- Soak it in a bowl of equal parts water and white vinegar for about 15 to 30 minutes if mineral deposits are visible.
- Use an old toothbrush to gently scrub away any remaining buildup after soaking.
- Rinse thoroughly and screw the aerator back into place.
If your faucet has a pull-down or pull-out spray head, many of these can be soaked in the same vinegar and water solution, though it's worth checking the manufacturer's instructions first, since some spray heads have internal components that shouldn't sit in acidic solutions for extended periods.
What Cleaning Products Are Safe for a Kitchen Faucet?
Mild dish soap and water form the safest, most universal option across almost every faucet finish. Beyond that, product choice depends heavily on the specific finish involved.
- Mild dish soap: safe for all common faucet finishes, the default choice for regular cleaning
- Distilled white vinegar (diluted): effective for mineral deposits on chrome and stainless steel, but not recommended for brushed nickel, matte black, or oil-rubbed bronze, since the acid can strip or discolor these finishes
- Baking soda paste: a gentle option for light buildup on most finishes, though it should still be tested on a small area first for coated or matte finishes
- Faucet-specific commercial cleaners: some brands offer cleaners formulated for their exact finish, which can be a safer bet than a general household cleaner if you're working with a more sensitive coating
Never mix bleach with vinegar, ammonia, or other acids. This produces hazardous fumes and has no safe application near a kitchen faucet or anywhere else in the home. If a stronger disinfecting step is ever needed on the faucet handle for illness-related cleaning, use a single product rather than combining multiple cleaning chemicals together.
What to Avoid When Cleaning a Kitchen Faucet
A handful of habits account for most of the scratching, dulling, or discoloration seen on kitchen faucets over time.
- Abrasive scouring pads, steel wool, or scrubbing powders: these scratch virtually every faucet finish, even ones described as durable
- Vinegar or other acidic cleaners on brushed nickel, matte black, or oil-rubbed bronze: these finishes are more sensitive to acid than chrome or stainless steel and can lose their coating with repeated exposure
- Bleach on any finish: can cause pitting or discoloration depending on the material underneath the finish
- Letting soap or mineral residue sit and dry: this creates a film that becomes harder to remove the longer it sits
- Using metal tools like pliers directly on the aerator without a protective cloth: this can scratch the finish where the tool grips the metal
If you're ever uncertain whether a product is safe for your specific faucet, testing it on a small, less visible area, like the underside of the spout, is a reasonable precaution before applying it more broadly.
Photo Credit: Nilzo Farías
How Often Should You Clean a Kitchen Faucet?
A quick daily wipe with a microfiber cloth keeps fingerprints and water spots from building up, and it takes only a few seconds once it becomes routine. A more thorough cleaning, following the full step-by-step process above, works well on a weekly basis for most households. The aerator and spray head benefit from a check every one to two months, or sooner if you notice reduced water flow or visible mineral buildup, since catching this early prevents a more stubborn clog from forming.
Handling Limescale Buildup
Limescale, the chalky white mineral deposit that forms from hard water, tends to show up first around the base of the faucet, on the spout, and inside the aerator. Left alone, it builds up gradually and can eventually affect water flow or leave a rough texture on the faucet's surface that's harder to clean around.
The vinegar soak method covers light to moderate limescale in the aerator, but heavier buildup on the faucet body itself sometimes needs a slightly different approach, especially on finishes where vinegar isn't a safe option. For a closer look at removing limescale specifically, including safer alternatives for sensitive finishes, the guide on Removing Limescale from a Kitchen Faucet walks through the process in more detail.
Faucet Handles and Hardware
The handle, and any surrounding decorative hardware, collects hand oils and grime faster than the rest of the faucet, simply because it's touched constantly throughout the day. A soft-bristle toothbrush works well for the grooves around handle joints, and the same finish-specific product guidance above applies here too. If your kitchen setup includes a separate soap dispenser or side sprayer with a matching finish, cleaning them together keeps everything looking consistent.
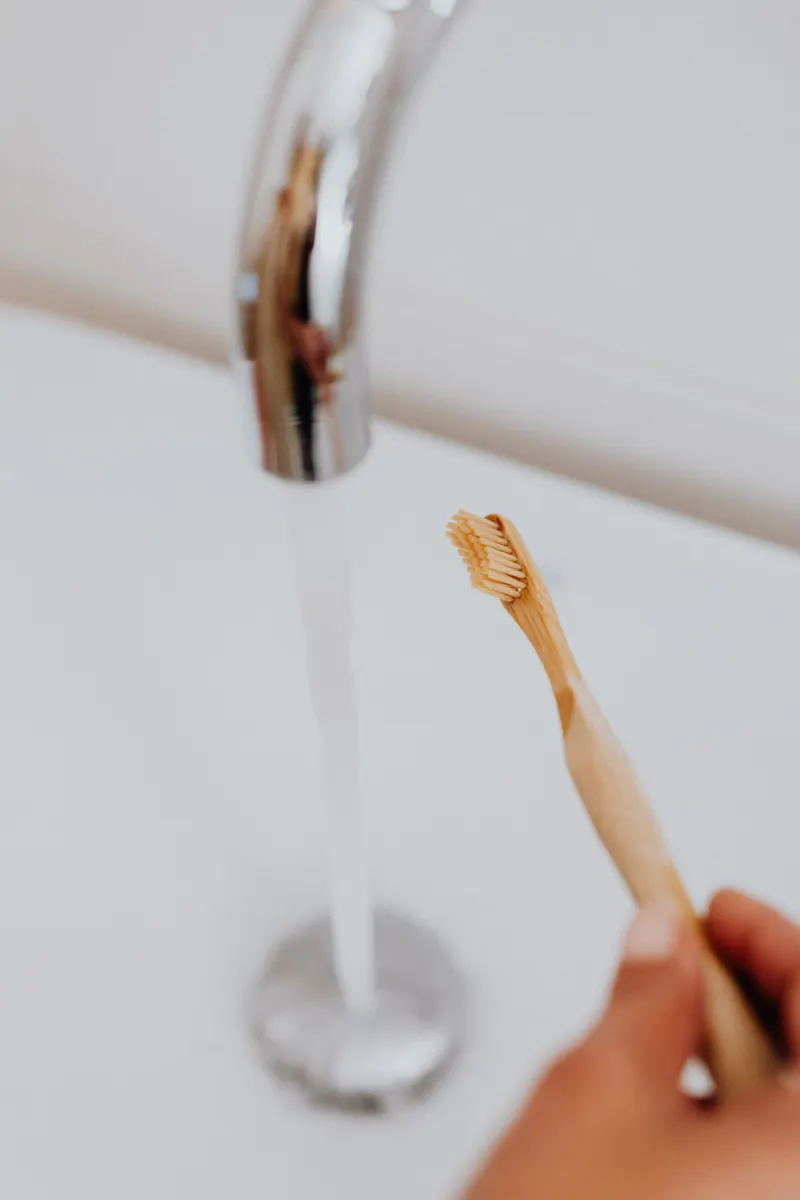
Photo Credit: https://kaboompics.com/
Don't Overlook the Garbage Disposal
A clean faucet doesn't mean much if the sink underneath still has lingering odors, and garbage disposals are a common source of smells that get mistakenly blamed on the faucet or sink itself. If your kitchen sink has persistent odor even after a thorough faucet and basin clean, the Garbage Disposal Cleaning & Deodorizing guide covers how to address that separately, since disposal units need their own specific cleaning approach.
Frequently Asked Questions
What is the best way to clean a kitchen faucet? Wipe daily with a soft microfiber cloth, and do a deeper weekly clean using mild dish soap and water, paying attention to the base, handle grooves, and aerator. Dry the faucet thoroughly after each clean to prevent water spots.
How often should you clean a kitchen faucet? Daily wiping handles fingerprints and water spots. A more thorough clean once a week covers grime buildup, with the aerator checked every one to two months for mineral deposits.
What cleaning products are safe for a kitchen faucet? Mild dish soap is safe across all finishes. Diluted vinegar works well for mineral spots on chrome and stainless steel, but should be avoided on brushed nickel, matte black, and oil-rubbed bronze finishes.
What should you avoid when cleaning a kitchen faucet? Avoid abrasive pads, steel wool, bleach, and vinegar on sensitive finishes like matte black or oil-rubbed bronze. Letting soap or mineral residue dry on the surface also makes future cleaning harder.
How can you clean a kitchen faucet without damaging it? Identify your faucet's finish before choosing a product, stick to soft cloths and gentle tools, and dry the surface thoroughly after cleaning. When in doubt, mild dish soap and water is the safest default across nearly every finish type.
A Quick Note on Safety
Most kitchen faucet cleaning relies on mild products like dish soap and diluted vinegar, but a few precautions still matter. Confirm your faucet's finish before using vinegar or any acidic cleaner, since some coated finishes can be stripped or discolored by repeated acid exposure. Never mix bleach with vinegar, ammonia, or other acids, as this produces hazardous fumes. If using a commercial faucet cleaner, follow the label instructions for the specific finish it's designed for, and work in a ventilated space if using anything stronger than mild soap and water.
For more on keeping the rest of your kitchen clean, read the full kitchen cleaning guide.





Leave a Reply