

Move-in and move-out kitchen cleaning is not the same as a regular weekly wipe-down. This is part of Kitchen Cleaning for Special Situations, and it calls for a deeper, more methodical approach because you are dealing with someone else's leftover grease, dust, and grime, or preparing a space for a new tenant or buyer who expects it spotless. Whether you are handing back keys to a landlord or opening a new place for the first time, move out kitchen cleaning means checking every surface, appliance, and hidden corner that daily cleaning usually skips.
This guide walks through the right order to clean, what to focus on room by room, and the mistakes that cost renters their security deposit or leave new homeowners with a kitchen that only looks clean on the surface.
Why a Move-In or Move-Out Kitchen Cleaning Is Different
A normal kitchen clean deals with recent messes: last night's dinner, this morning's coffee spill. A move-in or move-out clean deals with buildup that may have been sitting untouched for months or years, especially inside appliances and behind furniture.
The approach changes in a few key ways:
- You clean areas that are usually ignored. Behind the fridge, under the sink, inside cabinet corners, and appliance drip trays get skipped in routine cleaning but matter a lot during a move.
- You are working against someone else's habits. If you're moving in, you don't know what products or pests the last resident dealt with. If you're moving out, you're often cleaning up grease and buildup that accumulated slowly.
- The standard is higher. Landlords, property managers, and new homeowners inspect kitchens more closely during a move than during everyday life. Move-out cleaning often needs to meet a checklist, not just "look fine."
- Time pressure is real. Moves come with deadlines, so the cleaning has to be efficient, not just thorough.
Because of this, the smartest approach is a checklist-based, room-by-room method rather than a quick surface pass.
What to Clean First in a Move-In or Move-Out Kitchen
Start from the top and work down, and start with the areas that generate debris that falls onto lower surfaces. Cleaning in the wrong order means redoing work.
The general order that works best:
- Empty everything first. Remove all food, dishes, and items from cabinets, drawers, the fridge, and the pantry before you clean anything.
- Clean high surfaces and the inside of upper cabinets. Dust and grease drift downward, so tackle cabinet tops and interiors before countertops.
- Move to countertops and backsplash. These collect what falls from above and need attention before appliances.
- Clean appliances (oven, stovetop, fridge, dishwasher, microwave). Each has its own method, covered below.
- Finish with the sink, then the floor last. The floor should always be the final step since everything else can drop debris or drips onto it.
This order applies whether you are moving in and want a genuinely clean starting point, or moving out and need to leave the space ready for inspection.
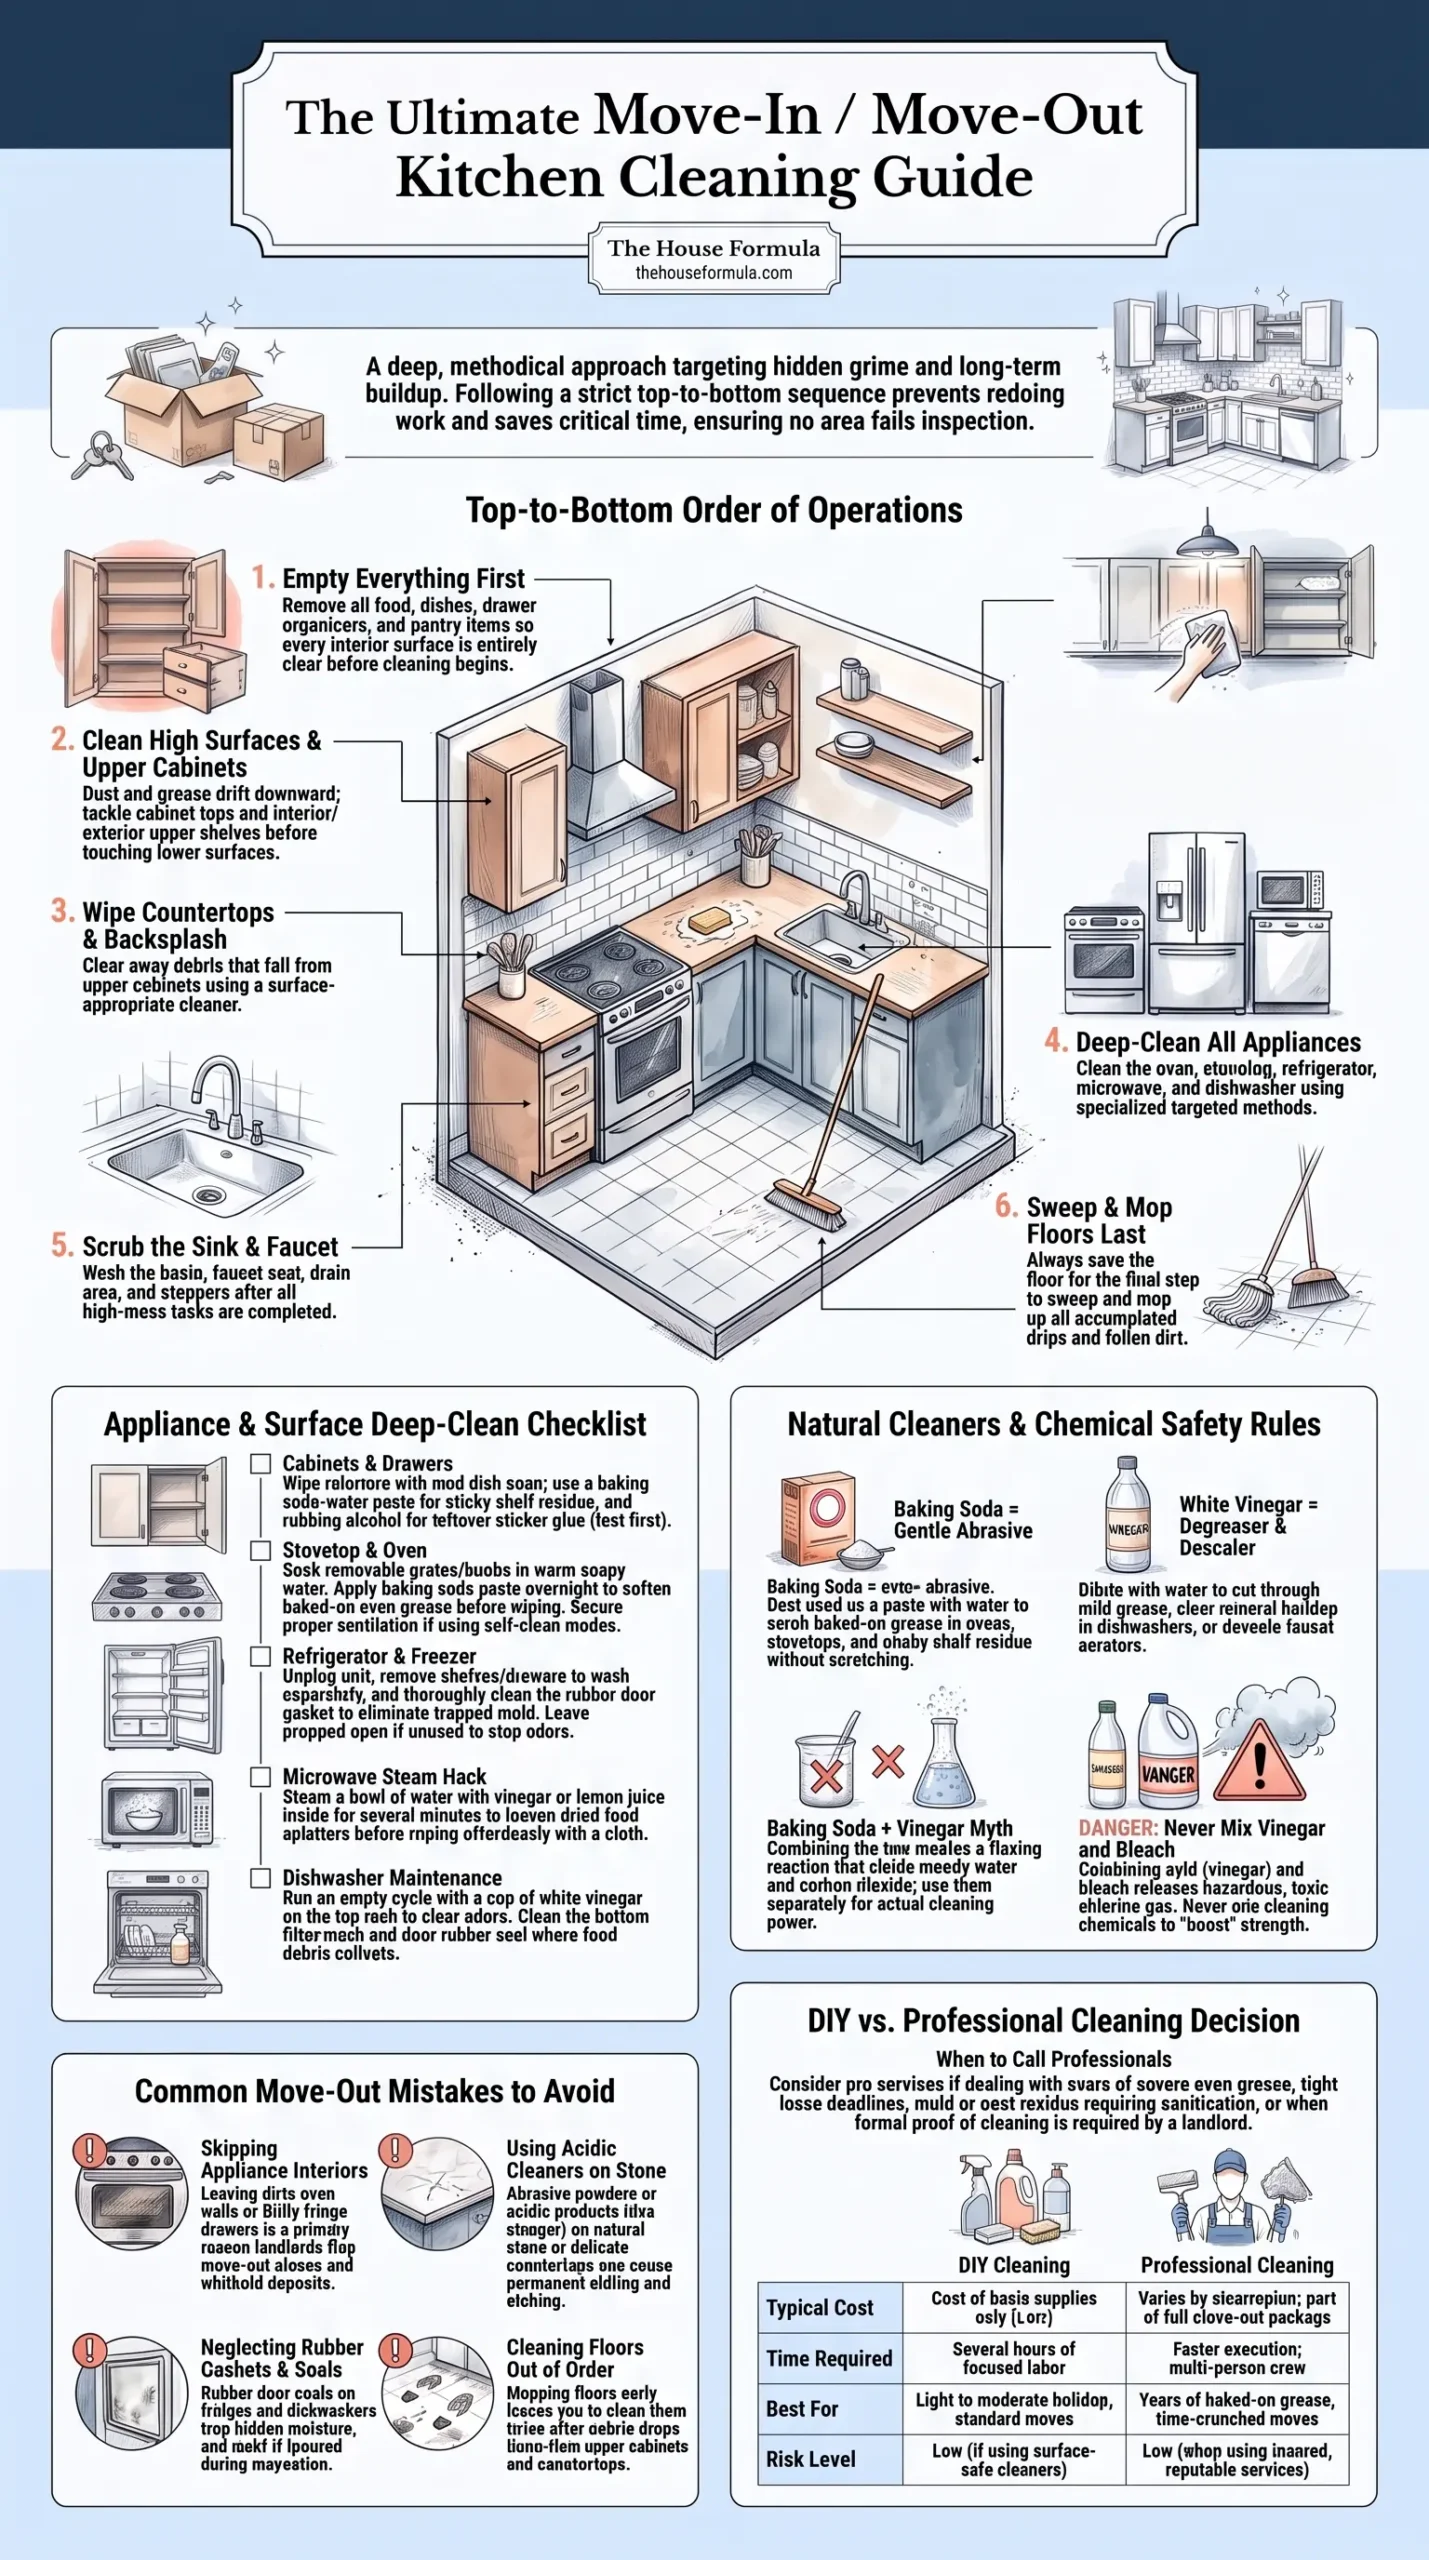
Photo Credit: Hobby Guidebook Editorial
Room-by-Room Move-Out Kitchen Cleaning Checklist
Each area of the kitchen needs a slightly different method. Below is a practical breakdown of what to use and how to approach it.
Cabinets and Drawers
Empty every cabinet and drawer completely. Wipe interiors with a mild dish soap solution and a damp cloth, paying attention to corners where crumbs and dust collect. For sticky residue on shelves, a paste of baking soda and water, left on for a few minutes before wiping, usually lifts it without harsh scrubbing. Check drawer tracks and cabinet hinges for grime buildup, since these are commonly missed spots that inspectors and new residents notice.
If you find sticker residue or shelf liner glue, a small amount of rubbing alcohol on a cloth usually removes it, but test on an inconspicuous spot first, especially on painted or laminate cabinet interiors.
Countertops
Wipe down all countertop material with a cleaner suited to that surface. Granite, quartz, laminate, and butcher block all respond differently to acidic or abrasive cleaners, so if you are unsure what your countertop is made of, use a gentle all-purpose cleaner and avoid anything labeled as a heavy-duty degreaser until you confirm compatibility. For deeper surface-specific guidance, the House Formula's material compatibility resources cover this in more depth than a move cleaning needs.
Sink and Faucet
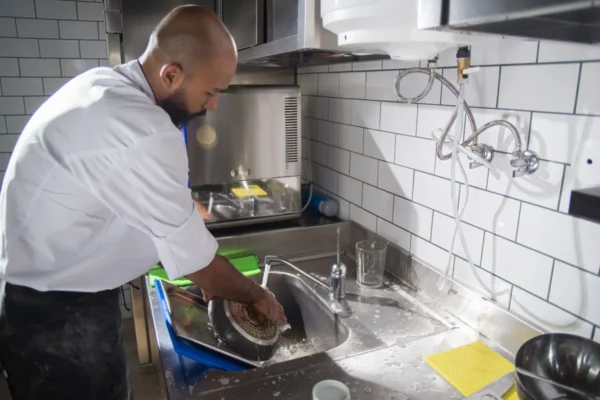
Scrub the sink basin with a non-abrasive cleaner, and pay attention to the drain area and the seal around the faucet base, where grime tends to build. Stainless steel sinks benefit from a wipe with a microfiber cloth in the direction of the grain to avoid streaking. Remove and clean any strainer or stopper separately.
Stovetop and Oven
The stovetop and oven usually need the most effort in a move-out clean. Remove stovetop grates and knobs if possible and soak them in warm, soapy water while you work on the rest of the surface. For baked-on grease inside the oven, a paste of baking soda and water applied and left for several hours (or overnight for heavy buildup) softens residue so it wipes away more easily instead of requiring hard scraping.
If your oven has a self-cleaning cycle, check the manufacturer's manual before using it, since this cycle produces high heat and sometimes smoke, and it should not be run without proper ventilation. Never use oven cleaner sprays inside a still-warm oven or near an open flame, and always follow the ventilation instructions on the product label.
Refrigerator and Freezer
Unplug the fridge, remove all shelves and drawers, and wash them separately with warm soapy water. Wipe the interior walls and check the rubber door gasket for mold or grime, since this area traps moisture and is easy to miss. If the fridge will sit unused for any length of time (common during a move), leave the door propped open slightly to prevent mildew and odor buildup.
Dishwasher
Run an empty cycle with a dishwasher cleaner or a cup of white vinegar placed in a dishwasher-safe container on the top rack to clear odors and light mineral buildup. Wipe down the door seal and check the filter at the bottom of the tub, since food debris often collects there and gets missed entirely in routine cleaning.
Microwave
Heat a bowl of water with a splash of vinegar or lemon juice inside the microwave for a few minutes until the interior steams up, then wipe down the loosened splatters with a cloth. This avoids scrubbing dried food off cold, hardened surfaces.
Floors and Backsplash
Sweep or vacuum first to remove loose debris, then mop with a cleaner appropriate for the floor material (tile, vinyl, or hardwood all have different tolerances for moisture and acidity). Wipe the backsplash last, since grease splatter here often needs a slightly stronger degreaser than the countertop below it.
Using Vinegar and Baking Soda for Move-In / Move-Out Kitchen Cleaning
Vinegar and baking soda are two of the most useful, low-cost tools for this kind of deep clean, but they work best used separately rather than combined for most tasks.
- Baking soda works well as a gentle abrasive paste for baked-on grease in ovens, sticky cabinet shelves, and stuck-on grime on stovetops.
- White vinegar is useful diluted with water as a mild degreaser and for clearing mineral buildup in the dishwasher or descaling faucet aerators.
Combining vinegar and baking soda creates a fizzing reaction that is mostly just water and carbon dioxide once it settles, so it does not add meaningful cleaning power over using either one on its own. It is not dangerous, but it is not more effective either, so save the extra step and use whichever ingredient fits the specific job.
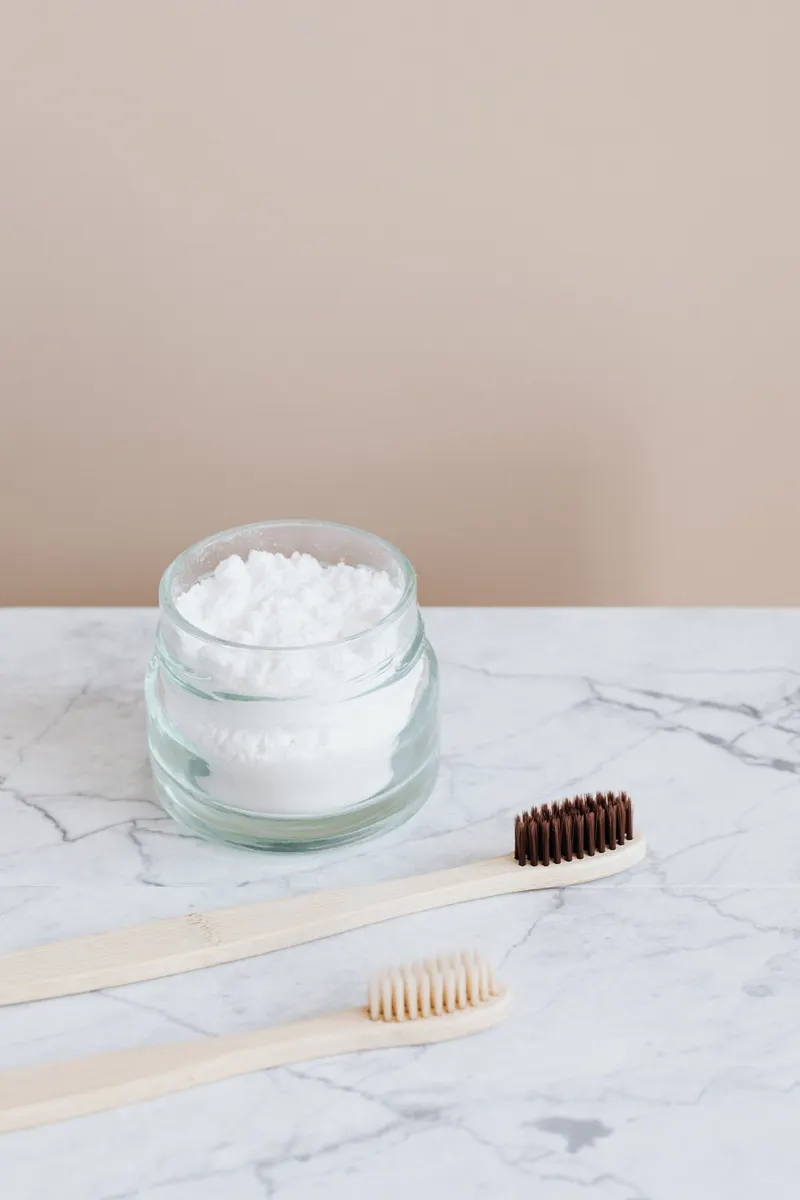
Photo Credit: https://kaboompics.com/
Never combine vinegar with bleach-based products. This mix can release chlorine gas, which is genuinely hazardous, and it is a common mistake when people try to boost the strength of a cleaning solution without realizing what is in the bottle they are grabbing.
Common Mistakes to Avoid During a Move-Out Kitchen Clean
A few recurring mistakes come up again and again during move-in and move-out kitchen cleaning, and they can cost time, damage surfaces, or result in a failed inspection.
- Skipping the inside of appliances. A clean-looking stovetop with a filthy oven interior or fridge drawers is one of the top reasons move-out cleanings get flagged.
- Using the wrong cleaner on the wrong surface. Abrasive powders on soft-finish countertops, or acidic cleaners on natural stone, can cause permanent dulling or etching.
- Forgetting gaskets and seals. The rubber seals on the fridge and dishwasher trap moisture and mold if ignored.
- Cleaning the floor too early. Doing the floor before appliances and countertops means redoing it once debris falls.
- Mixing cleaning chemicals to "boost" strength. This is unnecessary and, in some combinations, genuinely dangerous.
- Ignoring stains on the way out. Grease stains, mineral rings, or scorch marks left behind can affect a deposit return; if this applies to you, see Removing Stains Before Moving Out for targeted stain guidance.
Avoiding these mistakes is often the difference between a kitchen that passes inspection and one that gets sent back for another round of cleaning.
Professional Cleaning Cost and When to Call for Help
Most move-in and move-out kitchen cleaning can be handled with basic supplies and a few hours of focused work, but there are situations where professional help makes more sense.
The table below compares the general tradeoffs, since cost, time, and effort vary depending on the condition of the kitchen and the size of the space.
|
Factor |
DIY Cleaning |
Professional Cleaning |
|
Typical cost |
Cost of supplies only, usually low |
Varies by region and kitchen size; often billed as part of a whole-home move-out clean |
|
Time required |
Several hours for a thorough job |
Faster, since crews bring equipment and split tasks |
|
Best for |
Light to moderate buildup, standard rental turnovers |
Heavy grease, neglected ovens, or time-crunched moves |
|
Risk level |
Low, if surface-appropriate products are used |
Low, assuming a reputable, insured service |

Photo Credit: Tima Miroshnichenko
Professional help is worth considering when:
- The oven has years of baked-on grease that isn't budging with basic scrubbing.
- You are short on time before a lease deadline or closing date.
- The kitchen has mold, pest residue, or damage that needs specialized handling.
- You want documented proof of a professional clean for a landlord or property manager.
Getting a quote from a local cleaning service before your move date gives you a clearer sense of actual pricing in your area, since costs vary widely by location and kitchen condition.
Special Situations That Need Extra Steps
Some move-in or move-out kitchens come with complications beyond typical grease and dust. If the previous space went through construction, check out Kitchen Cleaning After a Renovation for guidance on clearing fine dust and debris that settles into cabinets and vents long after work is finished.
If you notice droppings, nests, or other signs of pests when you open cabinets or move appliances, do not simply wipe and move on. Kitchen Cleaning After a Pest Infestation covers the extra sanitizing steps needed to make the space safe, since standard cleaning products are not always enough for that situation.
Frequently Asked Questions
What should you do first when dealing with the kitchen in this situation? Empty every cabinet, drawer, and appliance first, then work from the top of the kitchen down: upper cabinets, countertops, appliances, and finally the floor.
How does the normal approach to the kitchen change in this situation? Move cleaning targets areas that routine cleaning skips, like appliance interiors, gaskets, and cabinet corners, and it is usually judged against a stricter inspection standard than everyday cleaning.
What mistakes should you avoid with the kitchen in this situation? Avoid skipping appliance interiors, using the wrong cleaner on a sensitive surface, cleaning the floor too early, and mixing cleaning chemicals to try to increase strength.
When is professional help appropriate for the kitchen? Consider professional cleaning when the oven has heavy baked-on grease, when time before a move is limited, or when mold or pest issues need specialized treatment.
What common mistakes should you avoid with the kitchen? The most frequent issues are ignoring gaskets and seals, forgetting stains that affect a deposit, and treating the floor as a first step instead of the last one.
For the complete approach to everyday and deep kitchen care, see the full kitchen cleaning guide.
A quick safety note: always check manufacturer instructions before using oven cleaners, self-cleaning oven cycles, or any strong degreaser, and make sure the kitchen is ventilated when using these products. Never mix bleach with vinegar, ammonia, or other acidic cleaners, since this can release hazardous fumes. Test any new cleaner on a small, hidden area first if you are unsure how a surface will react, and call a professional if you encounter mold, pest damage, or buildup that doesn't respond to standard cleaning methods.



Leave a Reply