

A kitchen sink drain deals with more daily buildup than almost any other spot in the house. Food particles, grease, soap residue, and standing water all pass through it, and over time that combination can lead to slow drainage, odors, and a stopper that never seems to look clean no matter how often you wipe the sink itself. Kitchen sink drain cleaning is a simple routine once you know which tools and products actually work, and which ones can do more harm than good.
This guide walks through safe, practical methods for keeping a kitchen sink drain clear and odor-free, along with what to avoid. It's part of the Kitchen Sink & Faucet Cleaning Guide, which covers care for every part of the kitchen sink.
The Best Way to Clean a Kitchen Sink Drain (Quick Answer)
For most kitchen sink drains, this routine works well:
- Remove the stopper or strainer and rinse it separately.
- Use a soft brush to scrub visible buildup around the drain opening.
- Flush the drain with hot water to loosen grease and residue.
- Use a baking soda and vinegar treatment for odor and light buildup, followed by a hot water rinse.
- Dry the stopper and reattach once the sink area is clean.
This handles the everyday grime that builds up in a kitchen sink drain. Deeper clogs or persistent odors sometimes need more targeted steps, which are covered further down.
Tools and Products You'll Need
Most of what you need for regular drain maintenance is already in a typical kitchen:
- A small brush with stiff but non-metal bristles (an old toothbrush works well)
- Baking soda
- White vinegar
- Hot water
- Rubber gloves
- A flashlight, useful for checking inside the drain opening
- A drain snake or zip-style drain tool, for clogs that go beyond surface buildup
Avoid metal scrub brushes or anything with sharp edges near the drain opening, since these can scratch stainless steel or damage a garbage disposal's rubber baffle if your sink has one. A flashlight is worth keeping nearby too, since a lot of buildup sits just below the visible opening and is easy to miss without a clear view.
Step-by-Step: Cleaning a Kitchen Sink Drain
Step 1: Remove the stopper or strainer. Most kitchen sink stoppers lift out or twist free. Set it aside and check for buildup on the underside, which is often where grease and food debris collect most heavily since it sits partially submerged during use.
Step 2: Scrub the stopper separately. Use a small brush with warm, soapy water to clean the stopper thoroughly, working into any grooves or mesh sections where debris tends to hide. Rinse well and set it aside to dry while you work on the drain itself.
Step 3: Inspect the drain opening. Use a flashlight to look inside the drain. Visible grime along the walls usually means grease or soap scum has built up over time, while a slimy texture often points to bacterial buildup that also causes odor.
Step 4: Scrub visible buildup. Using the same soft brush, scrub the inside of the drain opening as far as you can comfortably reach. Avoid pushing debris further down, since the goal at this stage is to remove what's accessible rather than force it deeper into the pipe.
Step 5: Flush with hot water. Run hot tap water down the drain for about thirty seconds. This helps loosen grease residue clinging to the pipe walls, especially useful after cooking with oils or fats that solidify as they cool.
Step 6: Apply a baking soda and vinegar treatment. Pour about half a cup of baking soda into the drain, followed by half a cup of white vinegar. The mixture will fizz, which helps loosen light buildup and neutralize odor-causing residue. Let it sit for five to ten minutes.
Step 7: Rinse thoroughly with hot water. Flush the drain again with hot water to clear away the loosened residue and the baking soda and vinegar mixture. This step matters, since leftover residue can sit in the pipe and contribute to future odor if it isn't fully rinsed through.
Step 8: Reattach the stopper. Once both the stopper and the drain area are clean and dry, put the stopper back in place.
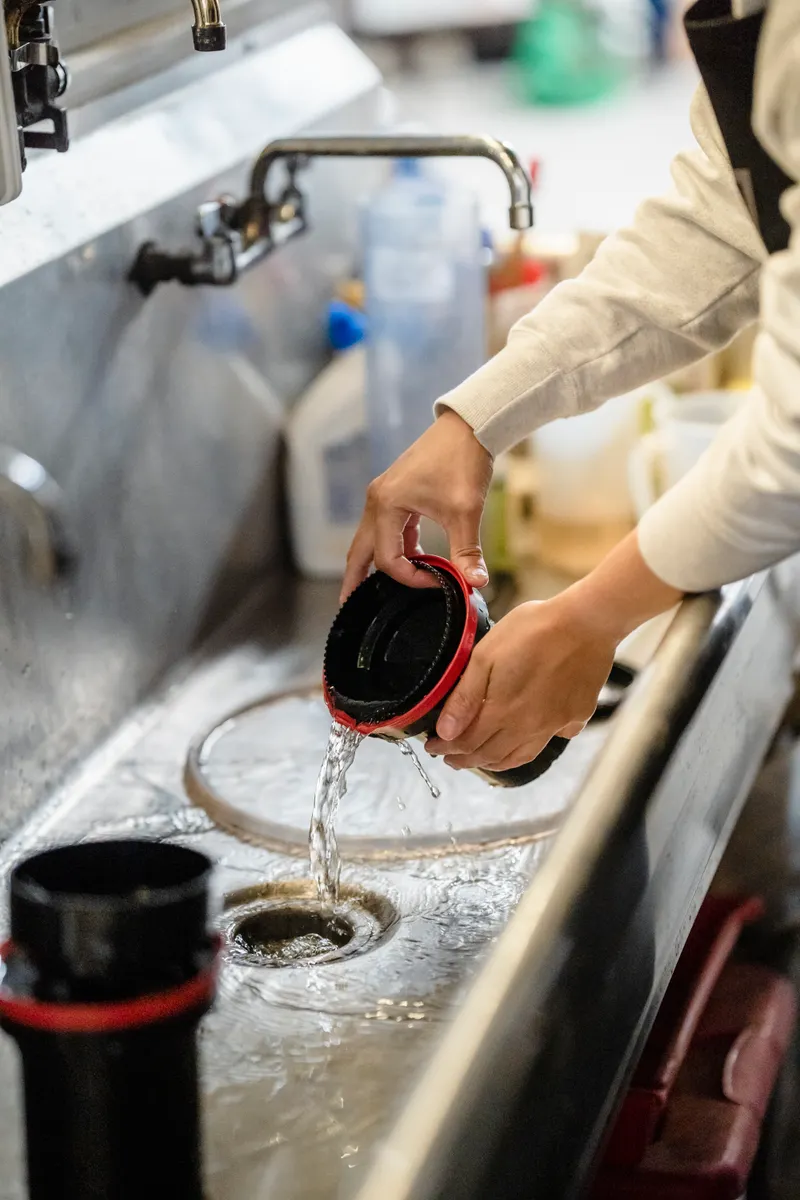
Photo Credit: Annushka Ahuja
Removing Stubborn Buildup Around the Stopper
Some kitchens deal with a stopper that develops a stubborn ring of buildup no matter how often it's rinsed, especially in households that wash a lot of dishes by hand or deal with hard water. This buildup is often a mix of mineral deposits, grease, and soap film layered together, which makes it more resistant to a quick wipe than fresh grime.
Soaking the stopper in a bowl of warm water with a small amount of dish soap for ten to fifteen minutes before scrubbing usually softens this layered buildup enough to remove it without much effort. For mineral-heavy deposits, a brief soak in diluted white vinegar can help break down the mineral component specifically, though it should be rinsed off promptly rather than left on for extended periods.
If the stopper has ridges, mesh, or small holes that trap debris even after regular cleaning, a more detailed approach helps. Our guide on Removing Buildup from a Kitchen Sink Drain Stopper covers this specific problem in more depth, including how to tell when a stopper has worn out and needs replacing rather than continued cleaning.
Best Products for Kitchen Sink Drain Cleaning
Choosing the right product depends on what kind of buildup you're dealing with. Here's a quick comparison of common options:
|
Product |
Best Use |
Considerations |
|
Baking soda and vinegar |
Light buildup, odor control |
Safe, low-cost, good for routine maintenance |
|
Hot water flush |
Grease buildup |
Simple and effective; use regularly after cooking with oil |
|
Enzyme-based drain cleaner |
Organic buildup, mild clogs |
Slower acting but gentler on pipes than chemical cleaners |
|
Chemical drain cleaner |
Stubborn clogs |
Effective but can be harsh on pipes with repeated use; follow label instructions closely |
|
Drain snake or zip tool |
Physical clogs |
Manual removal; effective for hair, food debris, or solid blockages |
Chemical drain cleaners can clear tough clogs, but they're generally best used sparingly rather than as a routine solution, since repeated use can be harsh on certain pipe materials over time. Always follow the label's instructions on contact time and ventilation, and never combine a chemical drain cleaner with bleach or another cleaning product, since mixing chemicals can create dangerous reactions. If a clog doesn't respond to a drain snake or a single round of chemical cleaner, that's usually a sign to call a plumber rather than escalating to a stronger product.
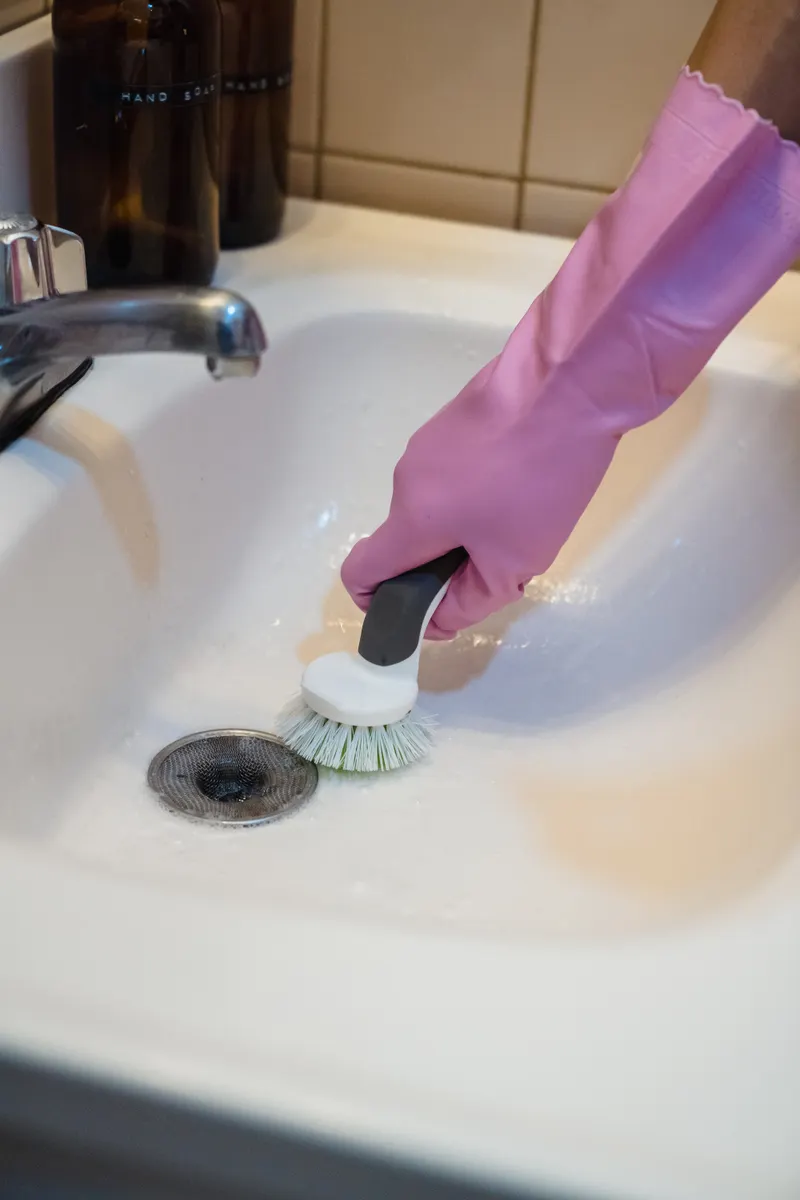
Photo Credit: Liliana Drew
Disinfecting the Drain Area
Cleaning removes visible grime, but a kitchen sink drain can still hold bacteria that contribute to odor even after it looks clean. This is especially true if raw meat, poultry, or seafood scraps regularly go down the drain or sit near the opening before disposal.
A mild disinfecting step, separate from the everyday baking soda and vinegar routine, helps address this. This typically involves a diluted solution appropriate for kitchen surfaces, applied to the stopper, drain opening, and surrounding area, followed by a thorough rinse. Always check that any disinfecting product is labeled safe for use near food-contact surfaces, and never combine it with other cleaning chemicals already in the drain, particularly bleach and vinegar, since that combination can produce harmful fumes.
For the full disinfecting routine covering the sink basin as well as the drain, see our guide on Disinfecting the Kitchen Sink, which walks through safe product choices and how often this deeper step is actually needed.
Dealing with Drain Odor
A persistent smell coming from the kitchen sink drain is one of the most common complaints, and it usually comes from a buildup of food particles and grease trapped in the pipe's bends, known as the trap, where water sits between uses. The baking soda and vinegar routine described earlier helps with mild, occasional odor, but a smell that keeps returning quickly often points to buildup that's settled deeper than a surface treatment can reach.
If odor is a recurring issue rather than an occasional one, our guide on Removing Sink Drain Odor goes into more targeted methods, including how to identify whether the smell is coming from the drain itself or from the garbage disposal, since the two often get confused but need slightly different approaches.
How Often Should You Clean a Kitchen Sink Drain
A quick rinse of the stopper and a hot water flush after washing greasy dishes is a good daily habit, since it prevents grease from settling into the pipe walls in the first place.
A full cleaning, including the baking soda and vinegar treatment and a scrub of the stopper, is worth doing about once a week for most households. Kitchens that cook frequently or wash a lot of dishes by hand may benefit from doing this every few days instead, since more food debris passes through the drain in that time.
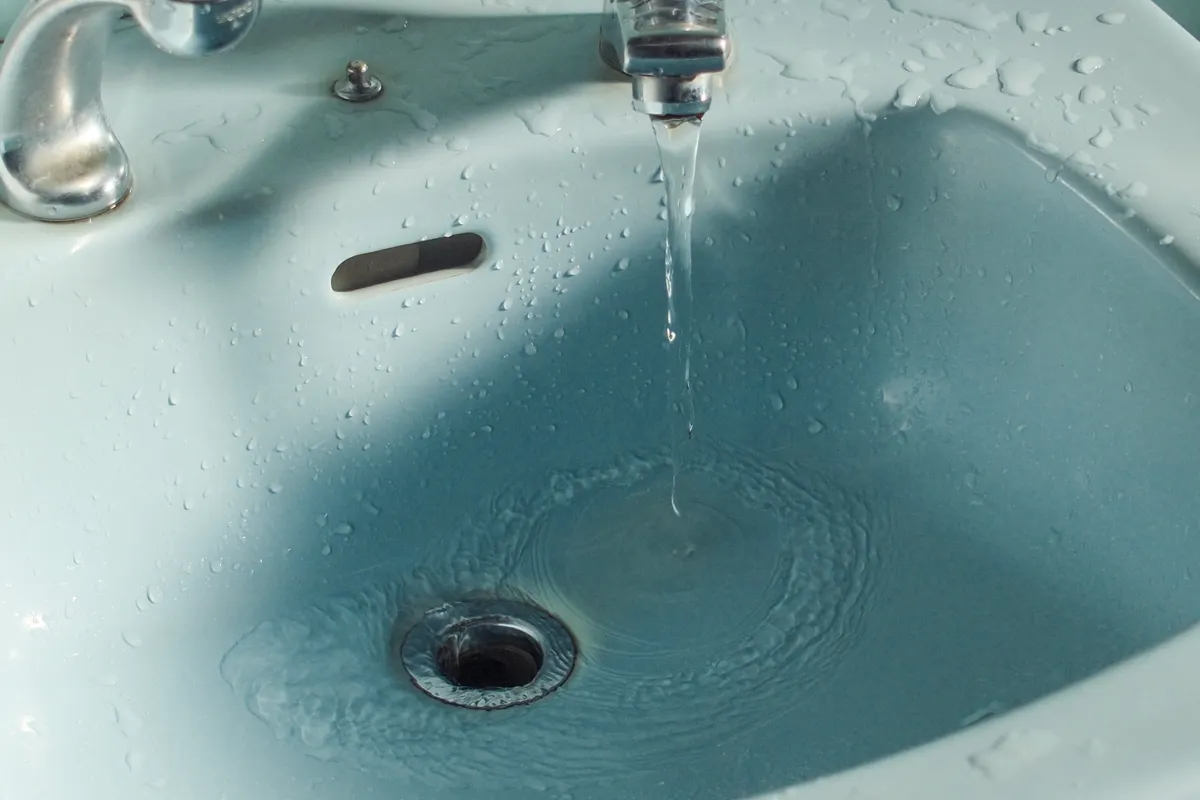
Photo Credit: actually_jet
A deeper disinfecting step is typically only needed every few weeks, or sooner if raw meat or seafood scraps have gone down the drain regularly. Watching for early signs like slow drainage or a mild smell is a better guide than a fixed schedule, since usage varies a lot between households.
Common Mistakes to Avoid
- Pouring grease down the drain. This is one of the most common causes of buildup and eventual clogs, since grease solidifies as it cools inside the pipe.
- Mixing chemical drain cleaners with other products. Combining a chemical drain cleaner with bleach or another cleaner can create dangerous fumes and should always be avoided.
- Using a metal brush near the drain opening. This can scratch stainless steel or damage a garbage disposal's rubber components.
- Ignoring the stopper. Cleaning the drain opening while skipping the stopper leaves a major source of buildup untouched.
- Relying only on chemical cleaners for routine maintenance. These are best saved for actual clogs rather than everyday upkeep, since frequent use can be harsh on pipes over time.
- Overlooking slow drainage. A drain that empties more slowly than usual is often an early sign of buildup that's easier to address before it becomes a full clog.
Professional Cost and When to Call a Plumber
Most kitchen sink drain maintenance is manageable without professional help. A plumber becomes worth calling when:
- A clog doesn't clear after using a drain snake and a round of chemical or enzyme-based cleaner
- Water backs up into the sink or drains unusually slowly despite regular cleaning
- Odor persists even after a thorough cleaning and disinfecting routine
- There are signs of a deeper plumbing issue, like gurgling sounds or backup in other fixtures
The cost of professional drain cleaning varies significantly based on the severity of the clog, your location, and whether the issue is isolated to the kitchen sink or connected to broader plumbing. Because these factors differ so much from home to home, it's best to get a direct quote from a local plumber rather than relying on a general estimate. For most routine buildup and mild odor, the DIY methods above are enough to keep a kitchen sink drain running well without professional intervention.
FAQ
What is the best way to clean a kitchen sink drain? Remove and scrub the stopper separately, flush the drain with hot water, then use a baking soda and vinegar treatment to loosen buildup and reduce odor before rinsing thoroughly.
How often should you clean a kitchen sink drain? A full cleaning about once a week works for most households, with more frequent hot water flushes after washing greasy dishes. Households that cook often may benefit from cleaning every few days.
What cleaning products are safe for a kitchen sink drain? Baking soda and vinegar are safe for routine use. Enzyme-based cleaners work well for organic buildup, and chemical drain cleaners are best reserved for actual clogs rather than everyday maintenance.
What should you avoid when cleaning a kitchen sink drain? Avoid pouring grease down the drain, using metal brushes near the opening, and mixing chemical drain cleaners with bleach or other cleaning products.
How can you clean a kitchen sink drain without damaging it? Use soft brushes rather than metal tools, follow chemical product labels closely if you use them, and avoid forcing debris further into the pipe when scrubbing the visible drain area.
For more sink and faucet care routines, see the full kitchen cleaning guide for additional room-by-room instructions.
A quick safety note: always follow label instructions when using a chemical drain cleaner, and never combine it with bleach, ammonia, or another cleaning product, since this can produce hazardous fumes. Use gloves when handling drain cleaning chemicals, and if a clog or odor persists despite regular cleaning, a licensed plumber is the safer option for diagnosing the underlying issue.





Leave a Reply