

A refrigerator works hard every day, and its interior collects spills, expired food residue, and odors faster than most people realize. Sticky shelves, forgotten leftovers, and a faint smell that lingers no matter what's inside are all signs it's time for a proper clean. Refrigerator interior cleaning isn't complicated, but doing it in the right order, with the right products, makes the difference between a fridge that stays fresh and one that needs constant attention.
This guide covers a full interior cleaning routine, safe products, and common mistakes to avoid. It's part of the Refrigerator Cleaning Guide, which covers care for every part of the refrigerator, inside and out.
The Best Way to Clean a Refrigerator Interior (Quick Answer)
For most refrigerators, this routine gets the interior clean without much fuss:
- Remove all food and unplug the fridge if doing a full clean.
- Take out shelves and drawers and wash them separately.
- Wipe interior walls with a mild soap and warm water solution, or a baking soda and water mix for odor control.
- Rinse with a clean, damp cloth and dry thoroughly.
- Let the interior air out for a few minutes before restocking food.
This handles routine buildup well. Spills that have dried on or seeped into corners sometimes need a slightly different approach, covered further down.
What You'll Need
Most of these items are already in a typical kitchen:
- Mild dish soap
- Baking soda
- Warm water
- Microfiber cloths or sponges, at least two
- A soft brush for tight corners and seals
- A dry towel for drying shelves and walls
- A cooler or box for holding food during the clean, if doing a full interior wipe-down
Avoid anything abrasive, including scouring pads or powder cleansers, since these can scratch interior plastic and metal surfaces. Also skip strong degreasers or all-purpose sprays not labeled safe for food-contact areas, since the refrigerator interior sits close to food every day and residue left behind isn't something you want transferring onto groceries.
Step-by-Step: Cleaning a Refrigerator Interior
Step 1: Remove all food. Take everything out and set it in a cooler or on the counter if the clean will take more than a few minutes. This is also a good time to check expiration dates and toss anything past its prime.
Step 2: Remove shelves and drawers. Most refrigerator shelves and drawers lift out or slide free with a gentle pull. Set them aside to wash separately, since a sink often makes it easier to clean these pieces thoroughly than trying to wipe them while still inside the fridge.
Step 3: Wipe down interior walls. Mix a few drops of mild dish soap into warm water, or use a baking soda and water solution (about two tablespoons of baking soda per quart of water) if odor is a bigger concern than visible grime. Wipe the walls, ceiling, and floor of the fridge interior, paying attention to corners and the area around the door seal, where spills tend to collect unnoticed.
Step 4: Clean the door seal separately. The rubber gasket around the door often holds crumbs and sticky residue in its folds. A soft brush or an old toothbrush works well here, since the seal's ridges are hard to reach with just a cloth.
Step 5: Rinse and dry. Wipe down all cleaned surfaces with a clean, damp cloth to remove soap or baking soda residue, then dry with a towel. Leaving the interior damp can contribute to a musty smell over time, so this step is worth doing thoroughly rather than rushing through it.
Step 6: Let the interior air out. Leave the refrigerator door open for a few minutes before restocking. This helps any remaining moisture evaporate and keeps the fresh, clean smell from being trapped against food right away.
Step 7: Wipe down food containers before returning them. Quickly wipe the outside of jars, containers, and bottles before putting them back. Sticky residue on containers is one of the fastest ways a freshly cleaned fridge starts looking messy again within a day or two.
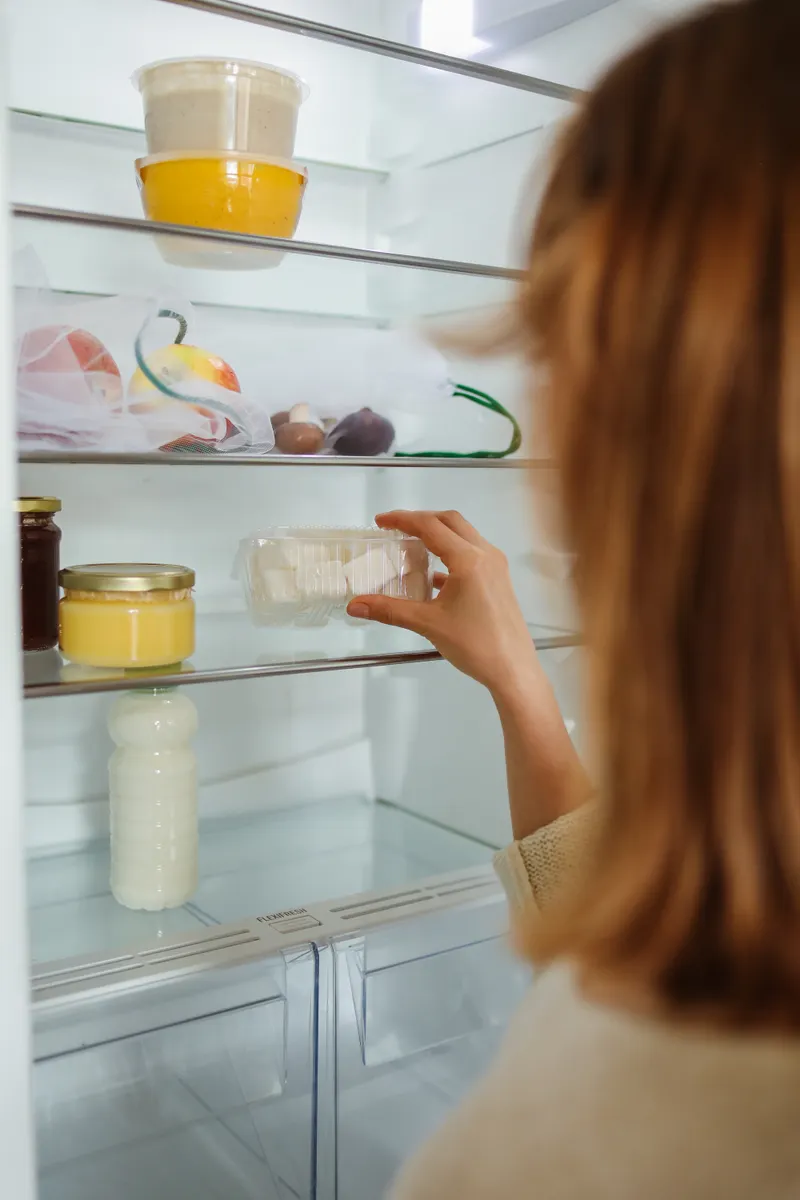
Photo Credit: Polina Tankilevitch
Cleaning Shelves and Drawers Separately
Shelves and drawers usually need more attention than the interior walls, since spills often pool on a shelf's surface or seep into the corners of a crisper drawer before anyone notices. Glass shelves can typically handle a warm water and mild soap wash in the sink, but it's worth letting them come closer to room temperature first if they've been in a cold fridge, since a sudden temperature change combined with hot water can occasionally cause glass to crack.
Plastic drawers, especially crisper drawers, tend to develop a sticky residue from produce and can sometimes hold onto odors more than other parts of the fridge. A baking soda paste applied with a soft cloth works well for this, followed by a thorough rinse and dry.
If your fridge has removable shelf liners or divided compartments, these often trap crumbs and residue in spots that are easy to overlook during a quick wipe-down. Our guide on Refrigerator Shelves & Drawers Cleaning covers this in more detail, including how to handle shelves with a wire or grid design that collects grime differently than a solid glass panel.
Commercial Cleaners vs. Natural Methods
Both approaches work well for refrigerator interiors, and the right choice often depends on how much odor control you need versus how much visible grime you're dealing with.
|
Method |
Best Use |
Considerations |
|
Mild dish soap and water |
Everyday cleaning, light grime |
Safe for all interior surfaces, no residue concerns |
|
Baking soda and water |
Odor control, mild buildup |
Gentle and effective; doesn't leave a scent behind |
|
Commercial refrigerator cleaner |
Heavier buildup or grease |
Check the label for food-contact safety before use |
|
Disinfecting wipes |
Occasional sanitizing |
Read the label; some aren't meant for direct food contact until fully dry |
|
Vinegar solution |
Mild odor, light residue |
Effective, but rinse well since the smell can linger briefly |
For most households, a mild soap and water routine, paired with baking soda when odor is a concern, covers nearly everything a refrigerator interior needs. Commercial cleaners can help with tougher buildup, but always confirm the label states it's safe for surfaces that touch food, and rinse thoroughly afterward regardless of which product you use.
If you prefer to avoid store-bought cleaners altogether, an eco-friendly approach using just baking soda, water, and a bit of vinegar for tougher spots handles the vast majority of refrigerator cleaning needs without introducing any additional chemicals into a space that holds food.

Photo Credit: https://kaboompics.com/
Handling Spills and Set-In Messes
A fresh spill is usually simple to wipe up, but one that's dried on or seeped into a shelf edge or drawer corner takes a bit more effort. For dried spills, laying a damp cloth over the area for a few minutes before wiping helps loosen the residue without much scrubbing.
Spills involving raw meat juices or dairy deserve extra attention, since these can leave behind bacteria that a quick wipe doesn't fully address. In these cases, cleaning the area with soap and water first, then following up with a food-safe disinfecting step, is worth the extra few minutes.
If a spill has gone unnoticed for a while and left a sticky residue in multiple spots, or if there's a lingering odor that a standard wipe-down doesn't resolve, a full deep clean of the affected area makes more sense than repeated quick fixes. Our guide on Refrigerator Deep Cleaning After a Spill walks through this process step by step, including how to handle spills that have reached the drawers underneath a shelf.
How Often Should You Clean a Refrigerator Interior
A quick wipe of visible spills as they happen is the simplest habit that keeps a refrigerator interior from building up grime, since fresh spills take seconds to clean but dried ones take much longer.
A full interior wipe-down, including shelves and drawers, is worth doing about once a month for most households. Families that cook often or store a lot of fresh produce may find every two to three weeks works better, since spills and expired food tend to accumulate faster.
A deeper clean, including the door seal and any hard-to-reach corners, is typically only needed every few months, unless a spill or spoiled food item creates an odor that needs immediate attention. Checking the fridge during your weekly grocery routine is a simple way to catch small messes before they turn into a bigger cleaning job.
Photo Credit: Polina Tankilevitch
Common Mistakes to Avoid
- Using abrasive scrub pads. These can scratch interior plastic and metal surfaces, and scratched areas tend to collect grime faster.
- Skipping the drying step. A damp interior can contribute to a musty smell, especially in the corners and along the door seal.
- Using strong degreasers or disinfectants not labeled for food-contact areas. Residue from harsh products can transfer onto food if the interior isn't rinsed thoroughly.
- Ignoring the door seal. Crumbs and sticky spots often build up in the rubber gasket's folds, and this area gets missed during a quick wipe.
- Cleaning glass shelves with very hot water right out of a cold fridge. A sudden temperature change can occasionally cause cracking, so let shelves adjust to room temperature first.
- Forgetting to wipe down containers before restocking. Sticky jars and bottles quickly undo the work of a fresh interior clean.
FAQ
What is the best way to clean a refrigerator interior? Remove all food and shelves, wipe interior surfaces with mild soap and water or a baking soda solution, rinse, dry thoroughly, and let the interior air out before restocking.
How often should you clean a refrigerator interior? A full wipe-down about once a month works for most households, with quick spot cleaning of spills as they happen. Households with more fresh produce may benefit from cleaning every two to three weeks.
What cleaning products are safe for a refrigerator interior? Mild dish soap and baking soda are safe for regular use. Commercial cleaners are fine if the label confirms food-contact safety, and vinegar works well for mild odor when rinsed properly afterward.
What should you avoid when cleaning a refrigerator interior? Avoid abrasive scrub pads, strong degreasers not meant for food-contact surfaces, and very hot water on cold glass shelves.
How can you clean a refrigerator interior without damaging it? Use non-abrasive cloths and mild cleaning solutions, let glass shelves reach room temperature before washing, and dry all surfaces fully before putting food back inside.
For more appliance and surface care throughout the kitchen, view the full kitchen cleaning guide for additional room-by-room instructions.
A quick safety note: always check that cleaning products are labeled safe for food-contact surfaces before using them inside the refrigerator, and let the interior air out and dry fully before restocking. If a spill involves raw meat or seafood, clean the area with soap and water first, then follow up with a food-safe disinfecting step for added peace of mind.





Leave a Reply