

The rubber gasket around a refrigerator door does more work than most people realize. It keeps cold air in, keeps warm air out, and helps the fridge run efficiently. It also happens to be one of the most overlooked spots in the entire kitchen, tucked into folds where crumbs, spills, and moisture collect out of sight. Refrigerator door seal cleaning is a quick task once you know how to reach into those folds properly, and skipping it for too long can lead to sticky buildup, odor, or even mold.
This guide covers how to clean the seal safely, what products work best, and how to tell when buildup has become something more serious. It's part of the Refrigerator Cleaning Guide, which covers care for every part of the fridge, inside and out.
The Best Way to Clean a Refrigerator Door Seal (Quick Answer)
For most refrigerator gaskets, this routine works well:
- Wipe the seal with warm water and a small amount of mild dish soap.
- Use a soft brush or old toothbrush to reach into the folds and ridges.
- For odor or light buildup, use a vinegar and water solution or a baking soda paste.
- Rinse with a clean, damp cloth and dry thoroughly before closing the door.
The gasket's folded design is what makes it effective at sealing the door, but it's also exactly why debris gets trapped there so easily. A little extra attention in this one spot goes a long way toward keeping the whole fridge running well.
What You'll Need
Most of what you need is already in the kitchen:
- Mild dish soap
- Warm water
- White vinegar
- Baking soda
- A soft-bristle brush or old toothbrush
- A microfiber cloth or two
- Cotton swabs, useful for very tight corners
Avoid anything abrasive, including scouring pads or stiff wire brushes. The rubber material in most gaskets is soft and can tear or wear down with rough scrubbing, and once a gasket is damaged, it may not seal properly anymore, which affects how efficiently the fridge cools.
Step-by-Step: Cleaning the Door Seal
Step 1: Open the door fully. Give yourself full access to the gasket by opening the door as far as it goes. Working in a cramped space makes it easy to miss sections, especially near the hinges.
Step 2: Wipe with warm, soapy water. Dip a soft cloth in warm water with a small amount of mild dish soap. Wipe along the entire length of the gasket, including the flat outer surface and as far into the folds as the cloth will reach.
Step 3: Get into the folds. Use a soft brush or an old toothbrush to work into the ridges and folds where a cloth can't fully reach. This is where most of the buildup actually collects, since crumbs and sticky residue settle into these gaps and don't get disturbed during a quick wipe-down.
Step 4: Treat odor or stubborn buildup. If the seal has a lingering smell or a layer of grime that soap alone doesn't fully clear, a vinegar and water solution (roughly equal parts) works well. Apply it with a cloth, let it sit for a minute or two, then wipe clean. For textured buildup, a baking soda paste applied with a soft brush can help lift residue without scratching the rubber.
Step 5: Rinse thoroughly. Wipe the entire gasket with a clean, damp cloth to remove all soap, vinegar, or baking soda residue. Leftover residue can attract more dust and debris over time if it isn't fully rinsed away.
Step 6: Dry completely before closing the door. Use a dry cloth to go over the gasket one more time. Closing the door while the seal is still damp can trap moisture in the folds, which creates the kind of environment mold tends to grow in.
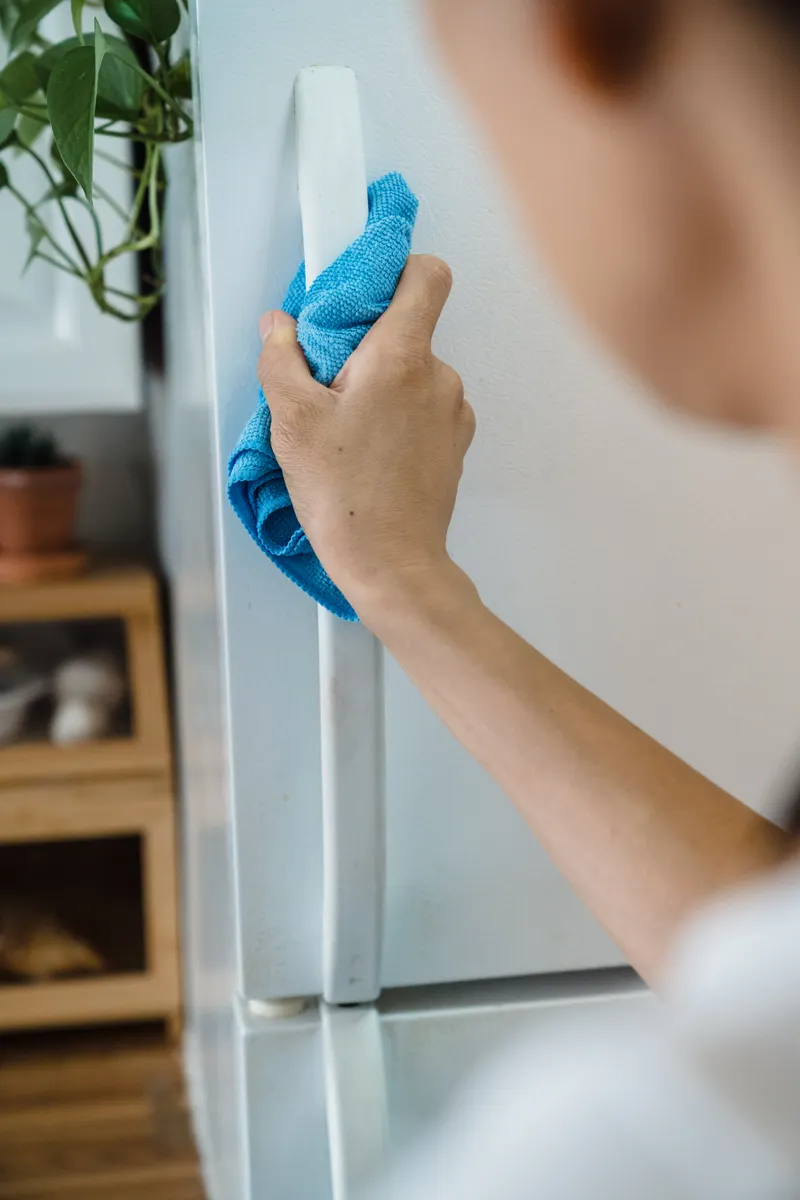
Photo Credit: Liliana Drew
Why This Area Needs Regular Attention
The folded design of a refrigerator gasket creates small pockets that trap moisture differently than a flat surface would. Every time the door opens and closes, some condensation forms along the seal, and if that moisture sits in the folds without ever fully drying out, it becomes a place where mildew or mold can start.
This is more common in humid kitchens or in households where the fridge gets opened frequently throughout the day, since more warm air meets the cold seal each time. A gasket that looks fine on the flat surface can still have buildup deep in the folds, which is why a quick glance often isn't enough to judge whether a proper cleaning is overdue.
If you notice dark spots, a musty smell, or a slightly fuzzy texture anywhere along the seal, this may be mold rather than ordinary grime, and it needs a different approach than a standard soap and water wipe-down. Our guide on Mold on Refrigerator Door Seals covers how to identify and safely remove it, including when a gasket has reached a point where cleaning isn't enough and replacement makes more sense.
Vinegar and Baking Soda: When and How to Use Them
Vinegar and baking soda are both useful for gasket cleaning, but they serve slightly different purposes and shouldn't be treated as interchangeable.
Vinegar, diluted with water, works well for odor and light mineral or soap residue. It's mildly acidic, which helps break down grime without being harsh on the rubber material, but it should always be rinsed off after a short sit time rather than left on the seal for extended periods.
Baking soda works better as a gentle abrasive for buildup that has some texture to it, like dried food residue or a sticky film that's hardened slightly. Made into a light paste with water, it can be worked into the folds with a soft brush.
These two can be used together in sequence (vinegar first to loosen residue, rinsed, then a baking soda paste for any remaining texture) but they shouldn't be combined directly in a sealed container, since the reaction creates fizzing that's more useful loose on a surface than trapped in a closed space. Never substitute bleach for either of these on a rubber gasket without checking the appliance manufacturer's instructions first, since repeated bleach exposure can degrade rubber over time, and bleach should never be combined with vinegar or ammonia-based products under any circumstance.
Photo Credit: Anna Shvets
Commercial Products vs. Natural Methods
|
Method |
Best Use |
Considerations |
|
Mild dish soap and water |
Everyday cleaning |
Safe for regular use, no residue concerns |
|
Vinegar and water |
Odor, light mineral buildup |
Effective and gentle; rinse after a short sit time |
|
Baking soda paste |
Textured or sticky buildup |
Mild abrasive; safe for rubber when used gently |
|
Commercial appliance cleaner |
Heavier buildup |
Check the label for rubber and food-safe compatibility |
|
Bleach solution |
Mold concerns |
Use only if the manufacturer confirms it's safe for the gasket material; never combine with vinegar or ammonia |
For most households, soap and water paired with an occasional vinegar or baking soda treatment covers everything a gasket needs. Commercial cleaners can help with tougher buildup, but check that the product is labeled safe for rubber seals, since some all-purpose cleaners contain ingredients that can dry out or crack rubber with repeated use.
A clean, well-maintained seal also makes daily fridge use easier in another way: it's simpler to notice sticky spots or spills early when the door area isn't cluttered with items pressed right up against it. If you tend to store jars, condiments, or drinks directly on the door shelves near the seal, keeping that space reasonably organized helps you catch drips before they reach the gasket folds. Our guide on Refrigerator Door Organization covers practical layout ideas that can reduce mess around this area over time.
How Often Should You Clean a Refrigerator Door Seal
A quick wipe of the visible, flat part of the seal is worth doing weekly, especially in kitchens where the fridge gets opened often throughout the day.
A more thorough clean, including working into the folds with a brush, is generally enough once a month for most households. Homes in humid climates, or kitchens where condensation tends to build up more visibly on the fridge, may benefit from doing this every two to three weeks instead, since moisture accumulates faster in those conditions.
Checking the seal for early mold signs, like dark spots or a musty smell, is worth doing whenever you do a routine kitchen clean, since catching this early is much easier to manage than dealing with an established mold problem later.
Common Mistakes to Avoid
- Using abrasive brushes or scouring pads. These can tear or wear down the rubber, which affects how well the door seals.
- Skipping the folds. Wiping only the flat, visible part of the gasket leaves the areas most likely to collect buildup untouched.
- Closing the door while the seal is still damp. This traps moisture in the folds and creates conditions where mold can develop.
- Using bleach without checking manufacturer guidance. Some rubber gaskets can dry out or degrade with repeated bleach exposure.
- Combining bleach with vinegar or ammonia-based products. This creates hazardous fumes and should always be avoided.
- Ignoring a seal that no longer sits flush against the door frame. This is often a sign of wear rather than dirt, and cleaning won't fix a gasket that's lost its shape.
When Cleaning Isn't Enough
Sometimes a gasket looks clean but the door still doesn't seal properly, letting cold air escape and making the fridge work harder than it should. This is usually a sign of wear rather than a cleaning issue, and it's worth checking the seal for cracks, flattened sections, or spots where it no longer sits snugly against the door frame.
A damaged or worn gasket typically needs replacing rather than repeated cleaning, and most replacement parts are specific to the refrigerator model, so checking with the manufacturer or a parts supplier is the right next step. Professional appliance repair costs for this kind of service vary depending on the fridge model, the region, and whether the technician also needs to diagnose a broader cooling issue, so it's best to get a direct quote rather than relying on a general estimate.

Photo Credit: Mohit Sharma
For most households, though, a seal that's simply dirty rather than damaged responds well to the cleaning steps above without needing any professional help. Beyond the seal itself, other parts of the fridge that affect cooling efficiency are worth checking periodically too. Dust buildup on the coils behind or underneath the fridge can make the appliance work harder, similar to how a poor door seal does. Our guide on Refrigerator Coil Cleaning covers that maintenance task, which pairs well with regular gasket care for keeping the whole appliance running efficiently.
FAQ
What is the best way to clean a refrigerator door seal and gasket? Wipe with warm water and mild dish soap, use a soft brush to reach into the folds, and treat odor or buildup with a vinegar solution or baking soda paste before rinsing and drying thoroughly.
How often should you clean a refrigerator door seal and gasket? A quick wipe weekly and a more thorough clean of the folds monthly works for most households. Humid kitchens may need this every two to three weeks.
What cleaning products are safe for a refrigerator door seal and gasket? Mild dish soap, diluted white vinegar, and baking soda are all safe for regular use. Commercial cleaners are fine if the label confirms rubber and food-safe compatibility.
What should you avoid when cleaning a refrigerator door seal and gasket? Avoid abrasive brushes, bleach without checking manufacturer guidance, and combining bleach with vinegar or ammonia-based products.
How can you clean a refrigerator door seal and gasket without damaging them? Use soft cloths and brushes rather than anything abrasive, avoid harsh chemicals not confirmed safe for rubber, and dry the seal fully before closing the door to prevent trapped moisture.
For more appliance care throughout the kitchen, check out the full kitchen cleaning guide for additional room-by-room instructions.
A quick safety note: always check manufacturer guidance before using bleach or strong disinfectants on a rubber gasket, and never combine bleach with vinegar or ammonia-based products, since this can produce hazardous fumes. If mold keeps returning despite regular cleaning, or the seal shows signs of cracking or wear, further evaluation or a replacement gasket may be the safer long-term fix.





Leave a Reply