
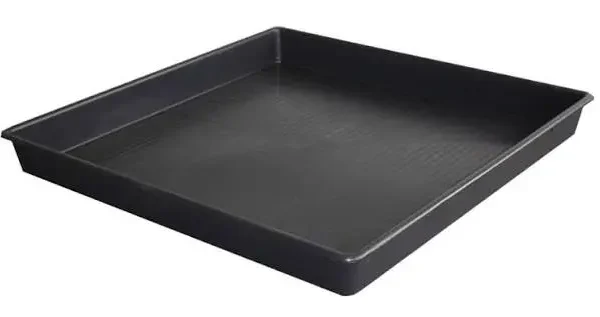
Most people never think about their refrigerator's drip pan until a musty smell starts creeping out from underneath the appliance. This pan collects the condensation that drips down during the defrost cycle, and over time that standing water can turn into a breeding ground for mold, mildew, and bacteria. Refrigerator drip pan cleaning isn't something most homeowners do often, but it's a quick task once you know where the pan is and how to reach it.
This guide covers how to find the drip pan, clean it safely, and how often the task actually needs doing. It's part of the Refrigerator Cleaning Guide, which covers care for every part of the fridge, including the parts most people forget about entirely.
The Best Way to Clean a Refrigerator Drip Pan (Quick Answer)
For most refrigerators, this routine works well:
- Unplug the fridge and locate the drip pan, usually behind a bottom grille or underneath the unit.
- Slide or lift the pan out carefully to avoid spilling standing water.
- Empty any water and wash the pan with warm, soapy water.
- For odor or mildew, use a vinegar and water solution or a baking soda paste.
- Rinse, dry completely, and slide the pan back into place before plugging the fridge back in.
The exact location and design of the drip pan varies by refrigerator model, so checking the owner's manual first can save time if the pan isn't immediately visible.
Finding Your Drip Pan
Not every refrigerator has its drip pan in the same spot, which is part of why this task gets skipped so often. On many models, it sits behind the bottom front grille, which usually pops off or unclips with a firm, gentle pull. On others, especially older units or certain styles of built-in fridges, the pan is located underneath the appliance and only accessible by pulling the fridge away from the wall.
If you can't find the drip pan within a few minutes of looking, checking the manufacturer's manual or the model number online is worth doing before assuming your fridge doesn't have one. Nearly all refrigerators with an automatic defrost cycle include a drip pan somewhere, since it's what collects the water produced during that cycle.
Tools and Products You'll Need
Most of what you need for this task is already in the kitchen:
- Warm water
- Mild dish soap
- White vinegar
- Baking soda
- A sponge or soft scrub brush
- Rubber gloves
- A dry towel
- A flashlight, useful for checking underneath the fridge if the pan is in that location
Avoid anything abrasive, including steel wool or harsh scouring pads, since these can scratch plastic drip pans and make future buildup stick more easily to the damaged surface. Skip strong chemical cleaners not labeled safe for plastic, since some can cause certain plastics to become brittle over time.
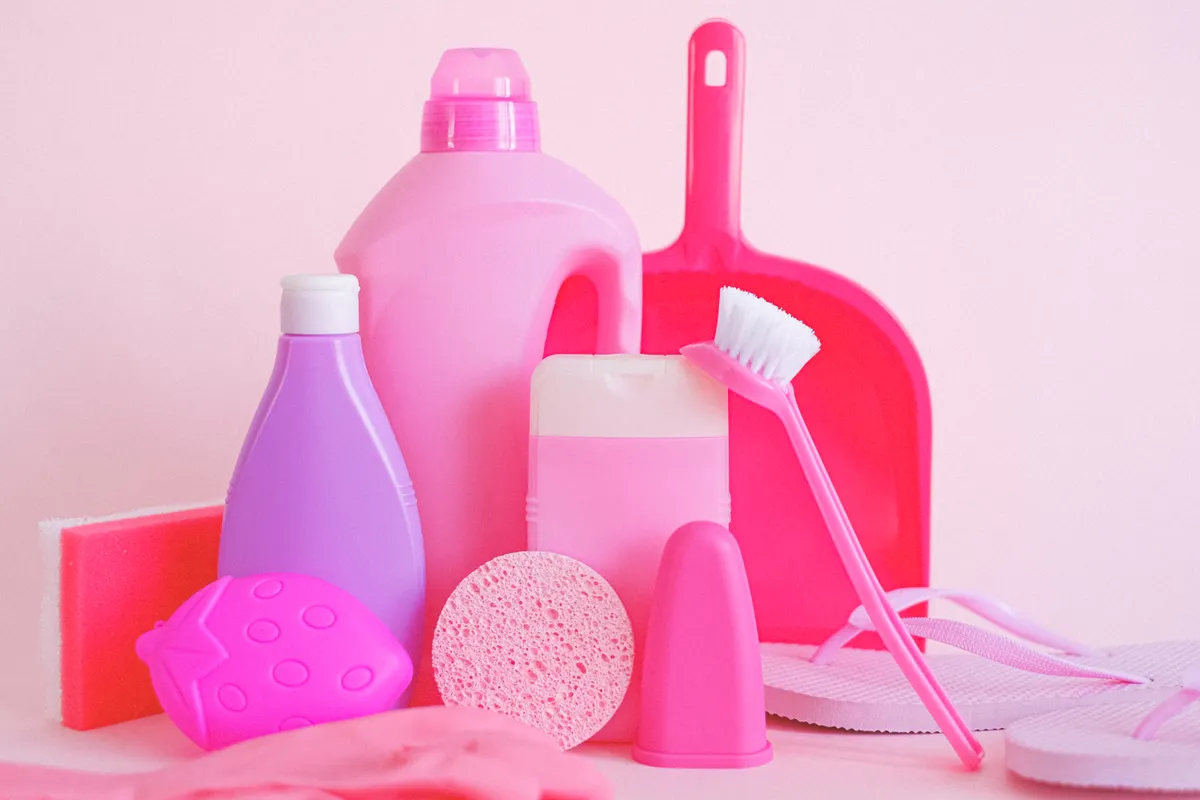
Photo Credit: Anna Shvets
Step-by-Step: Cleaning the Drip Pan
Step 1: Unplug the refrigerator. This is an important safety step, especially if the pan is located underneath the unit and requires pulling the fridge away from the wall. Working around an appliance that's still plugged in adds unnecessary risk, particularly if any water spills during the process.
Step 2: Locate and remove the pan. Depending on your model, this may mean popping off the bottom grille or carefully pulling the fridge forward. Slide the pan out slowly, since it may already be holding standing water that can spill if tipped.
Step 3: Empty the pan. Pour out any standing water into a sink or bucket. If the water has an odor, don't be alarmed. This is common and usually resolves once the pan is cleaned.
Step 4: Wash with warm, soapy water. Use a sponge or soft brush with warm water and a small amount of mild dish soap to scrub the entire pan, inside and out. Pay attention to corners and edges, where residue tends to settle and dry into a harder film over time.
Step 5: Treat mold, mildew, or odor. If the pan has visible mildew or a persistent smell that soap doesn't fully clear, a vinegar and water solution (equal parts) works well. Apply it, let it sit for a few minutes, then scrub and rinse. For textured buildup, a baking soda paste can help lift residue without scratching the plastic.
Step 6: Rinse thoroughly. Rinse the pan completely to remove all soap, vinegar, or baking soda residue. Leftover residue left to dry can leave a slightly gritty or filmy texture that attracts more buildup.
Step 7: Dry completely. Dry the pan fully with a towel before sliding it back into place. Returning a damp pan to its spot defeats some of the purpose of the cleaning, since it just gives moisture another head start toward the next round of mildew.
Vinegar and Baking Soda for Drip Pan Cleaning
Vinegar and baking soda are two of the most useful tools for this specific task, since they handle the two main issues a drip pan typically develops: odor and mineral or mildew buildup.
Diluted white vinegar works well against mild odor and light mildew, since it's mildly acidic and helps break down the residue left behind by standing water. It should be rinsed off after a short sit time rather than left on the plastic for extended periods, particularly on pans with any painted or coated finish.
Baking soda works better as a gentle abrasive for buildup with some texture, like dried mineral deposits from hard water or a slightly hardened film along the pan's edges. Mixed into a light paste with water, it can be scrubbed in with a soft brush without risking scratches the way a stronger abrasive might.
These two can be used one after the other (vinegar first, rinsed, then a baking soda scrub for anything that remains) but they shouldn't be combined directly in a sealed container, since the fizzing reaction is better suited to an open surface than a closed space. Bleach is sometimes suggested for drip pan mold, but it should only be used if the manufacturer confirms it's safe for the specific plastic used in your pan, and it should never be combined with vinegar or ammonia-based products under any circumstance, since that mix produces hazardous fumes.
Best Products for Refrigerator Drip Pan Cleaning
|
Product |
Best Use |
Considerations |
|
Mild dish soap and water |
Everyday cleaning |
Safe for all pan materials, no residue left behind |
|
Vinegar and water |
Odor, light mildew |
Effective and gentle; rinse after a short sit time |
|
Baking soda paste |
Mineral deposits, textured buildup |
Mild abrasive; safe for most plastics when used gently |
|
Commercial appliance cleaner |
Heavier buildup |
Check the label for plastic compatibility |
|
Diluted bleach solution |
Persistent mold |
Only if manufacturer confirms plastic compatibility; never combine with vinegar or ammonia |
For most households, soap and water paired with an occasional vinegar or baking soda treatment is enough to keep the drip pan clean. Commercial cleaners can help with stubborn buildup, but always confirm the label states it's safe for the plastic used in appliance components, since some general-purpose cleaners are too harsh for this kind of plastic and can cause it to become brittle or discolored over time.
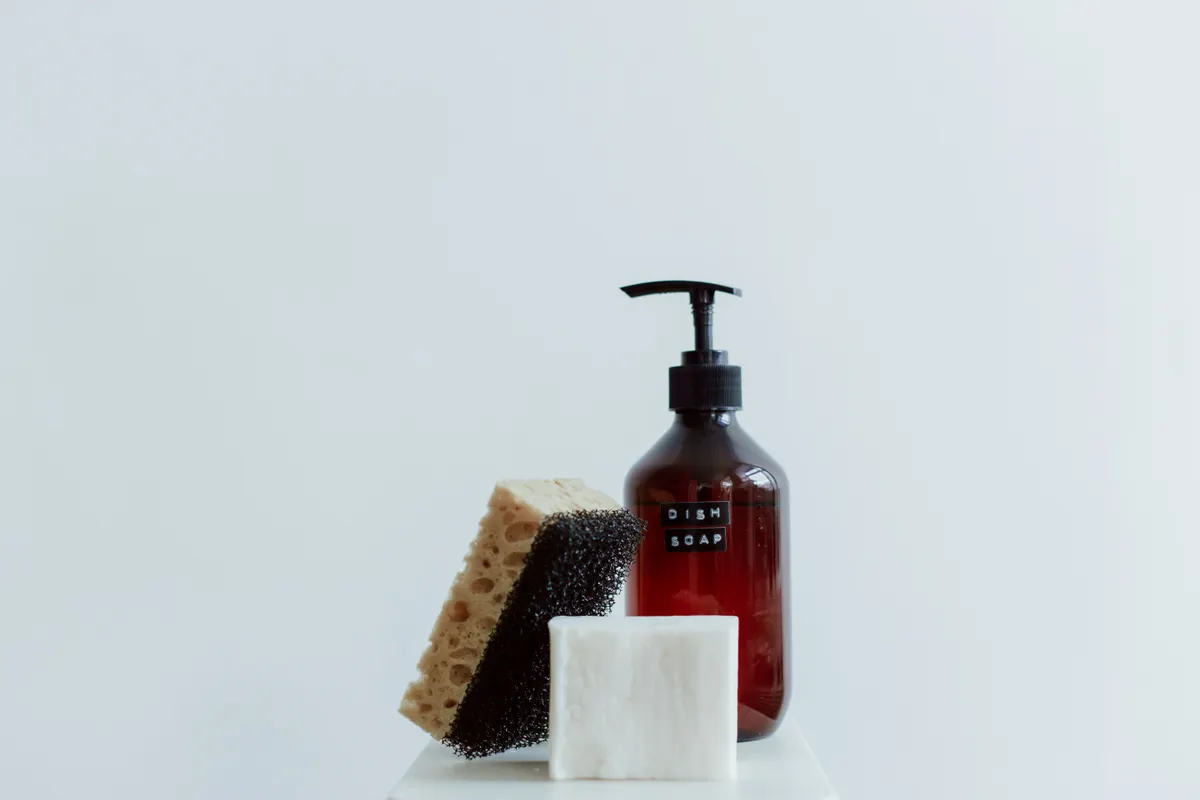
Photo Credit: Ron Lach
How This Connects to Other Fridge Maintenance
The drip pan doesn't work alone. It's part of the refrigerator's broader defrost system, which also includes the freezer's own moisture handling. If the freezer has developed frost buildup or hasn't been defrosted in a while, it can affect how much water ends up in the drip pan and how often the pan needs attention. Keeping both areas on a similar maintenance schedule tends to work better than treating them as separate, unrelated tasks. Our guide on Freezer Cleaning & Defrosting covers that process in detail, including how often a full defrost is genuinely needed versus when a quick wipe-down is enough.
A drip pan that's overdue for cleaning is also one of the more common, and more overlooked, sources of a musty smell coming from a refrigerator. Many people check the interior shelves, the door seal, and even the produce drawers before ever thinking to look underneath the appliance, which means the actual source of the odor can go unaddressed for a long time. If you've cleaned the interior thoroughly and a smell persists, the drip pan is worth checking before assuming the problem is somewhere else. Our guide on Removing Refrigerator Odors walks through a full troubleshooting approach, including how to narrow down where a smell is actually coming from.
How Often Should You Clean a Refrigerator Drip Pan
Most households only need to clean the drip pan about once or twice a year, since it's not exposed to food or daily contact the way the interior of the fridge is.
Homes in humid climates, or households where the fridge runs an automatic defrost cycle more frequently, may benefit from checking the pan every three to four months instead, since more moisture passes through it in that time. If you've recently noticed a musty smell with no obvious source inside the fridge, checking the drip pan sooner rather than waiting for a scheduled clean is a reasonable step.
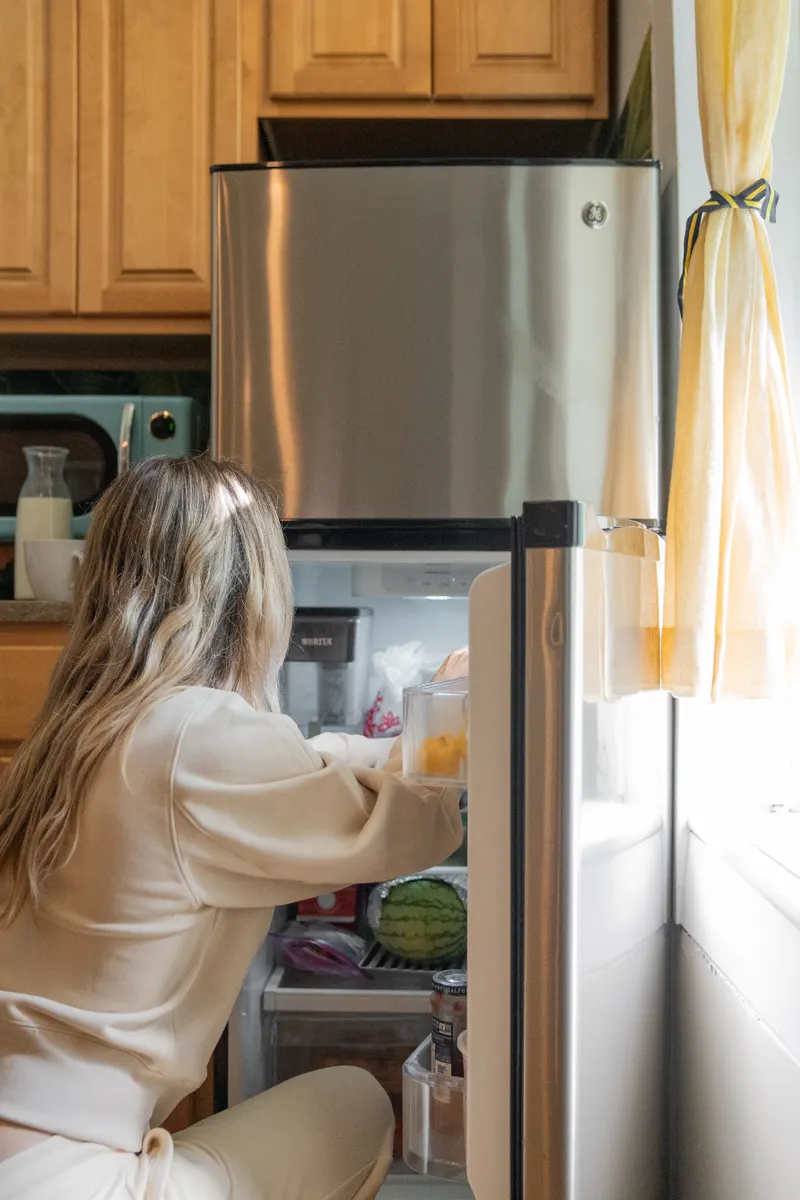
Photo Credit: Kevin Malik
Common Mistakes to Avoid
- Forgetting to unplug the fridge before pulling it away from the wall. This is a basic safety step that's easy to skip when the task feels minor.
- Using abrasive scrub pads on the plastic pan. These can scratch the surface, and scratches tend to trap grime more easily going forward.
- Leaving the pan damp when sliding it back into place. This gives moisture a head start toward the next round of buildup.
- Using bleach without checking plastic compatibility. Some plastics can degrade or discolor with repeated bleach exposure.
- Combining bleach with vinegar or ammonia-based products. This creates hazardous fumes and should never be done.
- Assuming the fridge doesn't have a drip pan just because it's hard to find. Nearly all fridges with automatic defrost have one; checking the manual usually reveals its location quickly.
FAQ
What is the best way to clean a refrigerator drip pan? Unplug the fridge, remove the pan, empty any standing water, wash with warm soapy water, treat odor or mildew with a vinegar solution or baking soda paste, then rinse and dry thoroughly before replacing it.
How often should you clean a refrigerator drip pan? Once or twice a year works for most households. Humid climates or fridges that defrost frequently may need a check every three to four months.
What cleaning products are safe for a refrigerator drip pan? Mild dish soap, diluted white vinegar, and baking soda are all safe for regular use. Commercial cleaners are fine if the label confirms plastic compatibility.
What should you avoid when cleaning a refrigerator drip pan? Avoid abrasive scrub pads, bleach without checking plastic compatibility, and combining bleach with vinegar or ammonia-based products.
How can you clean a refrigerator drip pan without damaging it? Use soft sponges rather than abrasive tools, avoid harsh chemicals not confirmed safe for plastic, and make sure the pan is fully dry before sliding it back into the fridge.
For more appliance care throughout the kitchen, head back to the complete kitchen cleaning guide for additional room-by-room instructions.
A quick safety note: always unplug the refrigerator before accessing the drip pan, especially if it requires moving the appliance. Check manufacturer guidance before using bleach on any plastic component, and never combine bleach with vinegar or ammonia-based products, since this can produce hazardous fumes. If mold or odor keeps returning despite regular cleaning, a technician may need to check for a deeper drainage or defrost issue.





Leave a Reply