

The kitchen floor takes more daily abuse than almost any other surface in the house. Spills, grease splatter, dropped food, tracked-in dirt, and pet paws all land right where you cook. A solid kitchen floor cleaning routine keeps the space sanitary, prevents slip hazards, and protects the flooring material from premature wear.
This guide walks through how often to clean, what tools and products actually work, step-by-step cleaning methods for daily and deep cleaning, and material-specific care for the most common kitchen floor types. If you want the bigger picture first, head back to the complete kitchen cleaning guide for a full room-by-room breakdown.
The Fastest Way To Clean a Kitchen Floor
For most kitchen floors, the fastest effective method is:
- Sweep or vacuum to remove loose debris and crumbs.
- Spot-treat any sticky spills or grease with a damp cloth or soft brush.
- Mop with warm water and a floor cleaner suited to your flooring material.
- Let the floor air dry, or dry it with a clean towel if you need to walk on it sooner.
This four-step sequence handles the vast majority of everyday kitchen floor cleaning, whether you have tile, vinyl, laminate, or sealed hardwood. The details change depending on the material, which is covered later in this guide, but the order of operations stays the same: clear debris first, treat problem spots second, mop third, dry last.
How Often Should You Clean the Kitchen Floor?
Kitchen floors need more frequent attention than floors in other rooms because of food debris, grease, and moisture.
- Daily: Sweep or vacuum, especially around the stove, sink, and eating areas. Wipe up spills immediately.
- Weekly: Mop the entire kitchen floor with a cleaner suited to your material.
- Monthly: Give extra attention to grout lines, baseboards, and under-appliance edges where grease and dust build up.
- As needed: Deep clean any time the floor feels sticky, looks dull, or has visible grease film near the stove.
If your household cooks often, has pets, or has young children, you may need to mop two to three times a week rather than once. There is no single universal schedule, since foot traffic and cooking habits vary by home.
What You Need for Kitchen Floor Cleaning
A basic kitchen floor cleaning kit does not need to be complicated. Most homes already have what is required:
- Broom or dry dust mop
- Vacuum with a hard floor setting (avoid the beater brush on some finishes)
- Microfiber mop or a traditional string mop
- Two buckets (one for cleaning solution, one for rinse water) or a spin mop system
- pH-neutral floor cleaner suited to your flooring type
- Microfiber cloths for spot cleaning
- Soft-bristle brush for grout lines
- Dry towels for drying
Microfiber tools are worth the investment. They lift grease and grime more effectively than cotton string mops and leave less lint behind. A dry dust mop or vacuum pass before wet mopping matters more than most people realize, since dragging a wet mop over loose grit can scratch finished flooring.
Step-by-Step: Daily and Weekly Kitchen Floor Cleaning
Daily Quick Clean
- Sweep or dry-vacuum the entire floor, paying close attention to corners, under the table, and near the stove.
- Spot-clean spills right away with a damp cloth. Grease and sugary spills become harder to remove the longer they sit.
- Check high-traffic zones near the sink and refrigerator for tracked-in dirt.
This quick pass takes five to ten minutes and prevents debris from grinding into the floor's surface, which is one of the main causes of dulling and scratching over time.

Photo Credit: SHVETS production
Weekly Deep Sweep and Mop
- Clear the floor of chairs, mats, and any small obstacles.
- Sweep or vacuum thoroughly, including edges and corners where crumbs collect.
- Mix your cleaning solution according to the product label, using warm (not hot) water unless the label specifies otherwise.
- Mop in sections, working from the far corner of the kitchen toward the doorway so you are not walking over cleaned areas.
- Rinse the mop frequently in a separate bucket of clean water, or switch to fresh solution once the mop water looks cloudy.
- Dry the floor with a clean towel or let it air dry with good airflow. Standing water left too long can damage grout, seams, or wood flooring.
If you have a spin mop system, a single bucket works fine since the spin mechanism separates dirty and clean water reasonably well. Traditional string mops benefit from a two-bucket setup because reusing dirty water just spreads grime around instead of removing it.
Deep Cleaning the Kitchen Floor
Weekly mopping keeps the surface presentable, but grease, grout haze, and baseboard grime build up gradually and need a deeper pass every month or two. Deep cleaning targets the areas a standard mop pass usually misses, including tight corners, grout lines, and the narrow gap between the floor and cabinet toe-kicks.
- Remove everything movable, including floor mats, trash cans, and pet bowls.
- Vacuum thoroughly, using a crevice attachment along baseboards and cabinet edges.
- Apply a slightly stronger cleaning solution if your floor material allows it (check manufacturer guidance for tile, stone, or wood).
- Scrub grout lines with a soft-bristle brush and a paste of baking soda and water, or a grout-safe cleaner, letting it sit for 5 to 10 minutes before scrubbing.
- Mop the full floor as described above, working in sections.
- Address grease buildup near the stove with a degreasing cleaner labeled safe for your floor type, since standard floor cleaner often is not strong enough for cooking-area grease film.
- Dry completely and replace any mats or bowls once the floor is fully dry.
A full deep clean of an average kitchen floor typically takes 30 to 45 minutes, depending on size and how much grease buildup has accumulated. Regular weekly mopping shortens this time considerably because grime never has the chance to set in.
Cleaning by Kitchen Floor Material
Not every kitchen floor responds to the same products. What works beautifully on ceramic tile can dull a vinyl finish, and what is safe on sealed hardwood can be too harsh for natural stone. Always confirm your specific flooring material and, when possible, check the manufacturer's care instructions before choosing a cleaner.
Tile Kitchen Floors
Ceramic and porcelain tile are among the most durable and forgiving kitchen floor surfaces. They handle regular mopping well and resist moisture, but the grout lines between tiles are porous and can absorb grease, dirt, and stains if neglected. A pH-neutral cleaner is generally safest for the tile surface itself, while grout benefits from occasional scrubbing with a soft brush. For a full breakdown of grout care, sealing, and stain prevention, see this guide to Tile Kitchen Floor Cleaning.
Vinyl and Linoleum Kitchen Floors
Vinyl and linoleum are water-resistant and easy to maintain, but they can be scratched by abrasive scrub pads and dulled by cleaners containing ammonia or strong solvents. A mild dish soap and warm water solution, or a cleaner labeled safe for vinyl, works well for routine mopping. Avoid soaking the seams for long periods, since prolonged moisture can weaken the adhesive underneath older sheet vinyl.
Hardwood Kitchen Floors
Hardwood requires the most caution of any common kitchen floor material because it reacts poorly to standing water. Excess moisture can warp boards, dull the finish, or cause the wood to swell at the seams. A slightly damp microfiber mop, wrung out well before use, along with a cleaner formulated for hardwood, is the safer approach. For detailed care steps, drying techniques, and product recommendations specific to wood floors, see Hardwood Kitchen Floor Cleaning.
Laminate Kitchen Floors
Laminate looks like wood but behaves more like a sealed composite surface. It tolerates light moisture better than solid hardwood but still should not be soaked or steam mopped, since water can seep into the seams and cause swelling. A damp mop and a laminate-safe cleaner, followed by prompt drying, is the standard approach.
Natural Stone Kitchen Floors
Stone floors such as marble, travertine, or slate are porous and sensitive to acidic cleaners. Vinegar, lemon-based products, and many all-purpose cleaners can etch or dull the surface over time. A pH-neutral, stone-safe cleaner is the safer choice, and sealed stone floors need periodic resealing to maintain their protective barrier. If you are unsure whether your stone floor is sealed, a water droplet test can help: if water beads up rather than soaking in within a few minutes, the seal is likely still doing its job.
Sealed Concrete Kitchen Floors
Sealed concrete is increasingly common in modern kitchens. It handles regular mopping well with a neutral cleaner, but harsh acids or abrasive scrubbing pads can wear down the sealant faster than expected, leaving the surface vulnerable to staining.
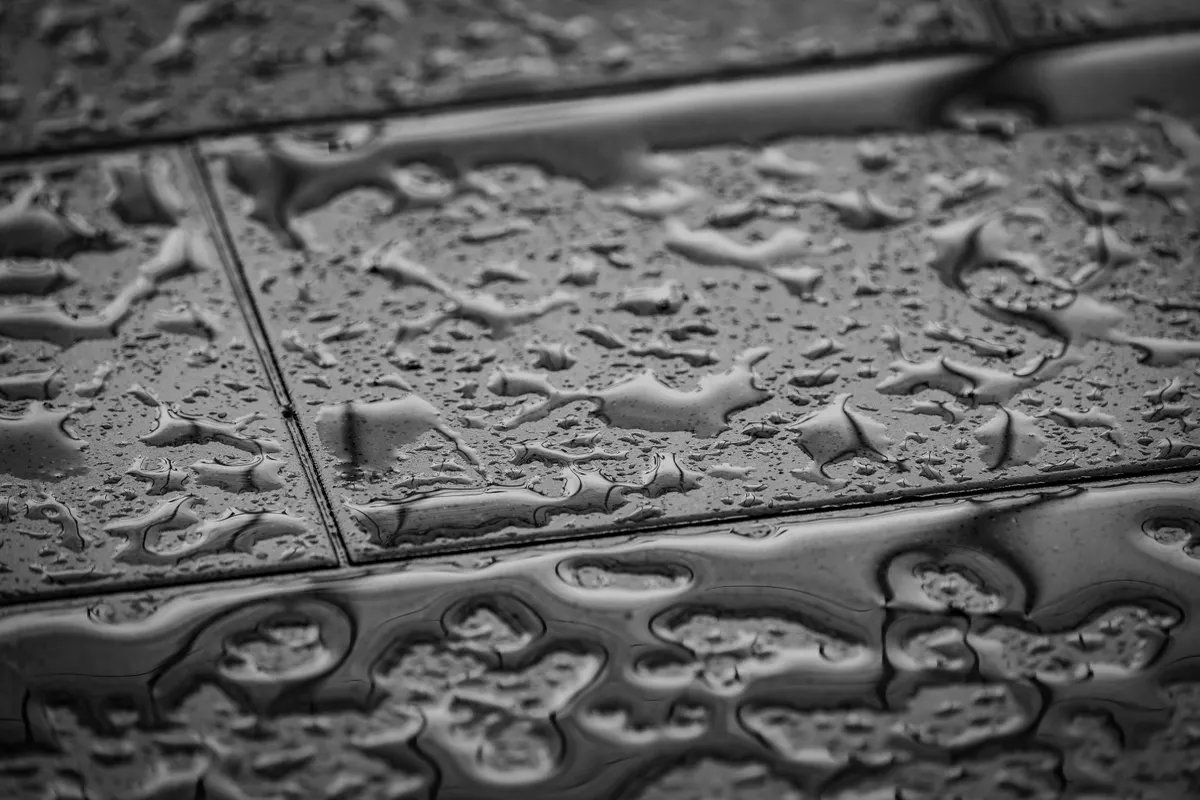
Photo Credit: Francesco Ungaro
Kitchen Floor Type Comparison
|
Floor Type |
Water Tolerance |
Best Cleaner |
Main Risk |
|
Ceramic/Porcelain Tile |
High |
pH-neutral floor cleaner |
Grout staining if unsealed |
|
Vinyl/Linoleum |
Medium-High |
Mild soap and water |
Seam damage from prolonged moisture |
|
Hardwood |
Low |
Wood-specific cleaner, damp mop only |
Warping, swelling from standing water |
|
Laminate |
Low-Medium |
Laminate-safe cleaner, damp mop |
Seam swelling from excess water |
|
Natural Stone |
Medium |
pH-neutral, stone-safe cleaner |
Etching from acidic products |
|
Sealed Concrete |
Medium-High |
Neutral cleaner |
Sealant wear from harsh scrubbing |
Use this table as a starting point rather than a strict rulebook. Manufacturer instructions for your specific product or installation always take priority over general guidance.
Products That Are Safe (and Ones to Avoid)
Choosing the right cleaner matters more for floors than almost any other kitchen surface, since the wrong product can damage large areas of flooring at once.
Generally safe, depending on material:
- pH-neutral floor cleaners labeled for your specific flooring type
- Mild dish soap diluted in warm water (fine for tile, vinyl, and sealed concrete)
- Microfiber mops, which clean effectively without heavy chemical use
Use with caution or avoid on sensitive materials:
- Vinegar and other acidic cleaners: can etch natural stone and dull some finished wood sealants. Fine for sealed tile and vinyl in most cases, but always test first.
- Ammonia-based cleaners: can damage wax finishes and certain sealants; never combine with bleach-based products, since mixing bleach and ammonia produces hazardous fumes.
- Abrasive powders or scouring pads: can scratch vinyl, laminate, and softer stone surfaces.
- Steam mops: effective on sealed tile but risky on laminate, hardwood, and some vinyl, where heat and moisture can damage seams and finishes.
- Wax-based products: only appropriate for floors specifically designed for waxing; using wax on the wrong material creates a slippery or cloudy residue.
Never mix cleaning chemicals unless the product label confirms it is safe to do so. Bleach should never be combined with ammonia, vinegar, or other acidic cleaners, since this combination can release dangerous fumes.
Common Mistakes to Avoid
- Using too much water. Soaking the floor, especially wood or laminate, is one of the most common causes of long-term damage.
- Skipping the dry-sweep step. Mopping over loose grit can scratch the surface finish.
- Using the wrong cleaner for the material. A product safe for tile is not automatically safe for hardwood or stone.
- Letting spills sit. Grease and sugary spills harden and become harder to remove the longer they sit, particularly near the stove.
- Reusing dirty mop water. This just redistributes grime instead of removing it.
- Ignoring grout and seams. These areas trap moisture and grime and need occasional focused attention beyond a standard mop pass.
- Using steam mops on unsuitable flooring. Heat and moisture can warp or dull materials that are not designed for it.
Avoiding these mistakes protects both the appearance and the lifespan of the flooring, which matters since floor replacement is far more costly than routine maintenance.
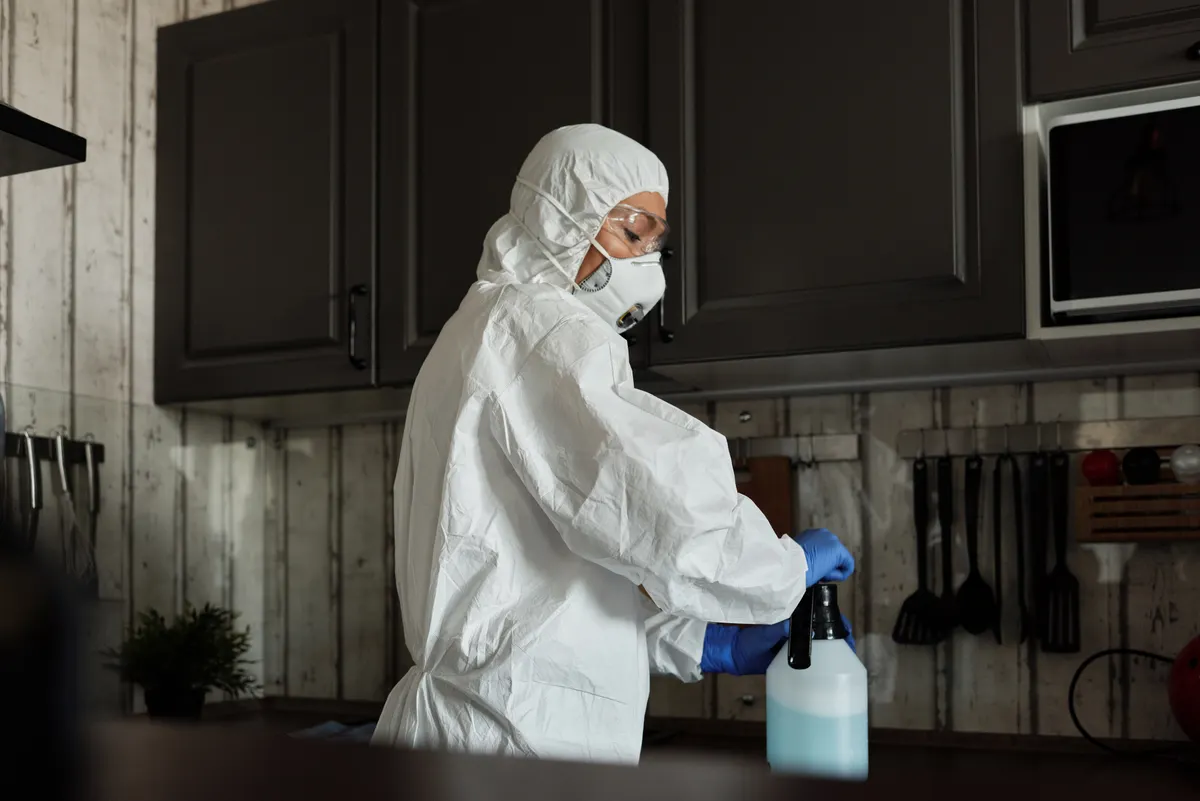
Photo Credit: Matilda Wormwood
Troubleshooting Common Kitchen Floor Problems
Sticky residue after mopping: Usually caused by using too much cleaner or not rinsing thoroughly. Try mopping again with plain warm water only, using a clean mop head, to lift the leftover residue.
Grease film near the stove: Standard floor cleaner sometimes isn't strong enough. A degreasing cleaner labeled safe for your flooring material, applied to a cloth and worked into the area, usually clears it. Rinse the spot afterward to prevent product buildup.
Dull or hazy grout lines: A baking soda paste applied with a soft brush, left for several minutes before scrubbing, often restores lighter grout without needing harsh chemicals. Stubborn grout stains may need deeper treatment; see the site's stain removal resources for grout-specific stain guidance.
Dark spots on hardwood or laminate: Often a sign of moisture getting into the seams or finish. Avoid further wet mopping in that area and let it dry fully. If the spot persists, it may indicate finish damage that needs professional assessment.
Preventing Kitchen Floor Buildup
- Place a mat at the kitchen entrance to reduce tracked-in dirt.
- Wipe up spills the moment they happen rather than waiting for the next mop session.
- Use a splatter guard when frying to reduce grease landing on the floor.
- Sweep daily, even briefly, to prevent grit from grinding into the finish underfoot.
- Reseal grout or natural stone periodically if your floor uses either, since a worn seal makes staining far more likely.
Small daily habits reduce how often a full deep clean is needed and keep the floor looking better for longer between mop sessions.
How Long a Full Kitchen Floor Clean Takes
For an average-sized kitchen, a routine weekly mop takes about 10 to 15 minutes once the floor is cleared and swept. A full deep clean, including grout scrubbing, baseboard edges, and grease removal near the stove, generally takes 30 to 45 minutes. Larger kitchens, heavily soiled floors, or grout-heavy tile layouts can push that time higher.
Kitchen Floor Cleaning Checklist for Beginners
If you are new to a consistent kitchen floor cleaning routine, this simple checklist covers the basics:
- Sweep or vacuum daily
- Wipe spills immediately
- Identify your floor material before choosing a cleaner
- Mop weekly with a cleaner suited to that material
- Dry the floor after mopping, especially wood and laminate
- Deep clean grout and grease-prone areas monthly
- Avoid mixing cleaning chemicals
- Test new products in a small, hidden area first
Following this order, sweep first, treat second, mop third, dry last, prevents most of the common damage that happens from rushing the process or using the wrong product.
Frequently Asked Questions
What is the best way to clean a kitchen floor? Sweep or vacuum to remove loose debris, spot-treat sticky or greasy areas, mop with a cleaner suited to your floor material, and dry the surface fully. This sequence works for nearly all common kitchen floor types.
How often should you clean a kitchen floor? Sweep daily, especially near cooking and eating areas, and mop weekly. Homes with pets, kids, or frequent cooking may need mopping two to three times a week.
What cleaning products are safe for a kitchen floor? It depends on the material. pH-neutral cleaners labeled for your specific flooring type are generally the safest choice across tile, vinyl, laminate, hardwood, and stone.
What should you avoid when cleaning a kitchen floor? Avoid excess water on wood and laminate, acidic cleaners on natural stone, abrasive scrubbing on softer finishes, and mixing bleach with ammonia or acidic products.
How can you clean a kitchen floor without damaging it? Identify the flooring material first, use a cleaner formulated for that material, avoid soaking the floor, and dry it promptly after mopping.
What common mistakes should you avoid with kitchen floor cleaning? The most frequent mistakes are using too much water, skipping the dry-sweep before mopping, using the wrong cleaner for the material, and letting spills sit until they harden.
Final Thoughts
A clean kitchen floor comes down to consistency and matching the method to the material. Daily sweeping and prompt spill cleanup prevent most buildup, while a weekly mop with the right cleaner keeps the surface looking fresh. When it is time for a deeper clean, working through grout lines, baseboards, and grease-prone spots near the stove closes the gap that routine mopping leaves behind. Read the full kitchen cleaning guide for more room-specific cleaning routines across the rest of the kitchen.
A quick safety note: Always check product labels and manufacturer flooring instructions before applying a new cleaner, especially on wood, stone, or older vinyl. Never mix bleach with ammonia, vinegar, or other acidic products, since this can produce hazardous fumes. Work in a well-ventilated space when using stronger degreasers or grout cleaners, and test any new product in a small, hidden area first. If a floor shows signs of serious damage, such as persistent warping, lifting seams, or deep staining, professional flooring assessment is the safer route.





Leave a Reply