
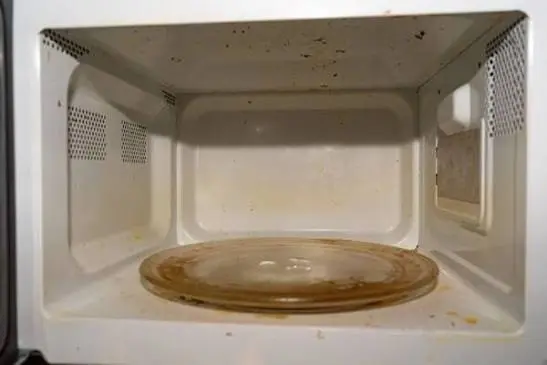
Bacon grease, tomato sauce, and anything reheated a little too long tend to leave the toughest marks inside a microwave. Unlike light food residue that wipes away easily, microwave grease splatters often bake onto the walls and ceiling with repeated heating cycles, turning into a stubborn film that plain wiping won't fully remove.
This guide covers how to safely break down grease buildup at different stages, from light daily splatter to heavier baked-on residue, without scratching the interior coating. It's part of the Microwave Cleaning Guide, which covers other microwave care topics including general maintenance and odor control.
How to Remove Grease and Splatters from a Microwave Interior (Quick Answer)
For most microwave interiors, this approach works well:
- Heat a bowl of water (with vinegar or lemon, if available) to create steam and loosen the grease.
- Let the steam sit for several minutes with the door closed.
- Wipe down the walls and ceiling with a soft cloth, working from top to bottom.
- For remaining spots, apply a baking soda paste and wipe again with a damp cloth.
Steam does most of the heavy lifting here, since it softens grease that's already dried onto the interior surface. Trying to scrub dried grease without softening it first usually takes far more effort and risks scratching the coating.
Why Microwave Grease Is Different from Other Kitchen Grease
Grease that splatters inside a microwave behaves differently than grease on a stovetop or in an oven, mainly because of how it gets there. Microwaves heat food unevenly in some spots, which can cause fat to splatter suddenly rather than drip slowly the way it might in an oven. This means grease often ends up flung onto the ceiling and upper walls, areas that are awkward to reach and easy to overlook during a quick wipe-down.
Repeated heating cycles also bake that splatter onto the interior surface a little more each time, since the microwave interior gets warm with every use. This is part of why grease that isn't addressed quickly becomes progressively harder to remove.
What You'll Need
Most of what's needed is already in the kitchen:
- A microwave-safe bowl
- Water
- White vinegar or lemon (optional, but helpful for loosening grease)
- Baking soda
- A soft microfiber cloth or sponge
- A soft-bristle brush or old toothbrush for corners and vents
- Oven mitts or a folded towel for handling the hot bowl
Avoid steel wool, abrasive scouring pads, or anything with a rough texture. Most microwave interiors have a coated surface, and scratching that coating not only looks bad but can make future grease stick more stubbornly in that spot.
Step-by-Step: Loosening Grease with Steam
- Fill a microwave-safe bowl with about one cup of water. Adding two tablespoons of white vinegar or a few lemon slices helps cut through grease more effectively than plain water alone.
- Microwave on high for 3 to 5 minutes, until the door window fogs with steam.
- Leave the door closed for another 5 minutes after the microwave stops, giving the steam time to soften baked-on grease on the walls and ceiling.
- Remove the bowl carefully using oven mitts, since it will be hot, and open the door slowly to let remaining steam escape gradually.
- Wipe down the interior starting from the ceiling, since grease tends to collect there from splatter flying upward, then work down the side walls.
This steaming step softens most splatter enough that it lifts away with a soft cloth, and it's worth doing before reaching for anything stronger like a baking soda paste.
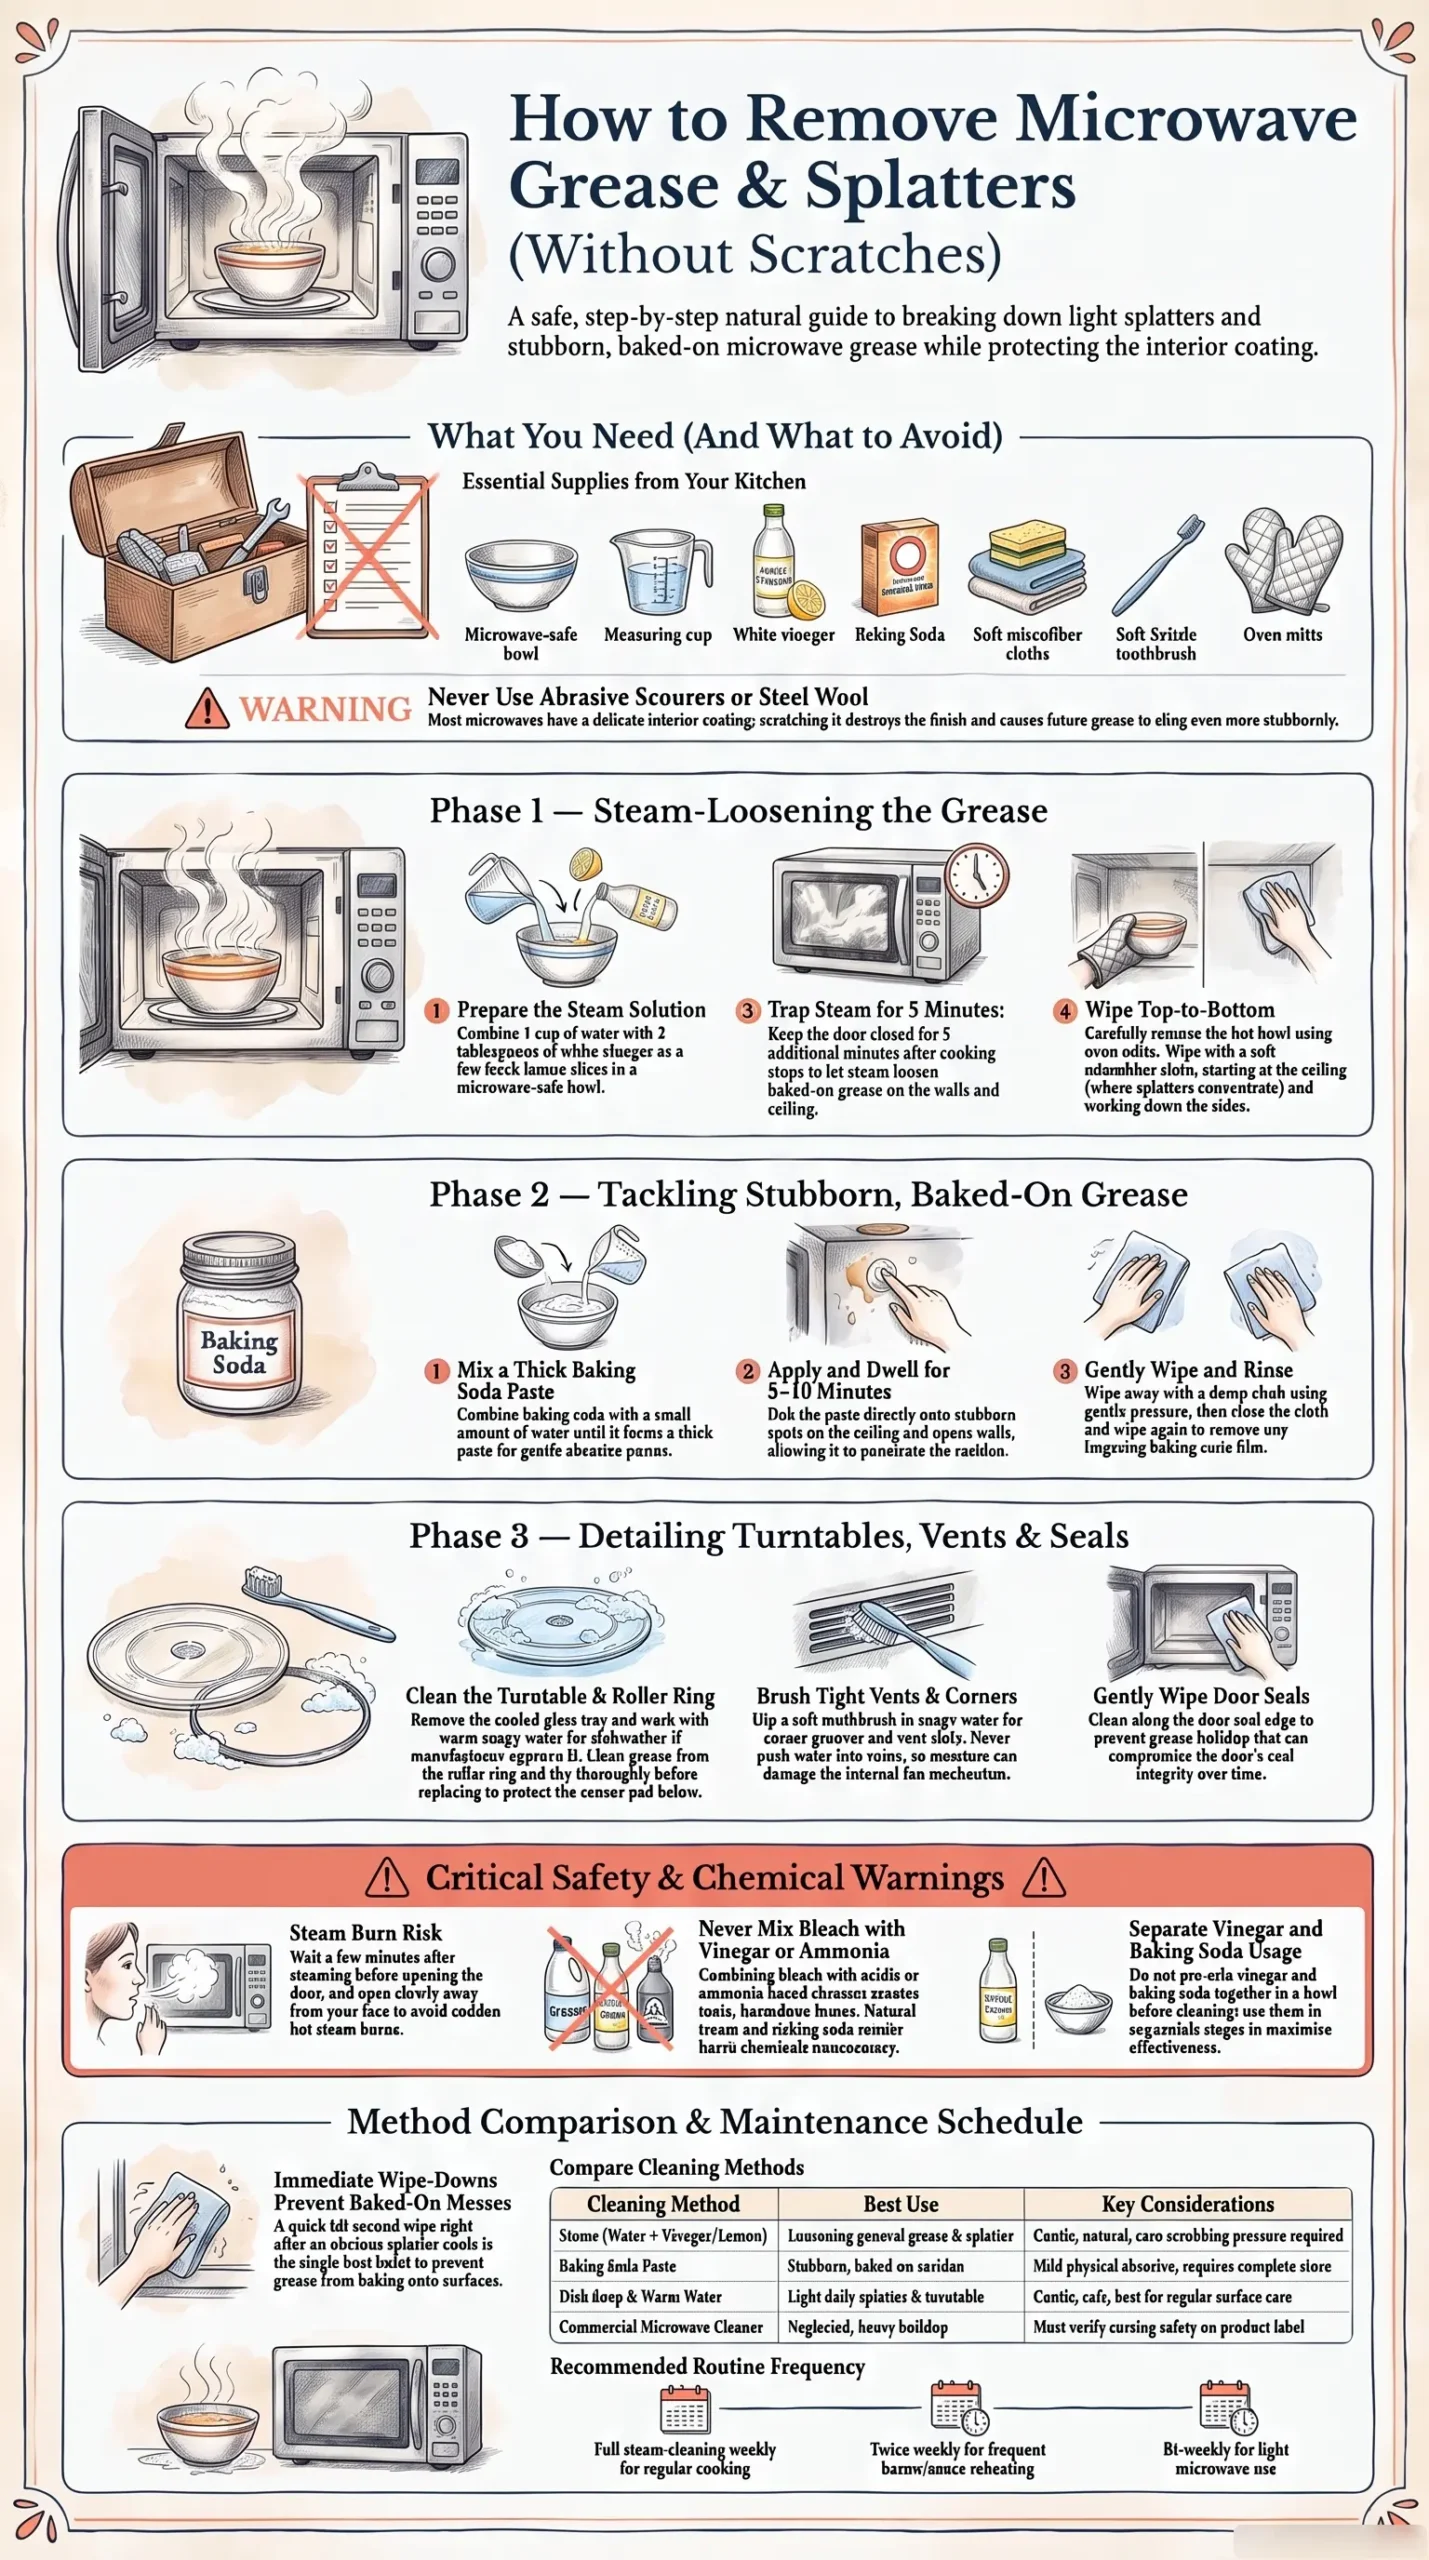
Photo Credit: Hobby Guidebook Editorial
Step-by-Step: Tackling Stubborn, Baked-On Grease
For grease that doesn't fully lift after steaming, a baking soda paste adds a bit of gentle abrasive power without risking the interior coating.
- Mix baking soda with a small amount of water until it forms a thick paste.
- Apply the paste directly to the greasy spots, focusing on the ceiling and upper walls where splatter tends to concentrate.
- Let it sit for 5 to 10 minutes, giving the baking soda time to work into the residue.
- Wipe with a damp cloth, using gentle pressure rather than hard scrubbing. Most residue should lift at this point.
- Rinse the cloth and wipe again to remove any leftover baking soda film.
Vinegar and baking soda can both be part of the same overall cleaning session, applied at different stages, but they shouldn't be mixed together directly in a container beforehand, since the reaction fizzes and works better used one after the other. Neither should ever be combined with bleach or ammonia-based cleaners, and there's no reason to introduce either of those into this process, since the natural steam and baking soda combination handles grease effectively on its own.
Don't Forget the Turntable and Tray
Grease splatter doesn't stay confined to the walls and ceiling. It often lands on the turntable and tray as well, especially directly under whatever's being heated, and this piece is easy to overlook during a quick interior wipe-down.
- Remove the turntable once the microwave has cooled.
- Wash it in warm, soapy water, either by hand or in the dishwasher if the manufacturer confirms it's dishwasher-safe.
- Check the roller ring underneath for grease buildup too, since grime here can transfer back onto the tray during use.
- Dry everything completely before placing it back inside, since leftover moisture on the sensor pad underneath can occasionally cause issues.
For more detailed guidance on this specific piece, including how to handle stuck-on residue that's specific to the turntable's shape and material, our guide on Microwave Turntable & Tray Cleaning covers that process step by step.
Cleaning Corners, Vents, and Hard-to-Reach Spots
Grease often collects in places a cloth can't easily reach, particularly around the vent openings on the side or back wall and in tight corners near the door seal.
- Use a soft-bristle brush or old toothbrush dipped in warm, soapy water to work into corners and vent grooves.
- Avoid pushing hard into the vent openings, since these connect to the microwave's internal fan and shouldn't have moisture forced into them.
- Wipe the door seal gently, since grease and moisture can collect along this edge and, if left too long, may affect how well the door seals over time.
These areas don't need attention every cleaning session, but checking them every few weeks prevents grease from building up unnoticed in spots that are easy to skip during a quick wipe-down.
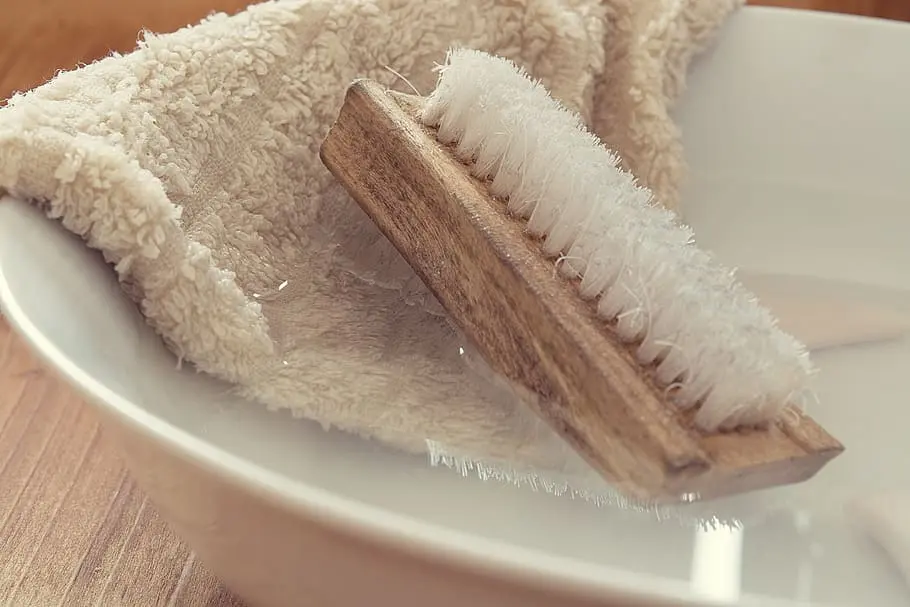
Photo Credit: Internet
What to Avoid When Removing Grease and Splatters
- Scrubbing dried grease without steaming or softening it first. This takes far more effort and risks scratching the interior coating.
- Using steel wool, metal scouring pads, or anything abrasive. These can permanently damage the coated interior surface.
- Pushing water or cleaning solution into the vent openings. This can interfere with the internal fan mechanism.
- Combining bleach with vinegar or ammonia-based cleaners. This produces hazardous fumes and should never be done under any circumstance.
- Waiting too long between cleanings. The longer grease sits and bakes on with repeated heating, the more effort it takes to remove later.
- Opening the microwave door immediately after steaming. Built-up steam releases quickly and can cause a minor burn if you're too close to the opening.
Commercial Cleaner vs. Natural Method
|
Method |
Best Use |
Considerations |
|
Steam (water, vinegar, or lemon) |
Loosening most grease and splatter |
Gentle, natural, needs no scrubbing pressure |
|
Baking soda paste |
Stubborn, baked-on spots |
Mild abrasive; rinse fully to avoid residue |
|
Commercial microwave cleaner |
Heavy grease buildup, convenience |
Follow label directions; confirm safe for interior coating |
|
Dish soap and warm water |
Light daily splatter |
Gentle and safe for regular use |
For most households, steaming followed by a baking soda paste handles grease buildup without needing anything stronger. Commercial microwave cleaners can help with heavier buildup that's been neglected for a while, but always check the label to confirm the product is safe for your microwave's specific interior coating, since some general degreasers are too harsh for coated surfaces.
Don't Neglect the Outside While You're At It
While the interior is where grease does the most damage, it's worth checking the exterior and keypad at the same time, since fingerprints and light grease film build up on these surfaces on a fairly similar schedule. The keypad in particular deserves a gentler touch than the interior walls, since moisture near buttons or a digital display carries its own risks. Our guide on Microwave Exterior & Keypad Cleaning covers safe methods for those surfaces, including how to handle a touch panel without letting liquid seep behind it.
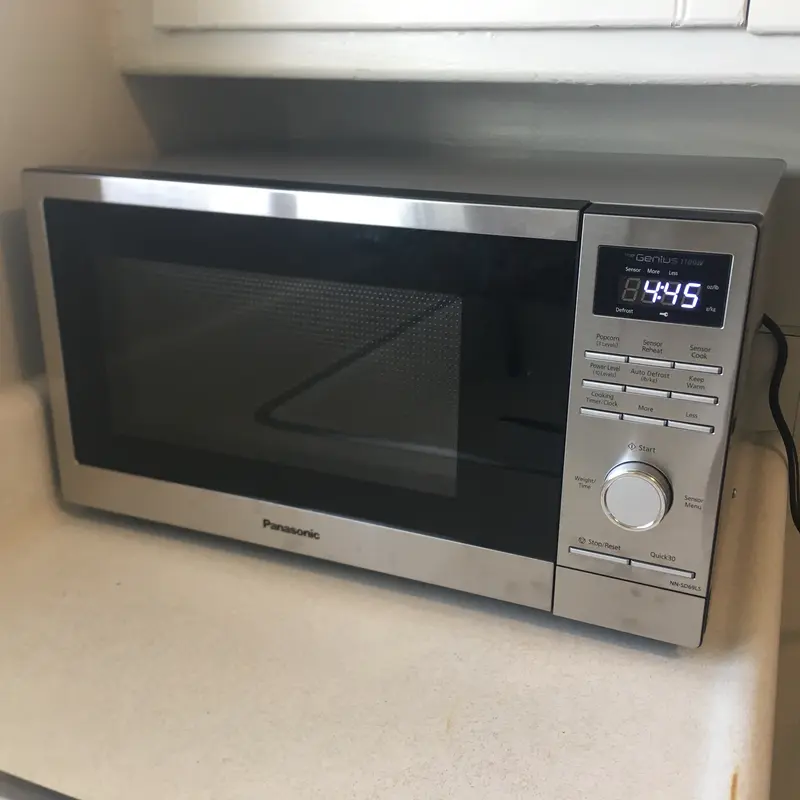
Photo Credit: Internet
How Often Should You Clean Microwave Grease and Splatters
A quick wipe after any obvious splatter, right after the microwave cools, prevents most grease from ever reaching the baked-on stage. This takes less than a minute and is the single best habit for keeping the interior manageable.
A full steam-and-wipe session works well once a week for most households, especially if the microwave gets daily use for reheating meals with sauces or fats. Kitchens that cook heavily with bacon, sauces, or other splatter-prone foods may find twice a week keeps buildup from settling in. Lighter use can often stretch this to every two weeks without noticeable grease accumulation.
FAQ
How do you remove grease and splatters from a microwave interior? Heat a bowl of water with vinegar or lemon to create steam, let it sit for several minutes to loosen the grease, then wipe from the ceiling down. Use a baking soda paste on any spots that don't fully lift.
How often should you clean grease and splatters from a microwave interior? Wipe up obvious splatter right away, and do a full steam-cleaning session once a week for most households, more often for heavy cooking with sauces or fats.
What cleaning products are safe for grease and splatters from a microwave interior? Water, white vinegar, lemon, baking soda, and mild dish soap are all safe choices. Commercial microwave cleaners work too, as long as the label confirms they're safe for your interior coating.
What should you avoid when cleaning grease and splatters from a microwave interior? Avoid steel wool or abrasive pads, pushing moisture into vent openings, and combining bleach with vinegar or ammonia-based cleaners.
How can you clean microwave grease and splatters without damaging the interior? Soften grease with steam before wiping, use a soft cloth or brush rather than anything abrasive, and rinse away baking soda residue fully after use.
For more appliance care throughout the kitchen, return to the complete kitchen cleaning guide for additional routines and schedules.
A quick safety note: let steam settle for a few minutes before opening the microwave door, and use oven mitts when removing the hot bowl to avoid burns. Stick to microwave-safe bowls, avoid forcing moisture into vent openings, and never combine bleach with vinegar or ammonia-based cleaners.





Leave a Reply