
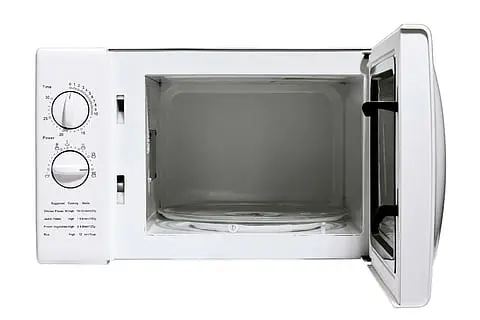
The glass turntable is the part of the microwave that touches food most directly, which also makes it the part that collects the most spills, splatters, and dried-on residue. A soup that bubbles over, a sauce that splatters mid-spin, or a plate that wasn't quite covered all end up leaving their mark on this one removable tray. Microwave turntable cleaning is a simple task, but it's worth doing properly, since a sticky or stained tray can affect how evenly food heats and tends to hold onto odors more than people expect. This guide is part of the Microwave Cleaning Guide, and it covers the full cleaning process, safe products, and a few habits that keep the glass from clouding or scratching over time.
The Best Way to Clean a Microwave Turntable and Tray
Remove the turntable and its supporting ring, then wash both in warm water with a few drops of dish soap, using a soft sponge to work through any dried spills. For stuck-on food, let the tray soak in the warm soapy water for 10 to 15 minutes before scrubbing again. Rinse thoroughly, dry with a soft cloth, and let the turntable ring air dry fully before setting it back in the microwave, since trapped moisture underneath can encourage grime to build up faster next time.
That's the routine version. The sections below walk through the process step by step, cover the turntable ring specifically, and explain which products are safe on glass versus the plastic ring underneath.
Understanding the Turntable and Tray Setup
Most microwaves use two separate parts working together: the glass turntable itself, and a plastic support ring that sits underneath it and allows it to spin. Some models pair the glass tray with a plastic roller ring, while others use a simpler support structure, but the basic idea is the same across most designs. Knowing that these are two separate pieces, often made of different materials, matters because glass and plastic don't always respond the same way to heat, soap, or scrubbing.
The glass turntable is generally dishwasher safe on most models, though checking your microwave's manual is worth doing before assuming this, since a few manufacturers advise against it. The plastic ring, by contrast, is more often meant for hand washing only, since dishwasher heat can warp or discolor plastic components over repeated cycles. If you're unsure which parts of your microwave can go in the dishwasher, hand washing both pieces is the safer default until you've confirmed otherwise.
Step-by-Step Cleaning Process
- Unplug the microwave or make sure it's switched off before removing any parts, as a simple safety habit.
- Lift out the glass turntable and the plastic support ring from inside the microwave. Most lift out easily without needing to be pried loose.
- Wash both pieces in warm water with a few drops of mild dish soap, using a soft sponge or cloth to wipe away light residue.
- For dried or stuck-on spills, let the pieces soak in the warm soapy water for 10 to 15 minutes before going back over them with the sponge.
- Rinse both pieces thoroughly under running water to remove all soap residue.
- Dry the glass turntable with a soft cloth, checking that no streaks remain, particularly if you plan to use it again right away.
- Let the plastic support ring air dry completely before placing it back, since any trapped moisture underneath the ring can contribute to grime building up again more quickly.
- Reassemble the ring and turntable, making sure the turntable sits flat and spins freely before closing the microwave door.
This process usually takes about 15 to 20 minutes, most of that being soak time for anything stubborn.
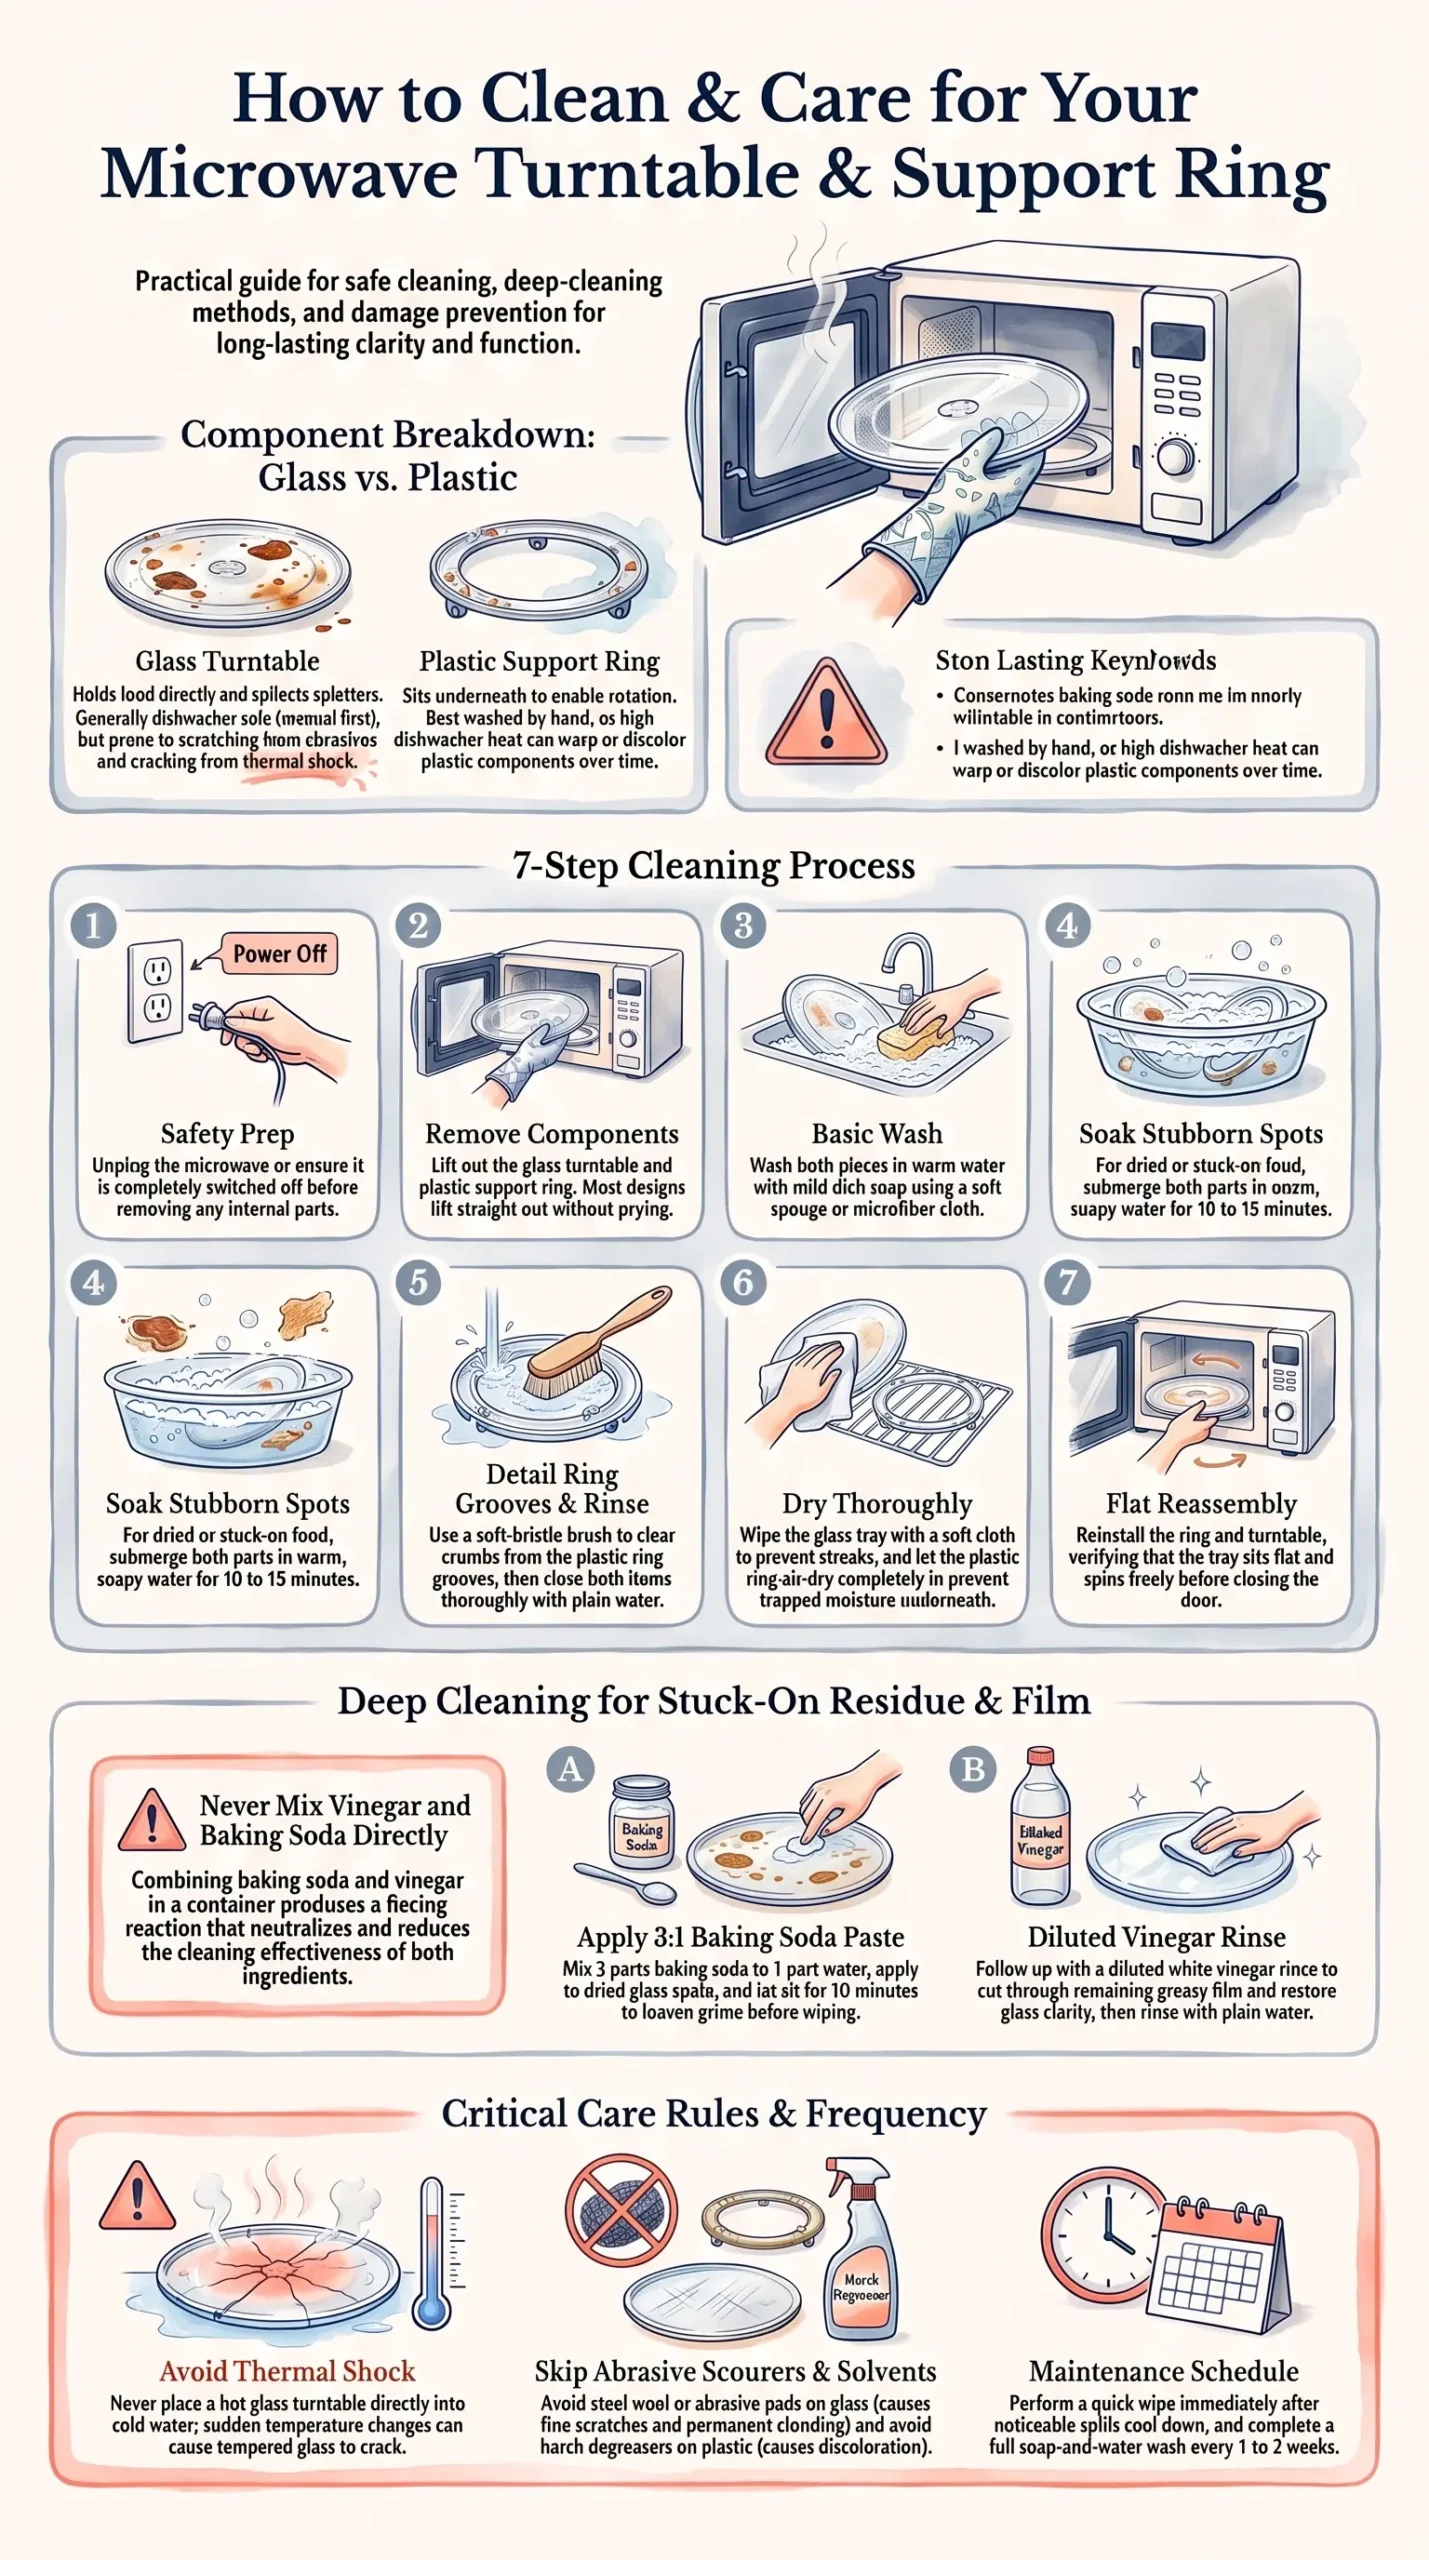
Photo Credit: Hobby Guidebook Editorial
Vinegar and Baking Soda for Microwave Turntable and Tray
Baking soda and vinegar both work well on a microwave turntable, though they're more effective used as separate steps rather than combined directly. For dried, stuck-on spots, a baking soda paste (roughly three parts baking soda to one part water) spread over the area and left for 10 minutes helps loosen residue before wiping it away. A diluted vinegar rinse afterward can help cut through any remaining greasy film, particularly useful if the tray has picked up a slightly cloudy look from repeated food splatter. Apply these as two separate steps, since mixing baking soda and vinegar together in a container creates a fizzing reaction that reduces the cleaning effectiveness of both. Rinse thoroughly with plain water after either step to remove all residue before drying.
This approach works well on the glass turntable itself. The plastic ring generally does fine with plain soap and water, and doesn't usually need the vinegar step unless it's picked up a noticeable odor or greasy film of its own.
What Cleaning Products Are Safe for Microwave Turntables and Trays?
A short list of products handles nearly everything this task requires.
- Warm water and mild dish soap: the standard choice for both the glass turntable and plastic ring
- Baking soda and water: effective for loosening dried, stuck-on food without scratching the glass
- Diluted white vinegar: useful as a follow-up rinse for cutting through greasy film, applied separately from baking soda
- A soft sponge or microfiber cloth: gentle enough for both glass and plastic without leaving scratches
Avoid abrasive scouring pads or steel wool on the glass turntable, since these can create fine scratches that become more visible over time and slightly cloud the glass's clarity. Avoid harsh solvents or strong degreasers on the plastic ring, since some can affect plastic finishes or cause discoloration. Never mix bleach with vinegar or ammonia-based products, since this produces hazardous fumes regardless of where in the kitchen it happens.
Tools Needed for Microwave Turntable and Tray Cleaning
This is a low-effort task in terms of equipment, and most households already have what's needed.
- A soft sponge or microfiber cloth: for washing and drying both the turntable and ring
- A basin or the kitchen sink: for soaking the pieces in warm soapy water
- A soft-bristle brush: helpful for reaching into the grooves of the plastic ring where crumbs and residue tend to collect
- A dry towel: for a final wipe-down before reassembling everything
No specialty tools or commercial products are necessary for routine cleaning, which makes this one of the more straightforward tasks in overall microwave care.
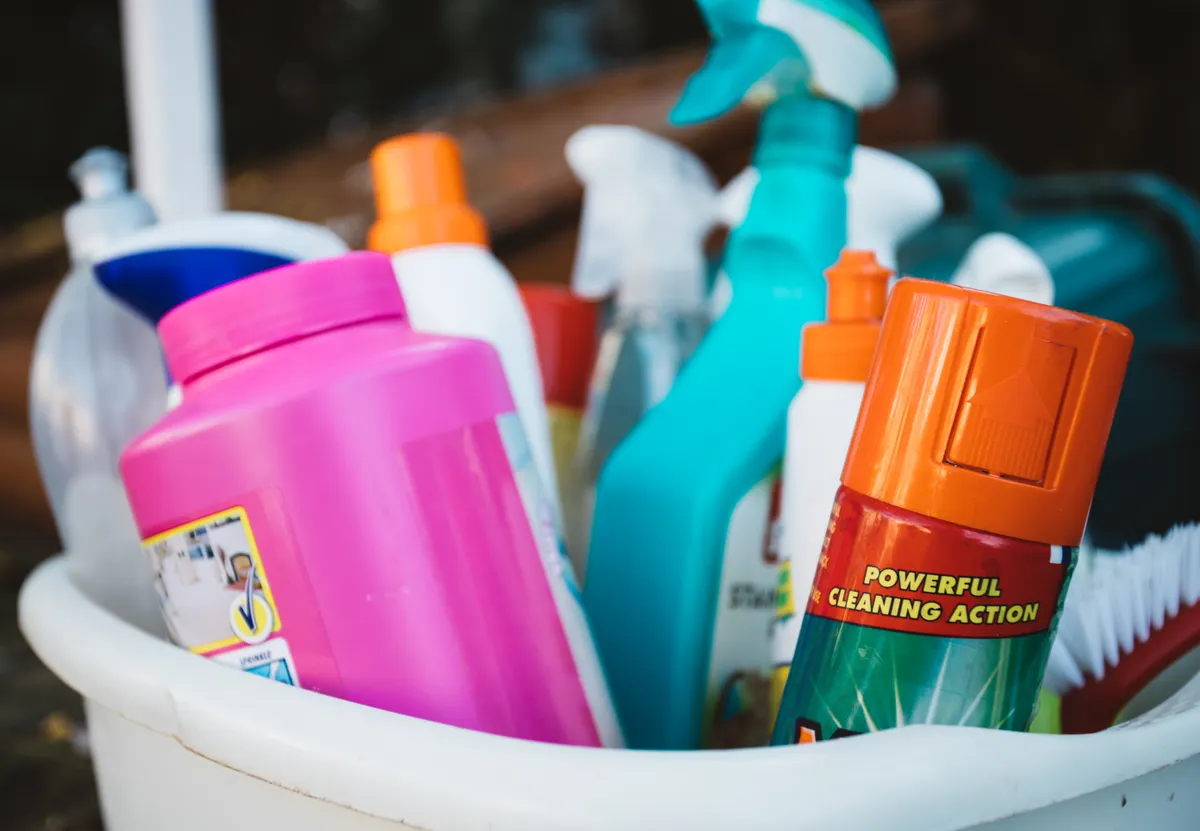
Photo Credit: Ellie Burgin
Cleaning the Turntable Without Scratching or Clouding the Glass
A few simple habits protect the glass turntable's clarity over the long run.
- Avoid metal scouring pads or anything abrasive, since these leave fine scratches that catch light and make the glass look duller over time
- Let dried food soak rather than scraping it off with a hard edge, since scraping increases the risk of small scratches
- Wipe with a soft cloth using light, even pressure rather than pressing hard in one spot
- Avoid placing the hot glass turntable directly into cold water, since a sudden temperature change can occasionally cause glass to crack, particularly if the tray has just come out of a long microwave cycle
- Check that the plastic ring sits correctly before running the microwave again, since a warped or improperly seated ring can cause the turntable to wobble or make noise during use
If the glass has already developed cloudiness that doesn't clear with cleaning, this is usually a sign of long-term wear on the glass surface itself rather than something a stronger cleaning method will fix.
How Often Should You Clean a Microwave Turntable and Tray?
A quick wipe after any noticeable spill, once the tray has cooled enough to handle safely, keeps buildup from setting in. A full wash with soap and water works well every one to two weeks for most households, or more often for kitchens that use the microwave heavily for daily meals. Checking the turntable and ring during each general microwave cleaning session helps catch any dried residue before it becomes harder to remove.
Professional Cost to Clean a Microwave Turntable and Tray
This is a task nearly every household handles on their own, since it requires no special equipment and takes only a few minutes beyond soak time. Professional appliance cleaning services generally don't offer this as a standalone task, though it's sometimes included as part of a broader kitchen deep-cleaning service. Pricing for those broader services varies by region and provider, so a direct quote from a local cleaning service is the most reliable way to get an accurate number if you're considering hiring help for a full kitchen clean rather than just this one component.
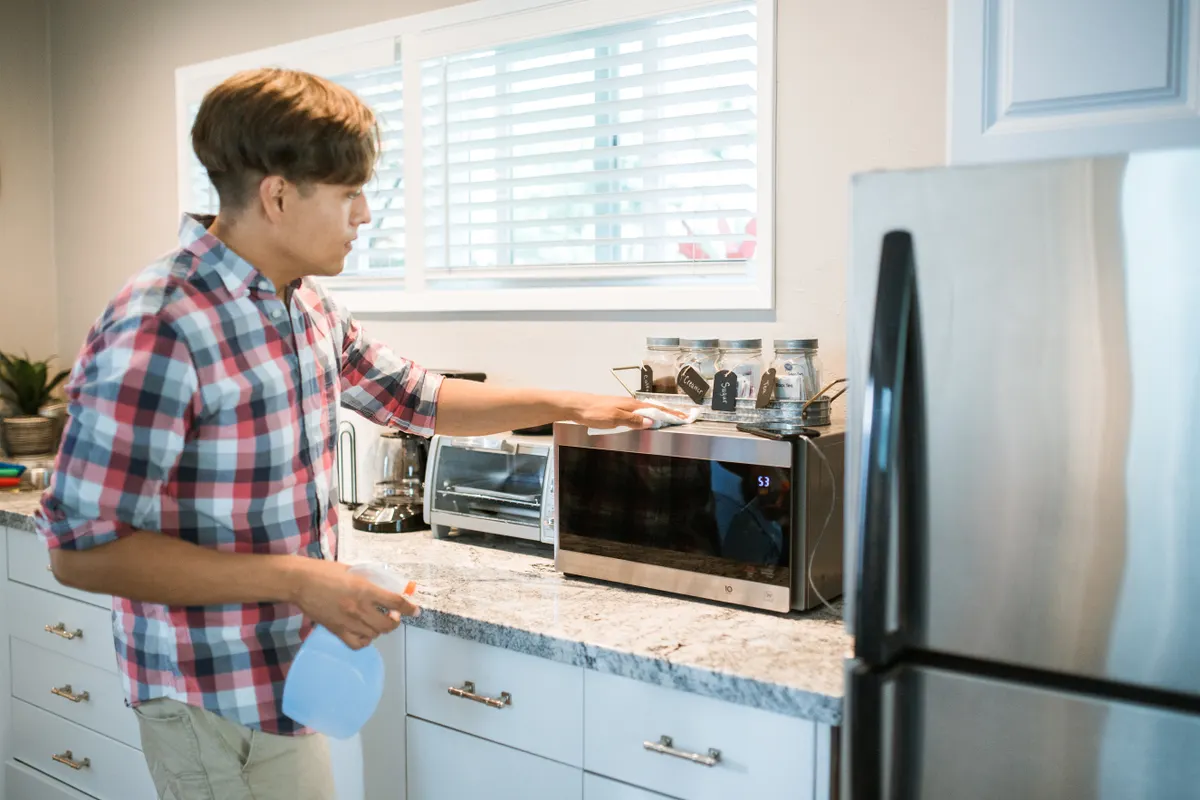
Photo Credit: RDNE Stock project
Cleaning the Rest of the Microwave
The turntable and tray are only one part of keeping a microwave in good shape. The exterior surface, keypad, and door handle collect their own buildup of fingerprints and grease, and cleaning them well calls for a slightly different approach, especially around buttons and digital displays. The Microwave Exterior & Keypad Cleaning guide covers that process in more detail.
If your microwave has developed a lingering smell, whether from a forgotten leftover or a strong-smelling dish that splattered inside, cleaning the turntable alone usually isn't enough to fully clear it. The Removing Odors from a Microwave guide walks through a more targeted approach for that specific issue, including which ingredients work best and how long to let them sit.
Frequently Asked Questions
What is the best way to clean a microwave turntable and tray? Remove the glass turntable and plastic ring, wash both in warm soapy water, soak stubborn spots for 10 to 15 minutes, then rinse and dry thoroughly before reassembling.
How often should you clean a microwave turntable and tray? Wipe after noticeable spills, and do a full wash every one to two weeks, more often for households that use the microwave daily.
What cleaning products are safe for a microwave turntable and tray? Warm water and mild dish soap, baking soda and water, and diluted white vinegar used as a separate rinse step. Avoid abrasive pads on the glass and harsh solvents on the plastic ring.
What should you avoid when cleaning a microwave turntable and tray? Avoid steel wool or scouring pads on the glass, harsh degreasers on the plastic ring, and placing a very hot turntable directly into cold water.
How can you clean a microwave turntable and tray without damaging them? Use a soft sponge or cloth, let soaking do the work on dried spots rather than scraping, and let the plastic ring dry completely before placing it back to avoid trapped moisture.
For more on keeping the rest of your kitchen clean, read the full kitchen cleaning guide.





Leave a Reply