
A kettle that takes longer to boil, tastes slightly off, or has a white crust forming near the heating element isn't wearing out. It's just collecting limescale, the natural byproduct of boiling water that contains dissolved minerals. Electric kettle descaling is a simple task that takes about half an hour from start to finish, and it makes a noticeable difference in both how the kettle performs and how your tea or coffee tastes.
This guide covers how to descale safely, which products work best, and how often this task should fit into your routine. It's part of the Small Kitchen Appliance Cleaning Guide, which covers care for other everyday kitchen appliances beyond the kettle.
The Best Way to Descale an Electric Kettle (Quick Answer)
For most electric kettles, this approach works well:
- Fill the kettle with a mix of equal parts white vinegar and water, or use a store-bought descaling solution.
- Let it sit for 15 to 30 minutes without heating, or bring it to a boil if the buildup is heavier.
- Empty the solution and rinse the interior thoroughly several times with clean water.
- Wipe the interior with a soft cloth to clear any remaining loose flakes of limescale.
Limescale builds up from minerals naturally present in tap water, so how often descaling is needed depends heavily on local water hardness rather than how often the kettle gets used.
What Limescale Is and Why It Builds Up
Limescale is a chalky, white mineral deposit that forms when water containing calcium and magnesium is heated repeatedly in the same spot. As water boils and evaporates, these minerals get left behind on the kettle's interior surfaces, particularly around the heating element where water is hottest.
Homes with hard water see this buildup form noticeably faster than homes with soft water, since hard water simply contains more of these minerals to begin with. Over time, limescale can affect how efficiently the kettle heats water, and in some cases, it can flake off into your cup during pouring.
What You'll Need
Most of what's needed is already in the kitchen:
- White vinegar
- Water
- A store-bought kettle descaling solution (optional, as an alternative to vinegar)
- A soft cloth or sponge
- A soft-bristle brush for the spout, if needed
Avoid anything abrasive, including steel wool, scouring pads, or stiff brushes. Most kettle interiors, whether plastic, stainless steel, or glass, scratch more easily than expected, and a scratched surface can actually give future limescale more texture to grip onto.
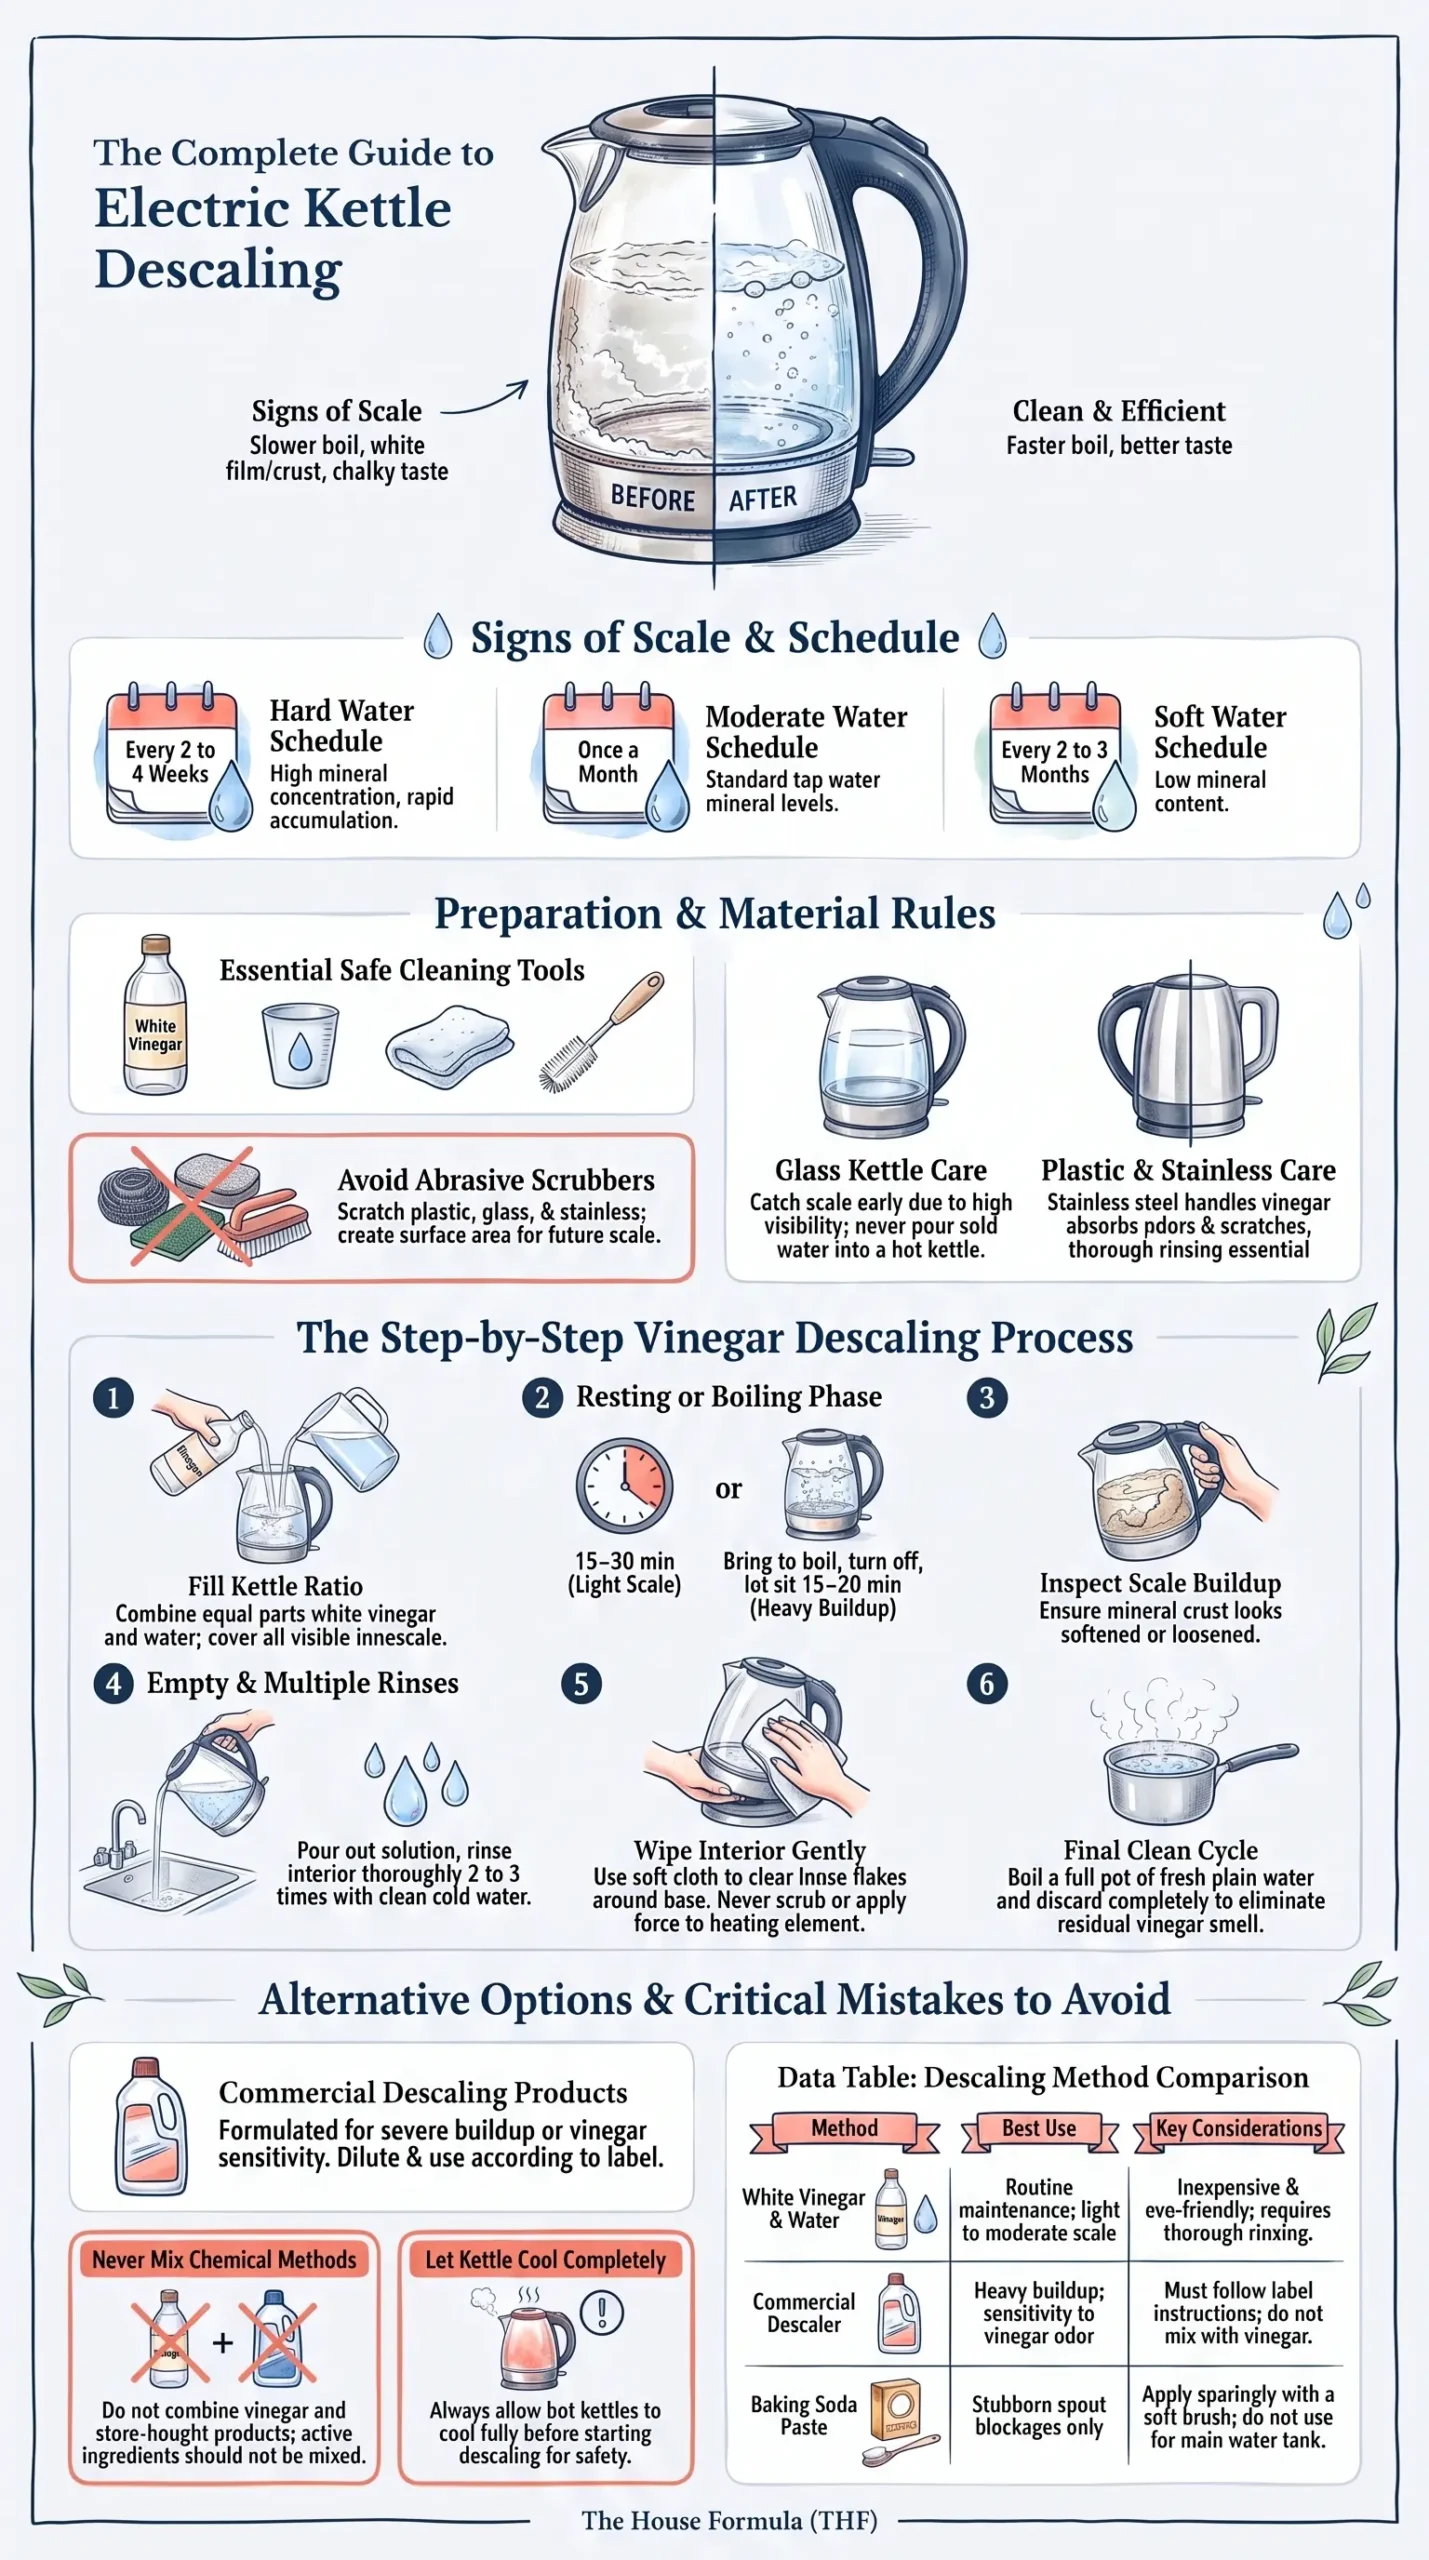
Photo Credit: Hobby Guidebook Editorial
Step-by-Step: Descaling with Vinegar
- Empty the kettle completely and fill it with a mixture of equal parts white vinegar and water, enough to cover the visible limescale buildup.
- Let the solution sit for 15 to 30 minutes without heating if the buildup is light. For heavier limescale, bring the mixture to a boil, then turn off the kettle and let it sit for another 15 to 20 minutes.
- Check the interior after the resting period. Light buildup should look visibly softened or already starting to loosen from the surface.
- Empty the vinegar solution down the drain and rinse the kettle thoroughly with clean water, at least two or three times, to clear any lingering vinegar smell or taste.
- Wipe the interior with a soft cloth, working gently around the heating element and base to clear any remaining loose flakes.
- Boil a final round of plain water and discard it before using the kettle normally again, which helps clear any last trace of vinegar.
Vinegar's acidity is what breaks down the mineral deposits, and it's a reliable, inexpensive option that most households already have on hand.
Using a Commercial Descaling Product
Store-bought descaling solutions are formulated specifically to dissolve mineral buildup and are worth considering for kettles with heavier limescale or for anyone who prefers not to use vinegar due to its smell.
- Follow the manufacturer's instructions on the product label, since concentration and recommended contact time vary between brands.
- Fill the kettle with the diluted solution as directed, then let it sit or boil according to the instructions provided.
- Rinse thoroughly with several changes of clean water afterward, since descaling products are generally not meant to be ingested even in trace amounts.
- Boil a round of plain water and discard it before making tea or coffee, similar to the vinegar method.
Whichever method you choose, stick to one at a time. Vinegar and commercial descaling solutions shouldn't be combined together in the same session, since manufacturers formulate these products with their own specific active ingredients, and mixing unknown chemical combinations isn't worth the risk for a task vinegar alone handles perfectly well in most cases.
Descaling Without Damaging the Kettle
Different kettle materials call for slightly different care, and knowing which one you have helps avoid unnecessary damage.
- Stainless steel interiors tolerate vinegar well and are fairly resistant to scratching, though abrasive scrubbers should still be avoided.
- Plastic interiors are more prone to scratching and can also absorb odors more easily, so thorough rinsing after descaling matters even more here.
- Glass kettles show buildup more visibly, which makes it easier to catch limescale early, but the glass itself can be prone to thermal shock, so avoid pouring cold water into a kettle that's still hot from a recent boil.
Regardless of material, never scrub directly at the heating element with a brush or abrasive pad. This component is delicate, and applying force to it can damage the kettle's ability to heat properly. Let the vinegar or descaling solution do the work of loosening buildup here, rather than physically scraping at it.
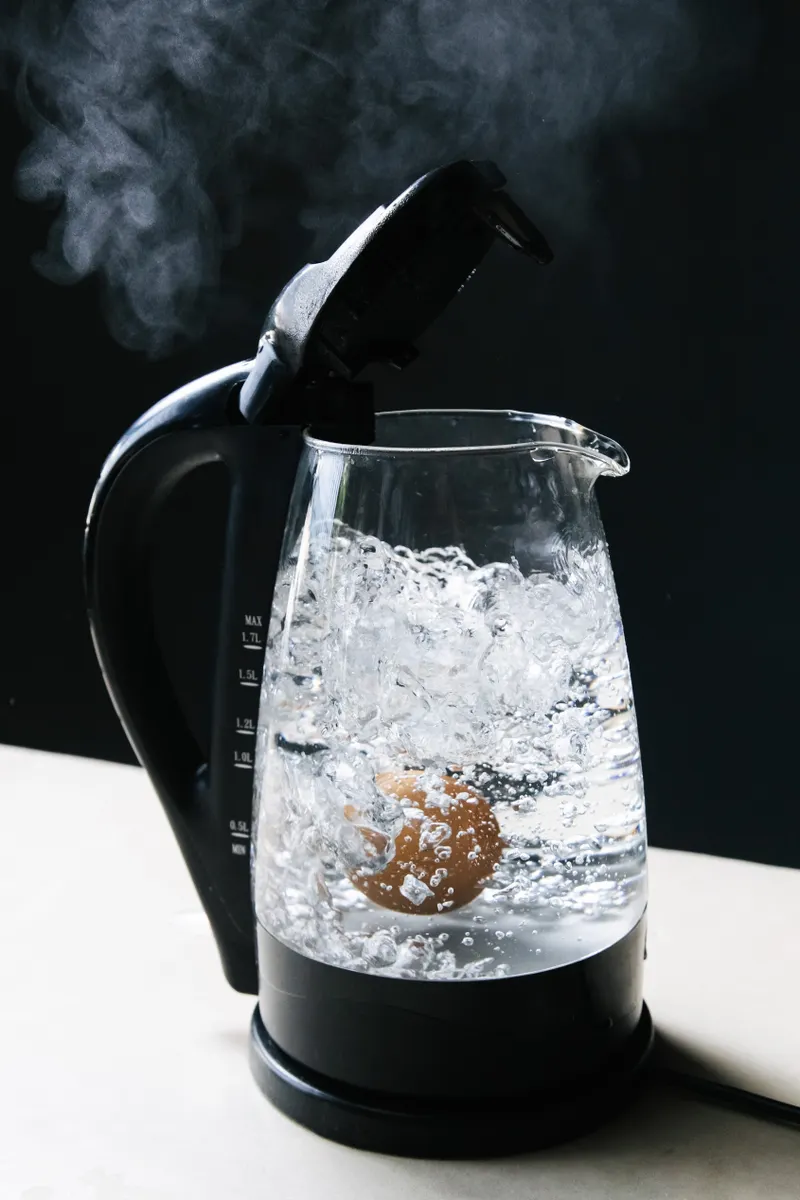
Photo Credit: Ron Lach
What to Avoid When Descaling
- Using abrasive scrubbers or steel wool. These can scratch the interior surface, which may actually encourage faster limescale buildup in the future.
- Combining vinegar with a commercial descaling product. Stick to one method per session rather than mixing chemical approaches.
- Skipping the final rinse cycles. Leftover vinegar or descaling solution can affect the taste of your next few cups if not rinsed out thoroughly.
- Scrubbing directly at the heating element. Let the solution loosen buildup instead of applying physical force to this delicate component.
- Descaling a kettle that's still hot. Let it cool fully first, both for safety and to avoid thermal stress on glass models in particular.
Comparing Descaling Methods
|
Method |
Best Use |
Considerations |
|
White vinegar and water |
Regular maintenance, light to moderate buildup |
Inexpensive and eco-friendly; requires thorough rinsing |
|
Commercial descaling solution |
Heavier buildup, stronger odor sensitivity to vinegar |
Follow label instructions; don't combine with vinegar |
|
Baking soda paste (spout only) |
Stubborn spout blockages |
Use sparingly with a soft brush, not for the main tank |
For most households, a vinegar and water solution handles routine descaling well, with a commercial product as a reasonable alternative for anyone who prefers not to deal with the vinegar smell.
How Often Should You Descale an Electric Kettle
How often descaling is needed depends mostly on local water hardness rather than how many times a day the kettle gets used. As a general guide:
- Hard water areas may need descaling every 2 to 4 weeks to keep buildup from becoming heavy.
- Moderate water hardness typically calls for descaling around once a month.
- Soft water areas can often go 2 to 3 months between descaling sessions without much visible buildup.
A visible white film on the interior, a slower boil time than usual, or a slightly chalky taste in your tea or coffee are all reliable signs it's time to descale, regardless of how recently the last session happened. If you're not sure about your local water hardness, checking with your municipal water provider or a home test kit can help set a more accurate schedule.
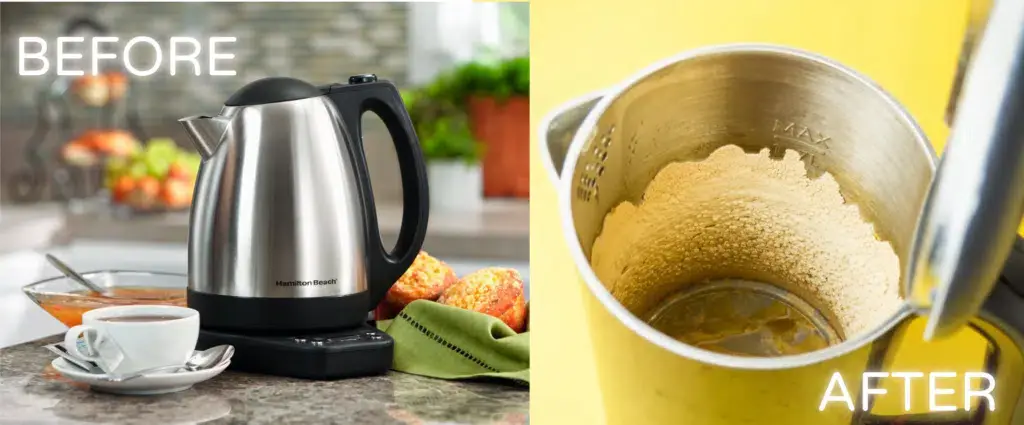
Photo Credit: Internet
Caring for Other Small Appliances
Keeping small appliances clean is a routine that extends beyond the kettle. A toaster or toaster oven collects crumbs and grease in ways that call for a different cleaning approach entirely, and our guide on Toaster & Toaster Oven Cleaning covers that process in detail.
Blenders face their own set of challenges, particularly around the blade assembly and gasket seal, where food residue can get trapped in spots that aren't always obvious. Our Blender Cleaning guide walks through safely disassembling and cleaning these parts without damaging the motor base or blade mechanism.
FAQ
What is the best way to clean electric kettle descaling? Fill the kettle with equal parts white vinegar and water, let it sit for 15 to 30 minutes (or boil for heavier buildup), then rinse thoroughly several times with clean water.
How often should you clean electric kettle descaling? Every 2 to 4 weeks in hard water areas, about once a month for moderate water hardness, and every 2 to 3 months in soft water areas.
What cleaning products are safe for electric kettle descaling? White vinegar and water, or a commercial kettle descaling solution used according to the label. Avoid combining the two in the same session.
What should you avoid when cleaning electric kettle descaling? Avoid abrasive scrubbers, scrubbing directly at the heating element, skipping the final rinse, and descaling the kettle while it's still hot.
How can you clean electric kettle descaling without damaging it? Use vinegar or a proper descaling solution rather than physical scrubbing, rinse thoroughly afterward, and let the kettle cool fully before starting, especially with glass models.
For more appliance care throughout the kitchen, view the full kitchen cleaning guide for additional routines and schedules.
A quick safety note: let the kettle cool completely before descaling, and never combine vinegar with a commercial descaling product in the same session. Rinse thoroughly after either method, since leftover solution isn't meant to be consumed even in trace amounts.





Leave a Reply