
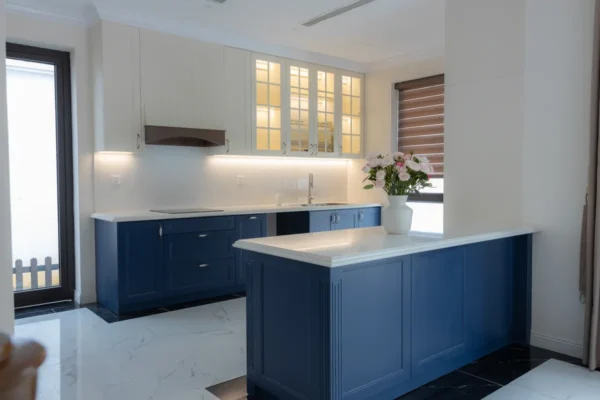
Painted cabinets bring a clean, updated look to a kitchen, but that painted surface behaves differently than raw wood or a factory finish. Grease, fingerprints, and splashes show up fast on painted doors, and the wrong cleaner can dull the color or leave streaks behind. Painted kitchen cabinet cleaning calls for a gentler touch than you might expect, especially if you want the finish to keep looking fresh for years instead of a few months.
This guide walks through safe methods for everyday cleaning and tougher buildup, without risking the paint job. It's part of the Kitchen Cabinet & Drawer Cleaning Guide, which covers care instructions for every cabinet material found in a typical kitchen.
The Best Way to Clean Painted Cabinets (Quick Answer)
For most painted kitchen cabinets, this routine works well:
- Wipe with a soft microfiber cloth dampened in warm water and a drop of mild dish soap.
- Go over the surface again with a clean, barely damp cloth to remove soap residue.
- Dry immediately with a soft towel.
- Avoid scrubbing motions; wipe gently in one direction.
This handles daily grime and light grease without stressing the paint layer. It's the same basic approach professional cleaners tend to use on painted surfaces, since it relies on mild ingredients rather than anything that could react unpredictably with the paint.
What You'll Need
Keep the list simple:
- Two or three microfiber cloths
- Mild dish soap, unscented if you can find it
- Warm water
- A soft towel for drying
- A soft-bristle brush for grooves, if your cabinets have raised panel detail
Stay away from anything abrasive. Scouring pads, powder cleansers, and stiff brushes can scratch or dull painted finishes, and once the paint is scratched, it's hard to fix without a touch-up or repaint. Even a cloth that feels soft to the touch can carry grit picked up from a countertop or floor, so it helps to keep a cabinet-only cloth separate from the one you use for other surfaces.
Step-by-Step: Cleaning Painted Kitchen Cabinets
Step 1: Dust first. Wipe the cabinet fronts with a dry cloth to remove loose dust and crumbs. This keeps grit from scratching the paint once you add moisture, and it also makes it easier to see grease spots that need extra attention.
Step 2: Mix a mild solution. Add a few drops of dish soap to warm water. Dip your cloth in, then wring it out well. A soaked cloth can push water into seams around cabinet doors, which may cause the paint to bubble or peel over time, particularly at the corners where two painted edges meet.
Step 3: Test a small spot first. Before wiping a full door, try the solution on a small, hidden area, like the top inside edge of a cabinet or the underside of a shelf. Wait a minute and check that the color and sheen look unchanged. This step matters most with hand-painted or specialty finishes, since not every painted surface reacts the same way to soap.
Step 4: Wipe gently, in one direction. Clean using light pressure in a single direction rather than scrubbing in circles. Painted surfaces show scuff marks more easily than clear-coated wood, so a lighter touch protects the finish and reduces the chance of leaving faint swirl marks behind.
Step 5: Rinse with a second cloth. Go over the same spots with a cloth dampened in plain water. This clears away any leftover soap film, which can look cloudy or slightly hazy once it dries, especially under kitchen lighting.
Step 6: Dry right away. Buff dry with a soft towel. Don't let cabinets air-dry, especially near the sink or stove where humidity is already higher. Standing water is one of the more common reasons painted cabinets start to peel at the edges, and it's a much easier problem to prevent than to fix later.
Step 7: Check hinges and handles. Grease tends to build up fastest around knobs and where hands touch the cabinet daily. A soft brush works well for these spots without risking the flat painted panels, and it reaches into small grooves a cloth can't fully clean.
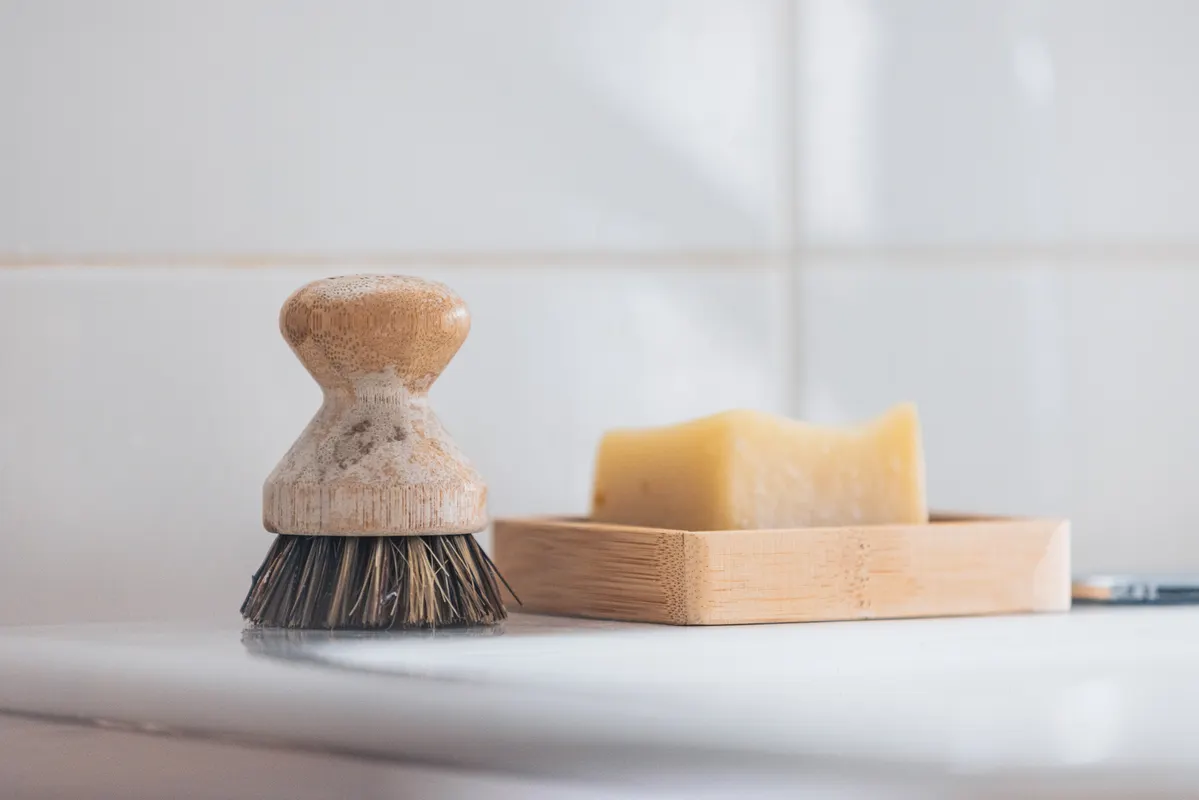
Photo Credit: Joshua Wall
Removing Grease and Grime Without Damaging the Paint
Grease around the stove area builds up faster on painted cabinets than people expect, and it can be tricky to remove without affecting the sheen. A slightly stronger dish soap mixture, applied briefly and rinsed off quickly, usually handles moderate grease. Let the solution sit on the spot for a minute or two before wiping, since a short dwell time often loosens grease better than extra scrubbing pressure.
Skip degreasing sprays made for ovens or heavy kitchen use. These often contain solvents strong enough to soften paint or strip the sheen, especially on cabinets with a matte or chalk-style finish. If grease has built up over months near the stove, always test any new product on a hidden spot, like the inside edge of a door, before using it anywhere visible.
Painted cabinets can also develop a yellowish tint over time, particularly white or light-colored paint near cooking areas. This is usually caused by grease film and airborne particles settling into the paint surface rather than the paint itself changing color. If you're noticing this on your cabinets, our guide on Removing Yellowing from Painted Cabinets covers safe methods to lift that discoloration without harming the paint underneath, including when the discoloration goes beyond what a standard wipe-down can handle.
Cleaning Painted Cabinets vs. Other Finishes
Not every kitchen cabinet with a smooth painted look is actually painted wood. Some are laminate or thermofoil, which is a plastic coating heat-applied over a wood base. These materials react differently to heat, moisture, and certain cleaners than true painted wood does, and mistaking one for the other can lead to using the wrong method.
Here's a quick way to tell the difference and clean accordingly:
|
Cabinet Type |
How to Identify |
Safe Cleaning Approach |
|
Painted wood |
Slight texture, brush marks may be visible on close inspection |
Mild soap and water, gentle wipe, dry immediately |
|
Laminate or thermofoil |
Very smooth, uniform finish, seams sometimes visible at edges |
Similar mild approach, but avoid heat and harsh solvents that can lift the coating |
|
Chalk-painted or distressed |
Matte texture, often intentionally uneven |
Extra gentle cleaning; avoid soap that can strip the matte look |
If your cabinets have that very smooth, plastic-like surface, it's worth checking our Laminate & Thermofoil Cabinet Cleaning guide, since heat exposure and certain cleaners are handled differently on that material than on painted wood. Running a dishwasher or oven nearby, for example, raises the surrounding temperature more than most people realize, and thermofoil in particular can soften slightly under sustained heat.
Photo Credit: Max Vakhtbovych
Safe Products vs. Products to Avoid
|
Product |
Safe for painted cabinets? |
Notes |
|
Mild dish soap and water |
Yes |
Best everyday option; rinse and dry fully |
|
Microfiber cloth |
Yes |
Won't scratch the paint |
|
Vinegar solutions |
Avoid |
Acidity can dull or etch some paint finishes over time |
|
All-purpose sprays |
Depends |
Check the label for a paint-safe or wood-safe claim |
|
Oven cleaners or heavy degreasers |
No |
Too strong; can soften or strip paint |
|
Abrasive pads or powders |
No |
Will scratch and dull the finish |
|
Magic eraser type pads |
Use with caution |
Can work on some sealed paints but may dull matte finishes; test first |
|
Furniture polish or wax spray |
Not recommended |
Can leave a residue that attracts more dust and grease |
If you're unsure, the cabinet manufacturer's or painter's care instructions should take priority. Paint types and top coats vary widely between manufacturers, and what's safe on one finish may not be safe on another, especially with newer low-VOC paints that can behave differently than older formulas.
How Often to Clean Painted Cabinets
A light wipe two or three times a week keeps grease from settling into the paint. Areas near the stove often need more frequent attention since cooking oils travel further than people assume, sometimes settling on cabinet doors several feet away from the burners.
A more thorough clean, covering every door front and the areas around hardware, is worth doing about once a month. This catches the light film that builds up gradually and is easy to miss during quick daily wipes. If you notice the paint starting to feel slightly tacky to the touch, that's usually a sign grease has built up more than the surface shows visually, and it's a good cue to move up your next deep clean.
Keeping the cabinet fronts clean also makes it easier to spot and manage clutter inside. If your drawers and shelves need a refresh too, the Kitchen Cabinet Organization Guide has practical layout tips that pair well with a regular cleaning routine, so the inside stays as manageable as the outside.
Photo Credit: AS Photography
Common Mistakes to Avoid
- Using too much water. Excess moisture can seep into seams and cause paint to bubble or peel at the edges, and this damage often shows up weeks after the actual spill or over-wet cleaning.
- Scrubbing instead of wiping. Painted surfaces scratch and scuff more easily than clear-coated wood, and repeated scrubbing in one spot can thin the finish over time.
- Reaching for vinegar or acidic cleaners. These can dull the finish or cause uneven sheen over repeated use, particularly on satin or semi-gloss paints.
- Skipping the rinse step. Leftover soap residue often looks cloudy once it dries, especially on darker colors where any haze is easy to spot.
- Ignoring grease near the stove. Left too long, grease film can contribute to the yellowing that's common on light-colored painted cabinets, and it also becomes harder to remove the longer it sits.
- Cleaning with a dirty cloth. A cloth that's already picked up grit or old cleaner residue can transfer that grime back onto the cabinet instead of removing it.
When to Call a Professional
Most painted cabinet cleaning is manageable on your own. It's time to bring in a professional when:
- The paint is chipping, peeling, or bubbling in multiple spots
- Water damage has caused swelling around the door edges or panel seams
- Grease buildup has hardened and doesn't respond to mild cleaning methods
- You're considering a full repaint rather than continued touch-up cleaning
Repainting or refinishing cabinets is a different job than routine cleaning and usually needs proper sanding, priming, and paint matching to get an even result across every door and drawer front.
FAQ
What is the best way to clean painted cabinets? Use a soft cloth with warm water and a small amount of mild dish soap, wipe gently in one direction, rinse with a second cloth, and dry right away.
How often should you clean painted cabinets? Light wiping two to three times a week, with a deeper clean about once a month, keeps most painted kitchens looking fresh. Spots near the stove may need attention more often.
What cleaning products are safe for painted cabinets? Mild dish soap and warm water are safe for most painted finishes. Always check manufacturer instructions for specialty finishes like chalk paint or matte topcoats, since these can be more sensitive to soap and moisture.
What should you avoid when cleaning painted cabinets? Avoid vinegar, abrasive scrub pads, strong degreasers, and letting water sit in the seams. These can dull the paint, cause scratches, or lead to peeling over time.
How can you clean painted cabinets without damaging them? Keep your cloth only slightly damp, wipe gently rather than scrubbing, test new products on a hidden spot first, and dry the surface fully instead of letting water sit.
For care instructions on the rest of your kitchen, browse the complete kitchen cleaning guide for more room-specific routines.
A quick safety note: always test a new cleaning product on a hidden spot before using it on visible cabinet fronts, and check product labels before combining anything. Never mix cleaning chemicals unless the label confirms it's safe to do so. If paint damage is extensive or the finish has begun peeling in several areas, a professional painter is the safer route for repairs.





Leave a Reply