
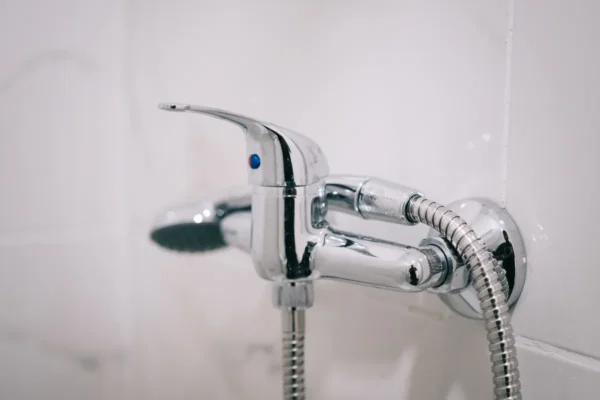
Faucets, showerheads, towel bars, and cabinet hardware get touched constantly, but they're often the last thing cleaned in a bathroom routine. That's a problem, because these metal surfaces are where hard water spots, soap film, and tarnish show up fastest. Unlike tile or a countertop, fixtures and fittings come in different metal finishes, and what's safe for one finish can dull or damage another.
This guide covers everything you need to know about cleaning bathroom fixture and fitting, with a bathroom fixture and fitting cleaning step-by-step guide for faucets, showerheads, and hardware, plus the product differences by finish type. If you're just getting a routine started, treat this as bathroom fixture and fitting cleaning for beginners, since finish identification is the one step that changes everything else. If you want the full picture of bathroom care first, you can go Back to the complete bathroom cleaning guide.
The Best Way to Clean Bathroom Fixtures and Fittings
The most effective approach identifies the metal finish first, then matches the cleaner to it. Here is the short version:
- Identify the finish (chrome, brushed nickel, oil-rubbed bronze, or another coated metal).
- Wipe down loose dust and surface grime with a dry or lightly damp cloth.
- Apply a finish-appropriate cleaner.
- Let it sit briefly on areas with hard water spots or soap film.
- Wipe or gently scrub with a soft cloth.
- Rinse if the cleaner requires it.
- Dry fully with a clean cloth to prevent new water spots.
This order matters because the wrong cleaner on the wrong finish can strip a coating or leave permanent dulling that no amount of polishing fixes afterward. A minute spent identifying the finish saves far more time than redoing the job with the right product.
How Often You Should Clean Bathroom Fixtures and Fittings
Fixtures and fittings pick up buildup on a different schedule than walls or floors, since they're touched by wet hands and exposed to direct water flow every day. A general schedule looks like this:
- Daily: A quick wipe of the faucet and handles after use helps prevent toothpaste splatter and soap residue from drying onto the surface.
- Weekly: A full clean of faucets, showerheads, towel bars, and visible hardware removes buildup before it hardens into a harder-to-remove film.
- Monthly: A deeper check of the showerhead for clogged holes and any hardware with heavier tarnish or mineral buildup.
Homes with hard water need this schedule tightened, since mineral deposits can form on a showerhead or faucet within days rather than weeks. Households with heavier bathroom use also generate more soap scum on handles and knobs simply from more frequent hand contact. If a faucet or showerhead finish starts looking cloudy even right after wiping it down, that's usually mineral buildup rather than dirt, which calls for a different approach than a standard wipe.

Photo Credit: Hobby Guidebook Editorial
What Products Are Safe for Fixture and Fitting Cleaning
The single biggest factor in cleaning fixtures safely is knowing the finish. A product that's perfectly safe on chrome can strip or discolor a different coating.
|
Finish |
Safe Options |
Avoid |
|
Chrome |
Mild dish soap, diluted vinegar, glass cleaner |
Abrasive powders, steel wool |
|
Brushed nickel |
Mild dish soap and water, soft cloth |
Vinegar left to sit, abrasive pads |
|
Oil-rubbed bronze |
Mild soap and water only, dried quickly |
Vinegar, bleach, any acidic cleaner |
|
Polished brass (coated) |
Mild soap and water |
Abrasive polish, acidic cleaners |
|
Plastic or acrylic hardware |
Mild dish soap, all-purpose cleaner |
Solvents, strong alcohol-based cleaners |
Important: Oil-rubbed bronze and other living or coated finishes are especially sensitive. Vinegar, lemon juice, and other acidic cleaners can strip the coating and leave blotchy, uneven color that can't be reversed. If you're not sure what finish you have, wipe with plain water and mild soap first, then test any stronger product on a small, hidden spot, like the underside of a towel bar bracket, before treating the whole fixture.
Diluted vinegar works well on chrome and plain metal for hard water spots, but it should never sit on a coated or antique finish for more than a minute or two, since even brief acid contact can affect certain coatings. Always check the fixture manufacturer's care instructions when available, since warranty coverage on some finishes depends on using approved cleaning methods.
Tools That Make the Job Easier
A short list of tools handles most fixture and fitting cleaning without much fuss:
- A soft microfiber cloth for wiping down faucets, handles, and hardware after cleaning.
- An old soft-bristle toothbrush for tight spots like around the faucet base or showerhead threads.
- A small zip-top bag for soaking a showerhead in place without removing it.
- A dry cloth for a final buff, which cuts down on future water spots.
- Rubber gloves, useful if you're working with a vinegar soak for an extended period.
Skip anything abrasive, including scouring pads and metal brushes, even on chrome. These finishes are thin coatings over a base metal, and scratches let moisture underneath, which speeds up corrosion over time.
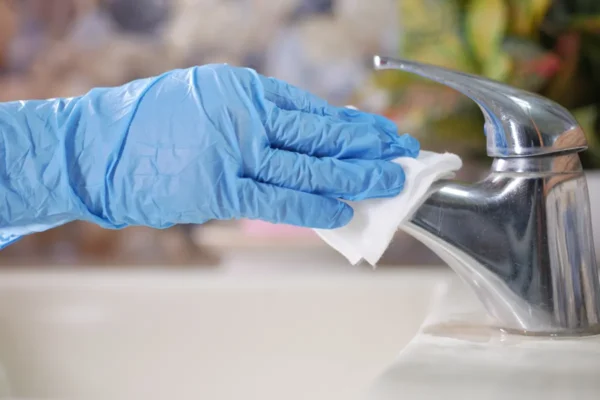
Step-by-Step: Cleaning Faucets and Handles
Faucets and handles see the most direct daily contact of any fixture in the bathroom, which means they need the most frequent attention.
- Wipe down first. Use a dry or lightly damp cloth to remove loose dust and surface grime before applying any cleaner.
- Apply a finish-appropriate cleaner. Mild dish soap and water works for most finishes; save vinegar for chrome or plain metal only.
- Let it sit briefly. Give the cleaner 2 to 3 minutes on areas with visible hard water spots or soap film buildup.
- Scrub gently with a soft cloth, focusing on the base of the faucet and around handle joints, where product residue tends to collect.
- Rinse thoroughly, making sure no cleaner residue is left in seams or around the handle base.
- Dry completely. A dry cloth buff after cleaning helps prevent new water spots, especially important in homes with hard water.
Handles, knobs, and hardware get touched constantly with wet hands, which means oils and soap residue build up here faster than almost anywhere else in the bathroom. For a closer look at cleaning around handle joints, drawer pulls, and other small hardware without damaging the finish, see the full Bathroom Faucet Handle & Hardware Cleaning guide.
Step-by-Step: Cleaning a Showerhead
Showerheads deal with constant mineral exposure from flowing water, which makes them one of the fastest fixtures to develop clogged holes and a cloudy finish.
- Check the finish first, since the safe cleaning method changes depending on whether it's chrome, a coated finish, or plastic.
- For chrome or plain metal, use a vinegar soak. Fill a small bag with diluted white vinegar, secure it around the showerhead with a rubber band, and let it soak for 30 minutes to an hour, depending on how heavy the buildup is.
- For coated or finished showerheads, avoid vinegar soaking. Use a mild soap and water wipe-down instead, since prolonged acid contact can strip these coatings.
- Scrub gently after soaking, using an old toothbrush to work loosened mineral deposits out of the spray holes.
- Rinse thoroughly by running water through the showerhead for a minute or two.
- Dry the visible finish with a soft cloth to prevent new spotting.
- Stop and reassess if buildup doesn't loosen after one soak, since repeated vinegar soaking on a stubborn clog may call for a longer sit time rather than more scrubbing pressure.
Showerheads with several years of hard water exposure sometimes need more than one soak cycle to fully clear, and that's normal rather than a sign something's wrong with the method. For detailed guidance on soak times by showerhead type and how to handle a showerhead that can't be removed, see the Showerhead Cleaning guide.
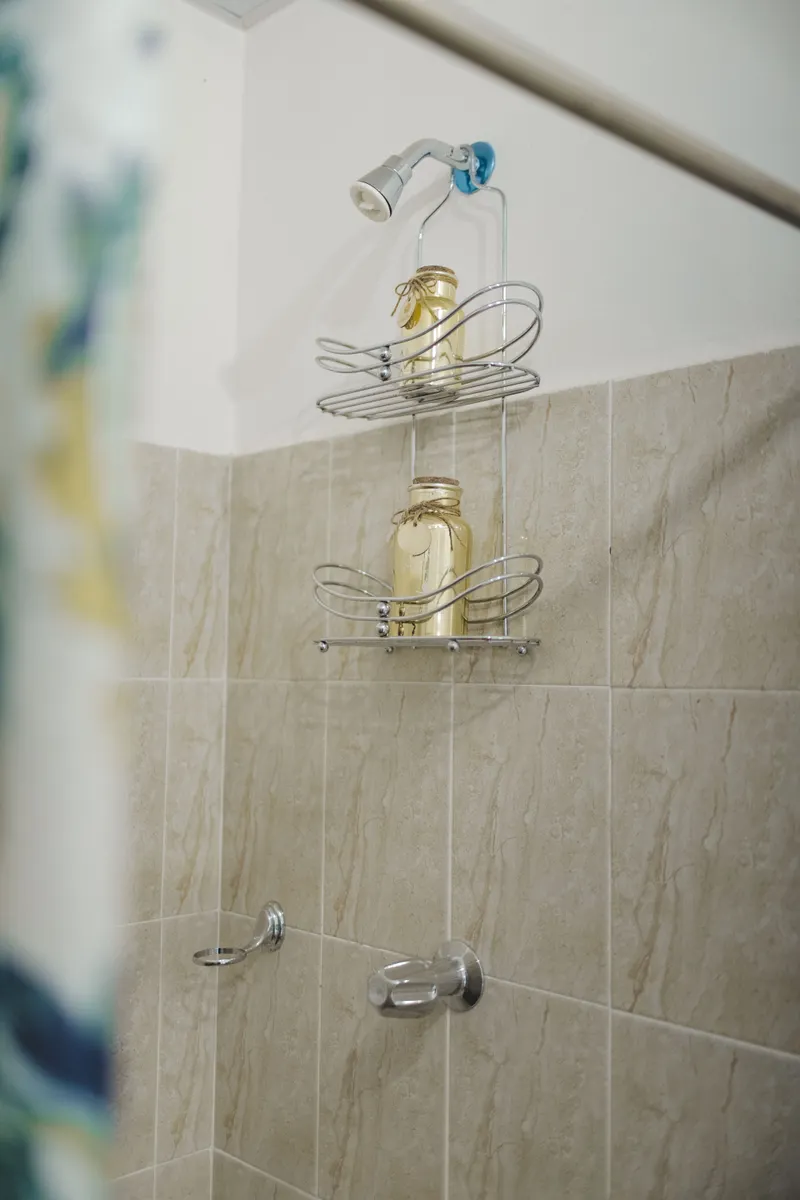
Photo Credit: Luis Quintero
Troubleshooting Common Fixture and Fitting Problems
A handful of issues come up again and again with bathroom fixtures, and knowing the cause helps you pick the right fix instead of guessing.
Cloudy or chalky spots on chrome or metal. This is hard water mineral buildup, not dirt. A diluted vinegar wipe, left on for a few minutes, usually clears it on chrome and plain metal. Skip this method entirely on coated or antique finishes.
Green or dark tarnish on brass hardware. Unsealed or uncoated brass can tarnish with exposure to air and moisture. Most modern bathroom brass is coated and won't tarnish the same way, so check whether your fixture is sealed before choosing a cleaning method, since sealed brass generally just needs mild soap and water.
A showerhead with weak or uneven water flow. This usually means mineral deposits are clogging the spray holes. A vinegar soak, followed by gently working loosened debris out with a soft toothbrush, typically restores flow on chrome and plain metal showerheads.
Loose or wobbly hardware, like a towel bar or handle. This isn't a cleaning issue, but it's worth checking while you're already cleaning the area. A loose screw is a quick fix, while a fixture that keeps loosening may point to worn mounting hardware that needs replacing.
A finish that looks dull even after cleaning. If mild soap and water don't restore shine, the finish coating may be worn rather than dirty. At that point, stronger cleaning won't help and can make uneven wear more visible.
What to Avoid When Cleaning Fixtures and Fittings
A few habits cause more harm than good, even with the best intentions.
- Avoid abrasive scrubbers or steel wool on any finish, since even chrome can scratch under enough pressure.
- Avoid vinegar or acidic cleaners on oil-rubbed bronze, polished brass, or other coated finishes, since acid can strip the coating unevenly.
- Avoid leaving a vinegar soak on longer than needed, particularly on any fixture where you're unsure of the exact finish.
- Avoid mixing bleach with vinegar or ammonia-based cleaners, since this combination can release harmful fumes even in a well-ventilated bathroom.
- Avoid skipping the dry step, since fixtures left wet are more prone to new water spots and, over time, more visible mineral buildup.
How to Clean Fixtures Without Damaging Them
Damage almost always comes from using the wrong product on a specific finish, not from cleaning too often. A few habits protect your fixtures long term:
- Identify the finish before choosing a cleaner, rather than assuming every faucet or handle is chrome.
- Test any new product on a small, hidden spot first, especially with vinegar or stronger cleaners.
- Use soft cloths and soft-bristle brushes as your default tools.
- Dry fixtures after every clean to reduce future water spotting.
- Check manufacturer care instructions when available, since some finishes have specific warranty conditions tied to approved cleaning methods.
Following the fixture manufacturer's instructions takes priority over general guidance, since coatings and finishes vary significantly between brands.
Common Mistakes to Avoid
Even careful homeowners fall into a few repeat mistakes:
- Using the same cleaner on every fixture. A product safe for chrome can dull or strip a coated finish like oil-rubbed bronze.
- Soaking a coated showerhead in vinegar. This method works well for chrome and plain metal but can damage certain finishes.
- Scrubbing instead of letting the cleaner sit. Extra sit time loosens mineral buildup without needing hard pressure that can scratch the finish.
- Skipping hardware like towel bars and cabinet knobs. These get touched constantly but are often missed during a standard fixture wipe-down.
- Ignoring a wobbly handle or bar while cleaning. A quick check while you're already there can catch a loose fixture before it becomes a bigger repair.
Photo Credit: Liliana Drew
How Long a Full Fixture and Fitting Clean Takes
A routine weekly wipe-down of faucets, handles, and visible hardware typically takes 10 to 15 minutes for an average bathroom. Adding a showerhead soak brings the total time closer to 30 to 45 minutes, though most of that is soak time rather than active scrubbing. Homes with heavy hard water buildup or fixtures that haven't been deep cleaned in a while may need a second soak cycle to fully clear mineral deposits.
Frequently Asked Questions
What is the best way to clean bathroom fixture and fitting? Identify the finish first, then wipe down loose grime, apply a finish-appropriate cleaner, let it sit briefly on buildup, scrub gently, rinse, and dry fully to prevent new water spots.
How often should you clean bathroom fixture and fitting? A quick daily wipe of faucets and handles, a full weekly clean of all fixtures and hardware, and a monthly check of the showerhead for clogged holes or mineral buildup.
What cleaning products are safe for bathroom fixture and fitting? It depends on the finish. Mild soap and water works broadly, diluted vinegar is safe on chrome and plain metal, but coated finishes like oil-rubbed bronze should never be cleaned with vinegar or other acidic products.
What should you avoid when cleaning bathroom fixture and fitting? Avoid abrasive scrubbers on any finish, avoid vinegar on coated or antique finishes, and avoid mixing bleach with vinegar or ammonia-based cleaners.
How can you clean bathroom fixture and fitting without damaging them? Identify the finish before choosing a product, test new cleaners in a hidden spot, use soft tools, and dry fixtures thoroughly after cleaning.
What common mistakes should you avoid with bathroom fixture and fitting? Using one cleaner on every finish, soaking a coated showerhead in vinegar, scrubbing instead of letting cleaner sit, and skipping smaller hardware like towel bars and knobs.
For the full room-by-room approach to bathroom care, Browse the complete bathroom cleaning guide.
A Quick Note on Safety
Cleaning bathroom fixtures sometimes involves vinegar soaks and, occasionally, stronger products for stubborn mineral buildup, so a few precautions matter. Always check the fixture manufacturer's care instructions before using vinegar or any acidic cleaner, since some finishes can be damaged even by brief contact. Never mix bleach with vinegar or ammonia-based products, as this can release harmful fumes. If you're unsure what finish a fixture has, test any new cleaner in a small, hidden spot first, and choose plain mild soap and water if in doubt. Keep the bathroom ventilated during longer soaking sessions, and wear gloves if you have sensitive skin.


Leave a Reply