
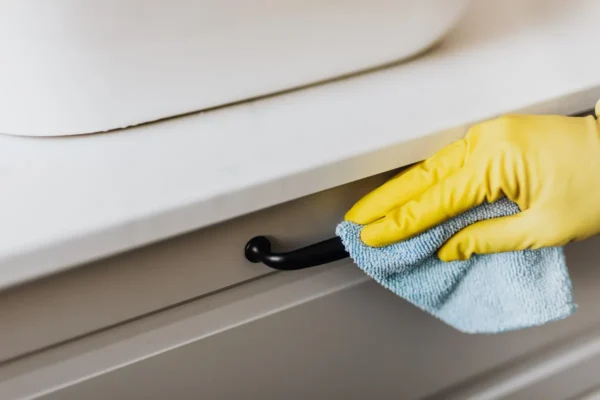
Cabinet hardware, the knobs, pulls, and hinges you touch every day, collects grease and grime faster than almost anything else in the kitchen. Hands touch these surfaces constantly, often right after handling food, oil, or dishes, which means fingerprints and film build up here well before the cabinet doors around them start looking dirty. Cleaning cabinet hardware properly means matching the method to the specific finish, since brass, chrome, brushed nickel, and matte black all respond differently to the same products. This guide is part of the Kitchen Cabinet & Drawer Cleaning Guide, and it covers exactly how to clean each common hardware finish without dulling, scratching, or discoloring it.
The Best Way to Clean Cabinet Hardware
For most cabinet hardware, warm water with a few drops of mild dish soap, applied with a soft cloth, handles everyday grease and grime safely. Dry the hardware immediately afterward with a separate clean cloth, since standing moisture can dull certain finishes or promote tarnishing on metals like brass and copper. For grooved or detailed hardware, an old soft-bristle toothbrush reaches into corners that a cloth alone can't clean.
That basic method is safe across nearly every common finish. The sections below go deeper into finish-specific care, since some hardware, particularly unlacquered brass or oil-rubbed bronze, needs a more careful approach than a stainless steel pull or a plain chrome knob.
Why Hardware Needs Different Care Than Cabinet Doors
Cabinet doors are usually a single consistent material, laminate, wood, or thermofoil, but hardware introduces several different metals and finishes into the same kitchen. A brushed nickel pull and a polished brass knob don't react the same way to the same cleaner, even if they're mounted on identical cabinet doors right next to each other.
Some finishes are solid metal all the way through, while others are a thin plated or lacquered layer over a base metal. Plated finishes are more vulnerable to abrasive cleaning, since scrubbing too hard can wear through the surface layer and expose the metal underneath, which shows up as an odd-looking spot that doesn't match the rest of the piece. This is the main reason cabinet hardware cleaning isn't a one-product, one-method job the way wiping down a laminate door often is.
Identifying Your Hardware Finish
Before choosing a cleaning method, it helps to know what you're actually working with, since guessing can lead to using a product that's too harsh for the specific finish.
- Polished brass: shiny, yellow-gold tone, often has a lacquer coating to prevent tarnishing
- Unlacquered brass: similar gold tone but develops a natural patina over time since there's no protective coating
- Chrome: bright, mirror-like silver finish, generally durable and easy to clean
- Brushed nickel: matte silver tone with a slightly textured, non-reflective finish
- Stainless steel: similar to brushed nickel but often slightly cooler in tone, common on modern hardware
- Oil-rubbed bronze: dark brown to black finish with lighter highlights where the coating naturally wears
- Matte black: flat, non-reflective black finish, increasingly common in newer kitchens
If you're unsure which finish you have, check the manufacturer's packaging or receipt if it's still available, or look for a small worn spot where the finish might reveal an underlying material. When in doubt, the gentlest method (mild soap and water) is always the safer starting point before trying anything stronger.
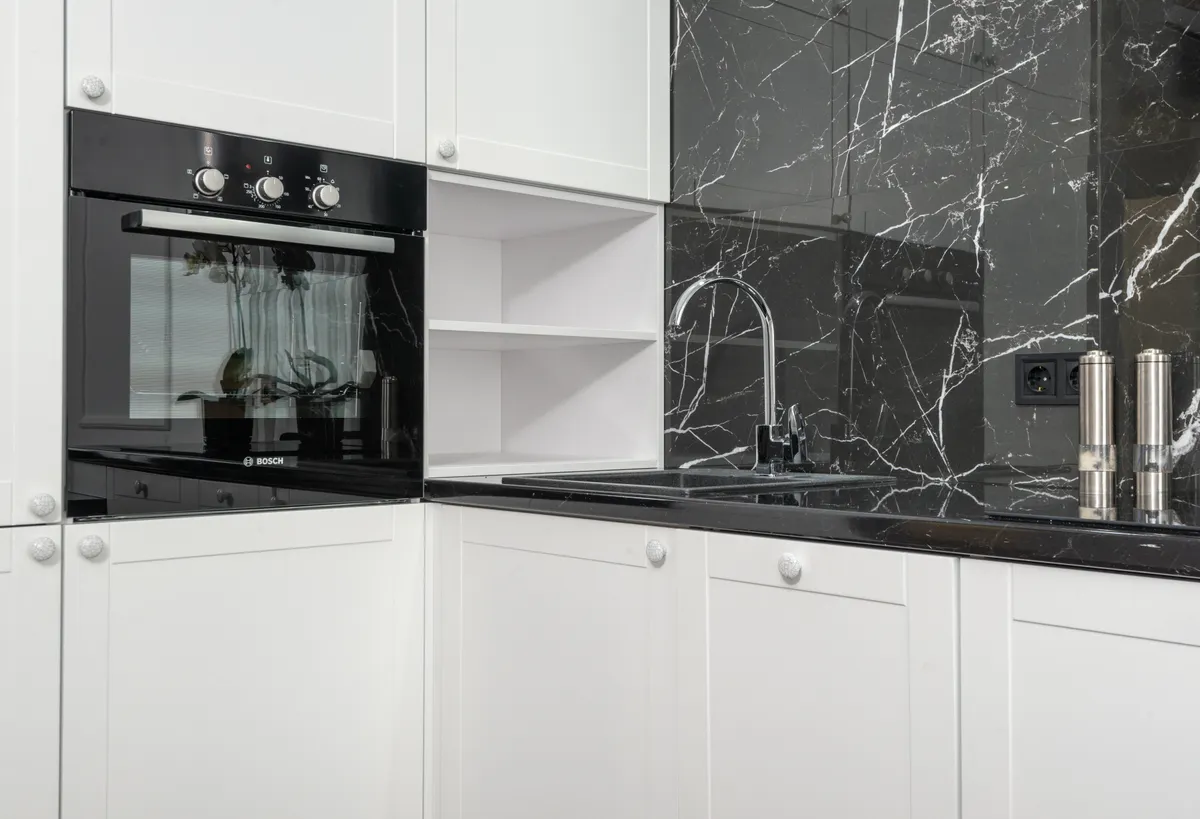
Photo Credit: Max Vakhtbovych
Cleaning Methods by Hardware Finish
Different finishes tolerate different products, and matching the method to the material prevents dulling, scratching, or accidental damage to a protective coating.
|
Finish |
Safe cleaning method |
Avoid |
|
Polished brass (lacquered) |
Mild soap and water, dry immediately |
Abrasive polishes, vinegar, ammonia (can strip lacquer) |
|
Unlacquered brass |
Mild soap and water for general cleaning; brass polish only if you want to remove natural patina |
Leaving moisture standing, since bare brass tarnishes faster |
|
Chrome |
Mild soap and water, or a vinegar-water solution for water spots |
Abrasive pads, which can create fine scratches |
|
Brushed nickel |
Mild soap and water, soft cloth wiped in the direction of the brushed texture |
Abrasive scrubbing across the grain, which can alter the texture |
|
Stainless steel |
Mild soap and water, dry with the grain |
Chloride-based cleaners, abrasive pads |
|
Oil-rubbed bronze |
Mild soap and water only, very gentle wiping |
Any abrasive cleaner or scrubbing, which wears through the coating and exposes lighter metal underneath |
|
Matte black |
Mild soap and water, soft cloth |
Abrasive pads and harsh solvents, which can dull or lighten the matte finish |
Lacquered brass deserves particular caution. The lacquer is a thin protective coating, and harsh chemicals like ammonia or undiluted vinegar can strip it, leaving the brass underneath exposed to tarnishing it wasn't designed to resist on its own. If you're not sure whether your brass hardware is lacquered, mild soap and water is the safe default until you confirm otherwise.
Step-by-Step Hardware Cleaning Process
This general process works across most hardware finishes, with the finish-specific notes above guiding which products to use or avoid.
- Remove loose dust or debris first. A dry cloth or soft brush clears away crumbs and dust before adding any liquid, which keeps grime from turning into a paste on the surface.
- Mix a mild cleaning solution. A few drops of dish soap in warm water works for nearly every finish listed above.
- Dampen a soft cloth, not soak it. Excess liquid dripping into screw holes or mounting points can lead to moisture sitting where you can't easily dry it.
- Wipe the hardware gently, following the direction of any brushed texture if the finish has one.
- Use a soft-bristle brush for grooves and detailed areas, working gently rather than scrubbing hard enough to feel resistance.
- Dry immediately with a separate clean cloth. This step matters more for brass and bronze finishes, which are more prone to spotting or tarnishing from standing moisture.
- Check for any dulling, spotting, or wear as you go, and stop using a specific product if you notice a finish reacting poorly, switching back to plain mild soap and water instead.
For hardware that hasn't been cleaned in a long time and has heavy grease buildup, letting the soapy water sit on the surface for a minute or two before wiping can loosen grime without needing to scrub harder than the finish can tolerate.
Removing Hardware for a Deeper Clean
For hardware with heavy buildup in grooves, or pieces that are easier to reach when off the cabinet, removing knobs and pulls temporarily makes for a more thorough clean.
- Unscrew the hardware using the appropriate screwdriver, keeping screws organized in a small dish or labeled bag so they go back on the correct piece.
- Soak the hardware in warm, soapy water for a few minutes, which is more tolerable for solid metal pieces like chrome or stainless steel than for lacquered or coated finishes.
- Scrub gently with a soft-bristle brush, focusing on grooves and detailed areas that collect the most residue.
- Rinse with clean water and dry immediately and completely before reattaching.
- Reattach the hardware once it's fully dry, checking that screws are snug but not overtightened.
Soaking isn't ideal for every finish. Lacquered brass and oil-rubbed bronze generally do better with a damp wipe rather than a full soak, since prolonged water exposure is more likely to affect a coated or patina finish than a solid metal one. If you're unsure, a shorter soak time or a simple wipe-down is the safer choice.
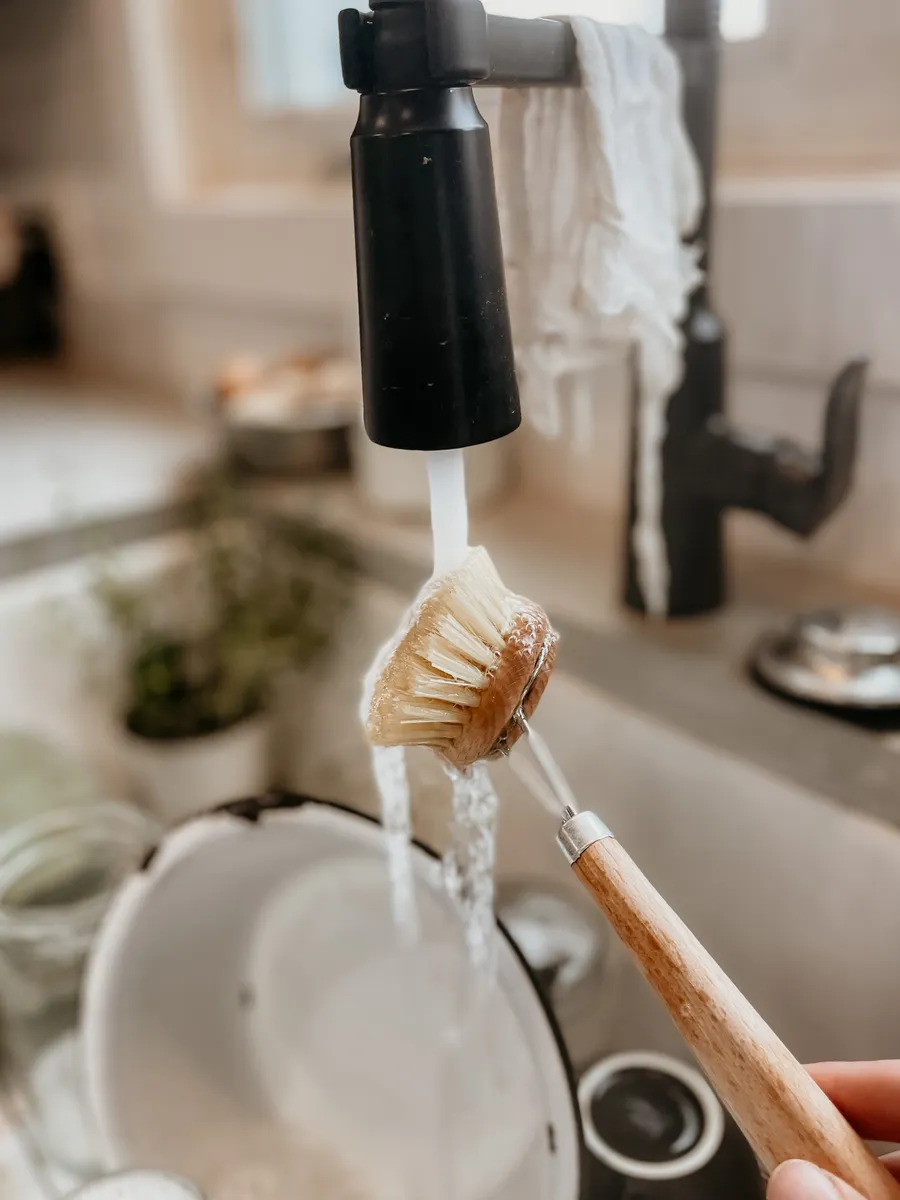
Photo Credit: Hannah Grapp
Commercial Cleaners vs Natural Methods for Cabinet Hardware
Mild dish soap and water handles the vast majority of cabinet hardware cleaning needs, and it's the safest default across nearly every finish listed in this guide. For hardware that's heavily tarnished or hasn't been cleaned in years, a commercial metal polish formulated for the specific finish (brass polish for brass, chrome polish for chrome) can restore shine more effectively than soap and water alone, but these products should be matched to the exact metal, since a polish designed for one metal can damage another.
A natural alternative some households use is a paste of baking soda and a small amount of water, applied gently with a soft cloth for light tarnish on solid brass or copper hardware. This works reasonably well as a gentle, low-abrasion option, though it isn't as effective as a dedicated metal polish for heavier tarnish, and it should still be tested on a small area first, particularly on lacquered or coated finishes where even mild abrasion can wear through a thin protective layer over time.
Whichever method you choose, avoid combining products. Don't follow a vinegar-based cleaning step with a bleach-based one on the same hardware without rinsing thoroughly in between, since combining bleach with vinegar or other acids produces hazardous fumes regardless of what surface is involved.
What to Avoid When Cleaning Cabinet Hardware
A few habits account for most of the hardware damage that shows up over time.
- Abrasive pads or steel wool: these scratch nearly every finish, including finishes that otherwise seem durable, like chrome and stainless steel
- Harsh chemical polishes on plated or lacquered finishes: these can strip a protective coating faster than the product label might suggest for a general "metal cleaner"
- Leaving hardware wet: standing moisture promotes tarnishing on brass and can dull other finishes if left long enough
- Overtightening screws when reattaching: this can crack or loosen the mounting point over time, especially on lighter cabinet materials
- Mixing cleaning products: never combine bleach with vinegar, ammonia, or other acids on hardware or any nearby surface, since this creates dangerous fumes
If a piece of hardware seems to be reacting poorly to a product, whether that's dulling, spotting, or an odd smell, stop and rinse the area thoroughly with plain water before deciding on a different approach.
Professional Cleaning and Restoration Costs
Most cabinet hardware cleaning is a manageable DIY task that doesn't require professional help. However, hardware with severe corrosion, deep pitting, or antique pieces with historical value sometimes benefits from a professional metal restoration service, particularly if the finish is unusual or the hardware is difficult to replace. Costs for this kind of specialized restoration vary widely depending on the number of pieces, the extent of damage, and the specific metal involved, so a local quote from a metal restoration specialist is more reliable than a general estimate. For the vast majority of kitchens, though, the routine cleaning methods in this guide are enough to keep hardware looking good without any outside help.
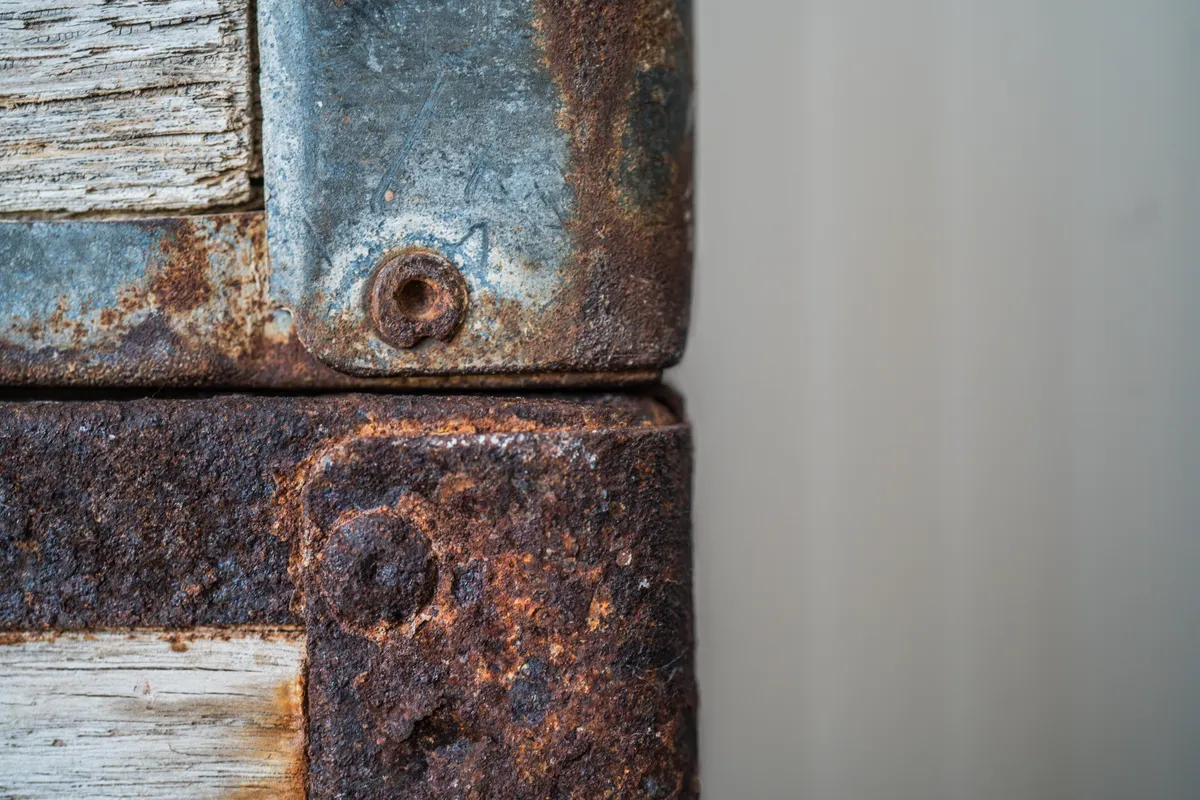
Photo Credit: Jessica Lewis 🦋 thepaintedsquare
Hardware Cleaning as Part of a Full Drawer Routine
Cabinet hardware rarely exists in isolation. It's usually mounted directly on drawer fronts, which means a hardware cleaning session is a natural moment to check the rest of the drawer too. Grease and grime that build up around a pull or knob often continue onto the drawer front itself, and checking both at the same time saves a separate cleaning pass later.
If your drawers also need attention inside, not just on the hardware and front panel, the guide on Cleaning Inside Kitchen Drawers covers liner care, spill cleanup, and general interior maintenance. For drawers that specifically hold utensils and see constant daily use, the Deep Drawer & Utensil Drawer Cleaning guide addresses the particular mess that builds up in those high-traffic spaces, since utensil drawers tend to need more frequent attention than standard storage drawers.
How Often Should You Clean Cabinet Hardware?
Hardware near the stove or sink benefits from a quick wipe weekly, since grease and water spots build up fastest in those spots. Hardware in lower-traffic areas, like pantry cabinets or upper cabinets rarely touched, can go longer between cleanings, closer to once a month. A full removal and soak, for pieces with heavier buildup, is generally only needed every few months, or as soon as you notice grime that a quick wipe isn't fully addressing.
Frequently Asked Questions
What is the best way to clean cabinet hardware? Mild dish soap and warm water, applied with a soft cloth and dried immediately, safely cleans nearly every hardware finish. Grooved or detailed pieces benefit from a soft-bristle brush to reach corners.
How often should you clean cabinet hardware? Weekly for hardware near the stove or sink, monthly for lower-traffic cabinets. A deeper soak-and-scrub clean is usually only needed every few months.
What cleaning products are safe for cabinet hardware? Mild dish soap and water is safe across almost every finish. Finish-specific polishes can help with tarnish but should be matched to the exact metal, and baking soda paste works as a gentle natural option for light tarnish on solid brass.
What should you avoid when cleaning cabinet hardware? Avoid abrasive pads, harsh chemical polishes on lacquered or plated finishes, standing moisture, and mixing bleach with vinegar, ammonia, or other acids.
How can you clean cabinet hardware without damaging it? Identify the finish first, use mild soap and water as the default method, dry immediately after cleaning, and avoid abrasive tools or products not matched to the specific metal.
A Quick Note on Safety
Metal polishes and commercial hardware cleaners should be used according to the manufacturer's label instructions, since formulas vary by the specific metal they're designed for. Never mix bleach with vinegar, ammonia, or other acids, as this combination can release hazardous fumes regardless of the surface being cleaned. Work in a ventilated space when using stronger metal polishes, and test any new product on a small, hidden section of hardware first if you're unsure how the finish will react. If hardware shows severe corrosion or has historical or antique value, a professional metal restoration specialist can advise on the safest approach.
For more on caring for the rest of your kitchen, return to the complete kitchen cleaning guide.





Leave a Reply