
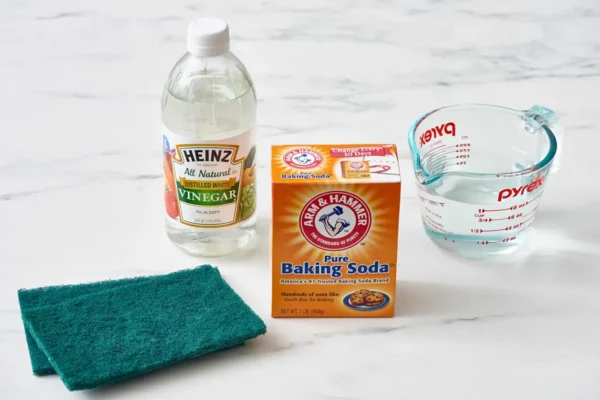
A dishwasher cleans everything else in the kitchen, but it rarely gets cleaned itself, at least not until a musty smell or a cloudy film on glasses makes the problem obvious. Vinegar and baking soda are two of the most reliable household staples for this job, and between them they cover grease, food residue, mineral buildup, and mild odors without needing a specialty product. Cleaning a dishwasher with vinegar and baking soda works well precisely because each ingredient handles a different part of the problem, though using them correctly, and in the right order, makes a real difference in how well the process actually works. This guide is part of the Dishwasher Cleaning Guide, and it walks through the full process, what each ingredient does, and where this method has its limits.
The Best Way to Clean a Dishwasher with Vinegar and Baking Soda
Run an empty hot water cycle with a cup of white vinegar in a dishwasher-safe bowl on the top rack to break down grease and mineral film throughout the interior. Once that cycle finishes, sprinkle a cup of baking soda across the bottom of the empty dishwasher and run a short hot cycle to scrub away lingering odors and freshen the interior. Use these as two separate cycles rather than combining vinegar and baking soda directly, since mixing them together in a container triggers a fizzing reaction that reduces how effective each one is on its own. Wipe down the door seal and any visible residue by hand with a vinegar-dampened cloth to finish.
The sections below explain why the two-step approach works better than combining ingredients, walk through the full process, and cover what this method can and can't handle.
Why Vinegar and Baking Soda Work Better as Separate Steps
It's tempting to think combining vinegar and baking soda creates a more powerful cleaner, but the chemistry actually works against that idea. When the two mix, the acid in vinegar reacts with the baking soda and produces carbon dioxide gas, creating the fizzing you may have seen in a school science project. That reaction neutralizes both ingredients fairly quickly, meaning the combined mixture loses much of the cleaning strength either one has on its own.
Used separately, vinegar's mild acidity works well on mineral deposits and grease film, while baking soda's mild abrasiveness and odor-neutralizing properties handle lingering smells and light scrubbing. Running them as two distinct cycles, rather than mixing them into one solution, lets each ingredient do the job it's actually suited for.
Step-by-Step Cleaning Process
- Remove all dishes from the dishwasher so the cycle can reach every interior surface.
- Check and clean the filter first, since a full filter isn't something a vinegar or baking soda cycle will fix, and any trapped food debris will just recirculate during the wash.
- Place one cup of white vinegar in a dishwasher-safe bowl on the top rack, positioned so it won't tip over.
- Run a full, hot water cycle with no detergent added, letting the vinegar circulate through the entire interior.
- Once that cycle finishes, sprinkle one cup of baking soda across the bottom of the empty dishwasher.
- Run a second, shorter hot cycle to let the baking soda work through the interior and lift any remaining odor or light residue.
- Wipe the door seal, gasket folds, and any visible spots by hand with a cloth dampened in vinegar, since these areas often need direct attention beyond what a full cycle reaches.
- Leave the door open for 20 to 30 minutes after the final cycle to let the interior air out and dry fully.
This full process takes about 90 minutes to two hours from start to finish, including both wash cycles, though the hands-on time is closer to 15 to 20 minutes.
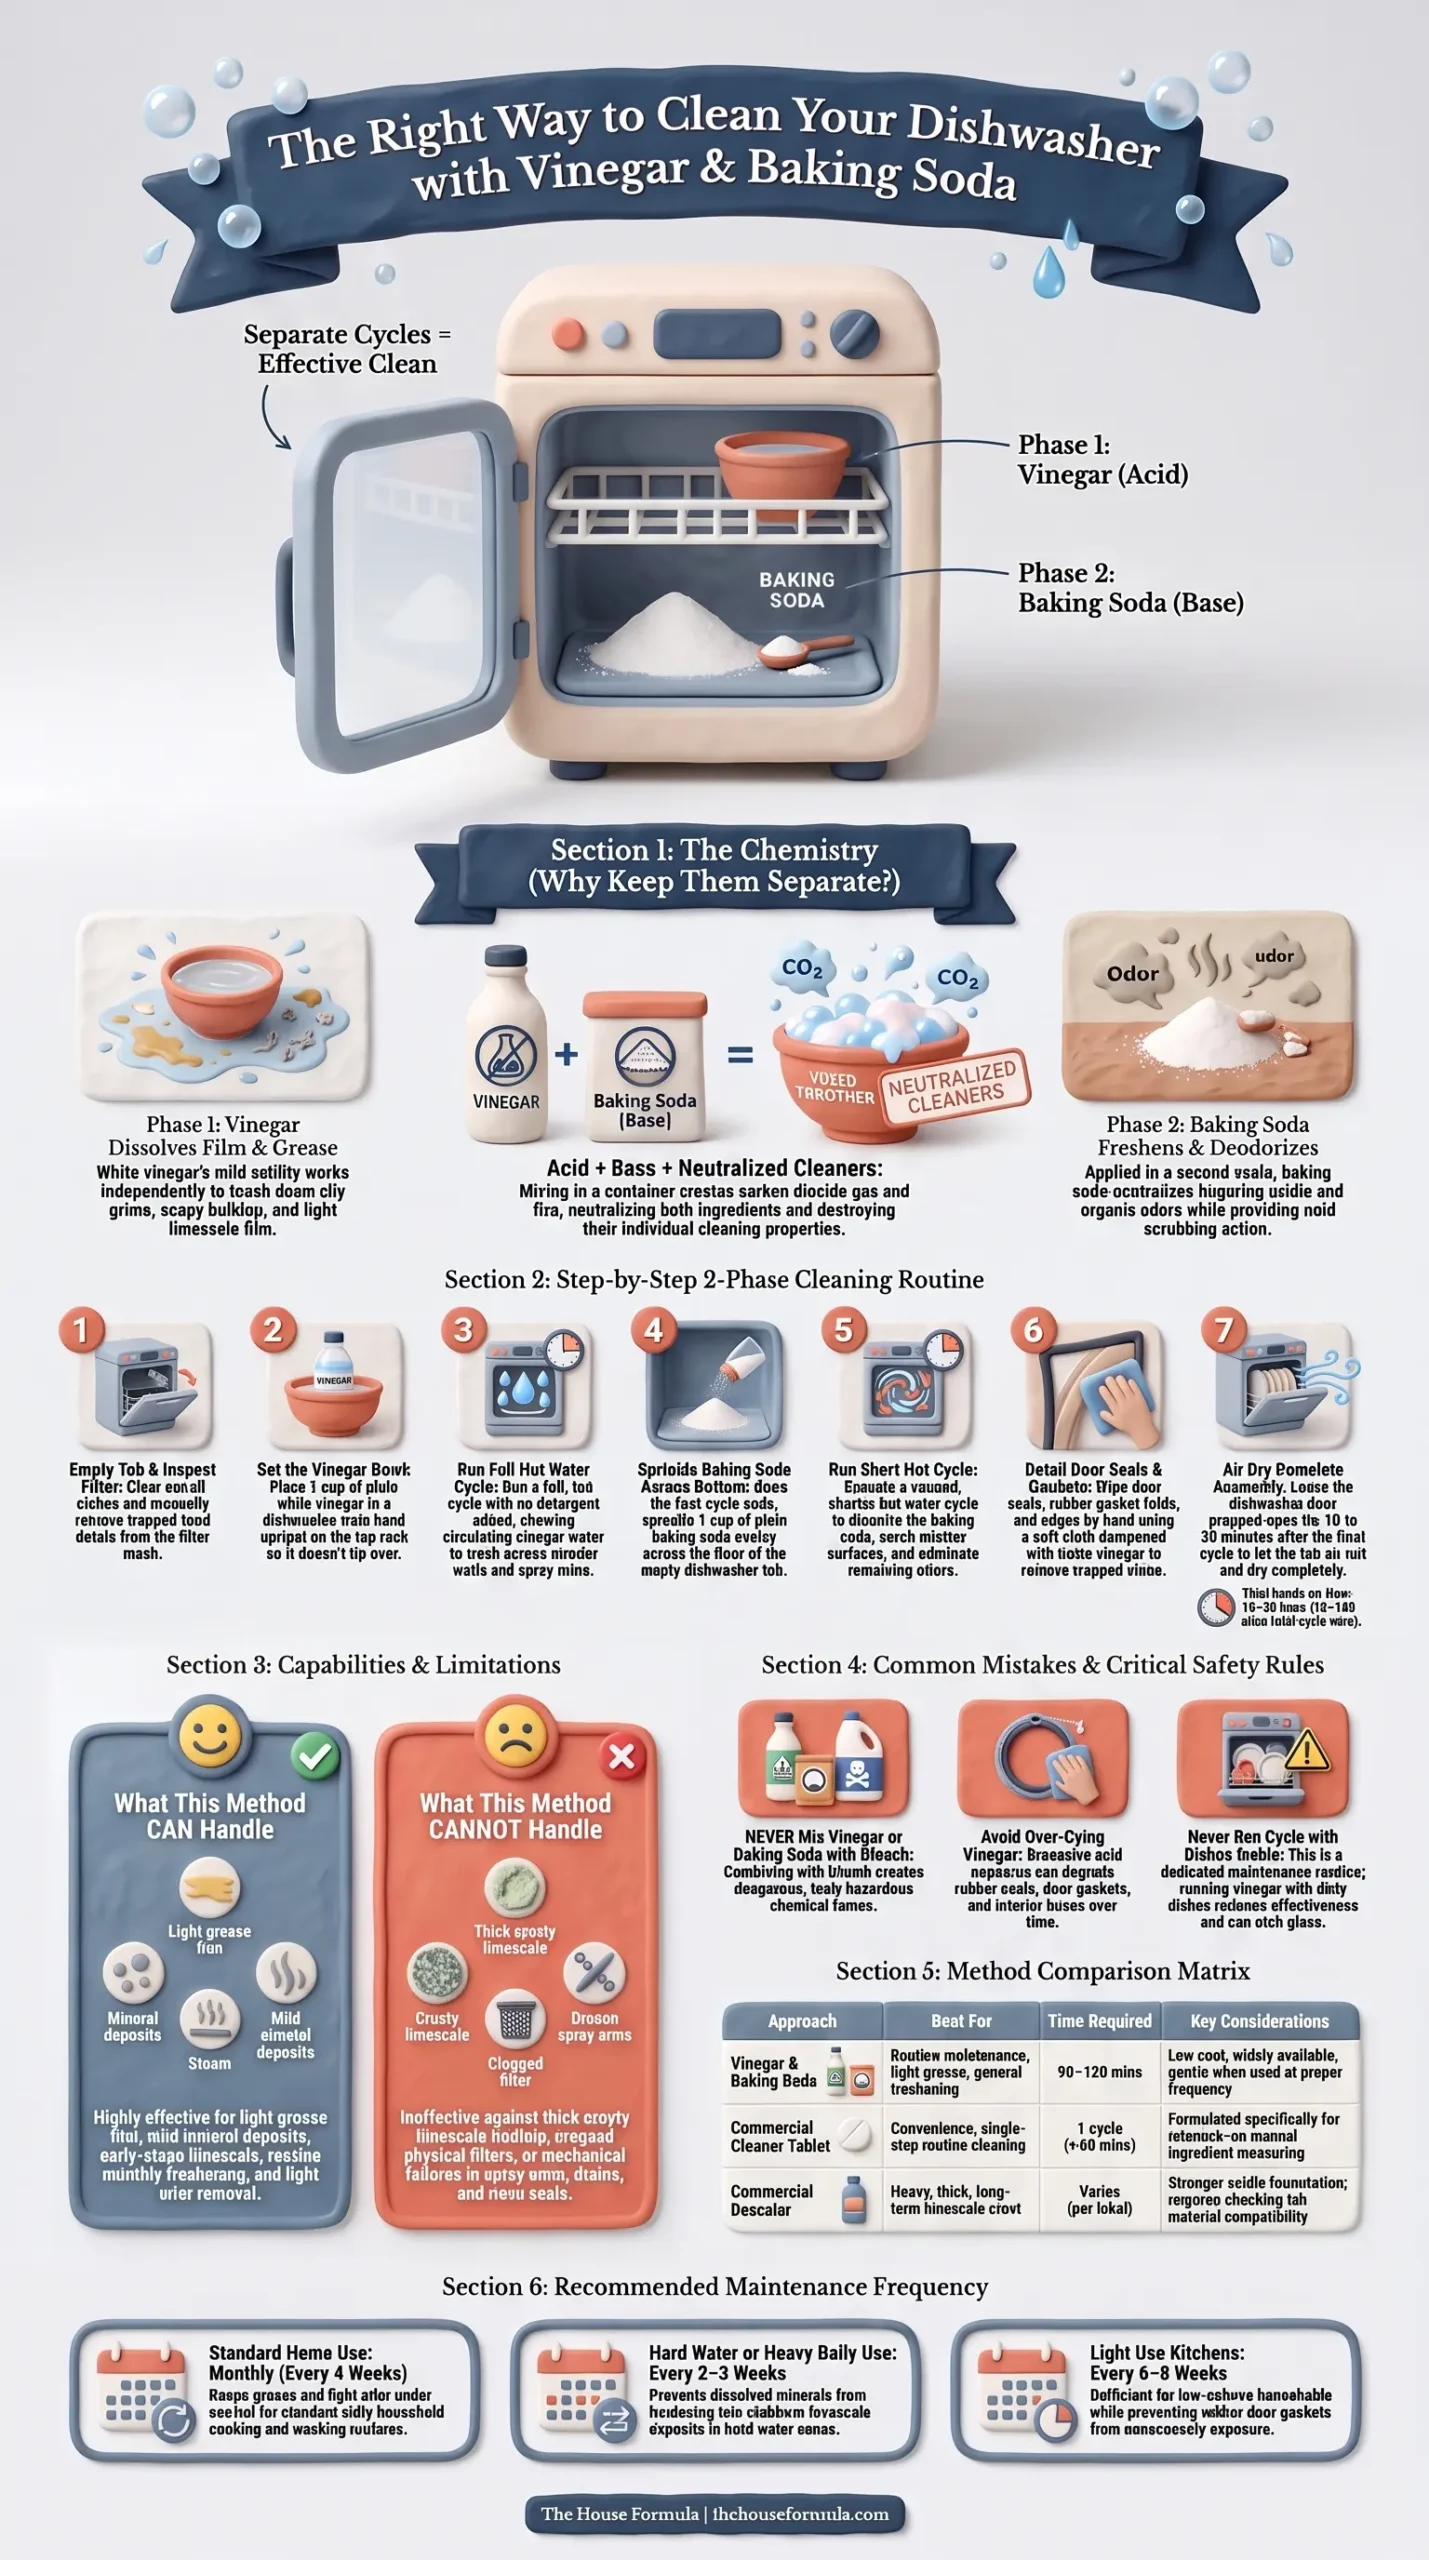
Photo Credit: Hobby Guidebook Editorial
What This Method Can and Can't Handle
Vinegar and baking soda are genuinely useful for routine maintenance, but it helps to know what they're realistically good for.
- Good for: light grease film, mild mineral buildup, general freshening, and light odor control
- Good for: loosening early-stage limescale before it hardens into a thick crust
- Not as effective for: heavy, long-term limescale buildup that's already thick and crusty, which may need a dedicated descaling approach with more soak time
- Not effective for: a clogged or heavily blocked filter, which needs to be physically removed and cleaned by hand
- Not a substitute for: checking and maintaining the spray arm, drain, or door seal individually, since vinegar and baking soda address the interior generally rather than fixing specific mechanical parts
For everyday upkeep, this two-step method covers most of what a typical household dishwasher needs. For more stubborn, long-neglected buildup, a more targeted approach with additional soak time or a stronger product may be necessary.
Common Mistakes When Cleaning a Dishwasher with Vinegar and Baking Soda
A handful of habits reduce how well this method actually works.
- Mixing vinegar and baking soda together in a container before adding them to the dishwasher: this triggers a reaction that neutralizes both ingredients, so run them as separate cycles instead
- Skipping the filter check: a dirty filter recirculates debris regardless of how clean the rest of the interior gets
- Running the vinegar cycle with dishes still inside: this method works best as an empty-dishwasher cleaning cycle, not a regular wash with vinegar added
- Using vinegar far too frequently: occasional use is fine, but very frequent acid exposure can affect rubber seals and gaskets over time
- Expecting one cycle to fix heavy, months-old buildup: thick limescale or deeply set grease often needs a repeat treatment or a stronger, more targeted approach
Best Product for Dishwasher Cleaning with Vinegar and Baking Soda
Plain white vinegar and plain baking soda, both unscented and without additives, are the simplest and most reliable choices for this method. There's no need for a specialty "cleaning vinegar" product, since standard white vinegar from the grocery store works the same way for this purpose. Similarly, plain baking soda, rather than a scented variant, avoids introducing fragrance chemicals that aren't necessary for the actual cleaning function. Keeping the ingredient list this simple also makes it easier to know exactly what's going into the dishwasher and how it will behave.
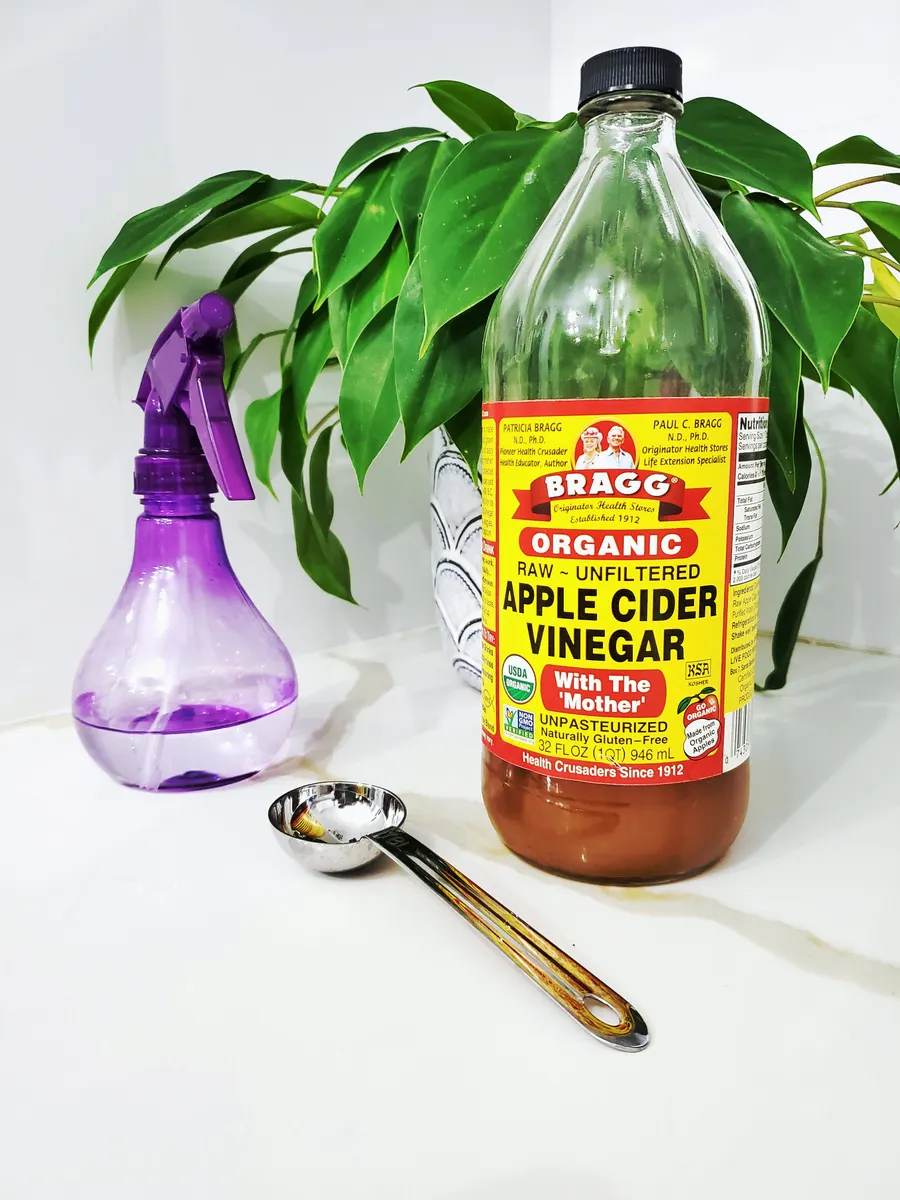
Photo Credit: Rosana Solis
Commercial Cleaner vs. Natural Method for Dishwasher Cleaning
Both routes get a dishwasher clean, and the right choice often depends on how much time you want to spend and how stubborn the buildup has become.
|
Approach |
Best For |
Time Required |
Considerations |
|
Vinegar and baking soda |
Routine maintenance, mild buildup, general freshening |
90 minutes to 2 hours |
Low cost, widely available, gentle when used at a reasonable frequency |
|
Commercial dishwasher cleaner tablet |
Convenience, one-step routine cleaning |
One cycle, under an hour |
Formulated for dishwasher interiors specifically, follow label instructions for frequency |
|
Commercial descaler |
Heavy, long-term limescale buildup |
Follow product instructions |
Often stronger than vinegar for thick mineral deposits, check compatibility with your interior material |
For most households running this maintenance every month or so, vinegar and baking soda handle things well without an added cost. A commercial cleaner tablet can be a reasonable choice for anyone who prefers a single-step product, particularly for households that want a consistent routine without measuring out ingredients each time.
What Cleaning Products Are Safe for This Method?
A short list covers everything this specific process calls for.
- Plain white vinegar: effective for grease and mild mineral deposits, used as its own dedicated cycle
- Plain baking soda: gentle enough for scrubbing and freshening, used as a separate cycle from vinegar
- A soft cloth: for wiping the door seal and gasket by hand
- A soft-bristle brush: useful for any spot-scrubbing needed after the baking soda cycle
Never combine vinegar and baking soda directly in a container, since the resulting reaction reduces the cleaning effect of both. Never mix vinegar or baking soda with bleach or ammonia-based products, since combining these produces hazardous fumes. Avoid abrasive scouring pads on interior walls, since these can scratch stainless steel or certain plastic finishes.
How Often Should You Clean a Dishwasher with Vinegar and Baking Soda?
A monthly cycle of vinegar followed by baking soda works well for most households, keeping grease, mild mineral deposits, and light odors from building up. Households with hard water or heavy daily use may benefit from running this every two to three weeks, while lighter-use kitchens might stretch it to every six to eight weeks. Checking the filter and door seal in between full cleaning cycles helps catch smaller issues before they need a bigger fix.
Photo Credit: UMA media
Building This Into a Regular Routine
A vinegar and baking soda cleaning works best as one part of a broader dishwasher care routine rather than the only maintenance task on the calendar. Filter checks, spray arm inspections, and door seal wiping all play their own role alongside this deeper interior cleaning. The Dishwasher Maintenance Schedule guide lays out how often each of these tasks should happen across a full year, which helps take the guesswork out of when to do what.
The filter specifically deserves its own attention beyond what a vinegar or baking soda cycle provides, since trapped food particles need to be physically removed rather than dissolved. The Dishwasher Filter Cleaning guide covers that process step by step, including how often it needs checking based on how frequently the dishwasher runs.
If you're dealing with a specific stain rather than general buildup, such as a stubborn mark on a plastic dish rack or a discolored spot inside the tub, vinegar and baking soda can sometimes help there too, though stain removal calls for slightly different technique depending on the material involved. The Vinegar & Baking Soda Stain Removal Guide covers that broader use of these two ingredients in more detail.
Frequently Asked Questions
What is the best way to clean a dishwasher with vinegar and baking soda? Run an empty hot cycle with a cup of vinegar on the top rack, then a second cycle with baking soda sprinkled across the bottom. Keep the two as separate cycles rather than combining them directly.
How often should you clean a dishwasher with vinegar and baking soda? Monthly works well for most households, with more frequent cleaning for hard water areas or heavy daily use, and less frequent cleaning for lighter use kitchens.
What cleaning products are safe for a dishwasher with vinegar and baking soda? Plain white vinegar and plain baking soda, used in separate cycles. Avoid combining them directly, and never mix either with bleach or ammonia-based products.
What should you avoid when cleaning a dishwasher with vinegar and baking soda? Avoid mixing the two ingredients together before use, skipping the filter check, and using vinegar so frequently that it affects rubber seals over time.
How can you clean a dishwasher with vinegar and baking soda without damaging it? Run vinegar and baking soda as two separate cycles, use a soft cloth rather than an abrasive pad for hand-wiping, and keep the frequency reasonable rather than running acid-based cycles too often.
A Quick Note on Safety
Never combine vinegar and baking soda directly in a container, since the reaction reduces the effectiveness of both. Never mix either ingredient with bleach or ammonia-based products, since this produces hazardous fumes. If odors, cloudy glassware, or poor cleaning performance persist even after regular vinegar and baking soda cycles, that may point to a mechanical issue worth having checked by a qualified appliance technician.
For more on keeping the rest of your kitchen clean, head back to the complete kitchen cleaning guide.





Leave a Reply