
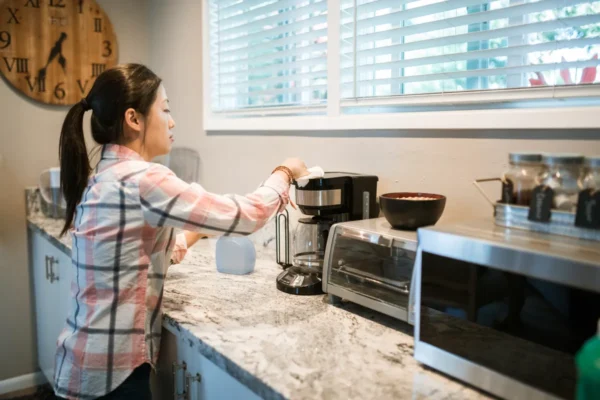
A coffee maker that takes longer to brew than it used to, or coffee that tastes slightly off even with fresh grounds, is usually pointing to mineral buildup inside the machine rather than a problem with your coffee itself. Water passes through the same internal tubing and heating element every single day, and any minerals it carries gradually deposit inside those narrow passages. Coffee maker descaling clears that buildup, while a separate, lighter cleaning routine handles the carafe, basket, and exterior surfaces that come into direct contact with coffee and grounds. This guide is part of the Small Kitchen Appliance Cleaning Guide, and it covers both tasks for standard drip coffee makers, along with how often each one is actually needed.
The Best Way to Clean and Descale a Coffee Maker
Fill the water reservoir with a mixture of equal parts white vinegar and water, then run a full brew cycle without a filter or grounds. Let the vinegar solution sit in the carafe for about 15 minutes once the cycle finishes, then run two to three additional cycles with plain water to rinse out any remaining vinegar taste or smell. Wash the removable carafe, filter basket, and lid by hand with warm, soapy water after each use, and wipe down the exterior with a damp cloth to prevent coffee residue from building up around the buttons and warming plate.
The sections below break this into a full step-by-step process, cover which products work best, and explain how descaling and regular cleaning actually serve two different purposes.
Descaling vs. Regular Cleaning: What's the Difference?
These two tasks often get lumped together, but they solve different problems and need different approaches.
- Regular cleaning handles the parts that touch coffee and grounds directly: the carafe, filter basket, lid, and exterior surfaces. This needs attention after every use or at least daily.
- Descaling targets mineral deposits that build up inside the internal tubing, heating element, and water reservoir from the water itself, regardless of what coffee you're brewing. This needs attention every one to three months depending on your water hardness.
Skipping regular cleaning leads to old coffee oils turning rancid and affecting flavor, while skipping descaling leads to slower brew times, reduced water flow, and eventually a machine that struggles to heat water properly. Both matter, but they run on different schedules and use somewhat different techniques.
Step-by-Step Descaling Process
- Empty the coffee maker completely, removing any leftover grounds, filter, and old coffee from the carafe.
- Mix a solution of equal parts white vinegar and water, enough to fill the water reservoir to its usual brewing capacity.
- Pour the solution into the reservoir and place the empty carafe in position, with no filter or grounds in the basket.
- Run a full brew cycle as you normally would, letting the vinegar solution pass completely through the machine.
- Let the solution sit in the carafe for about 15 minutes once the cycle finishes, which gives the vinegar extra time to work on any remaining deposits in the carafe itself.
- Empty the carafe and run two to three cycles with plain water, discarding the water each time, to rinse out any vinegar taste or smell.
- Check the brewed water for smell or taste after the final rinse cycle. If any vinegar scent remains, run one more plain water cycle before brewing actual coffee.
- Wipe down the exterior and warming plate with a damp cloth once the machine has cooled.
This process takes about an hour total, most of that being the rinse cycles rather than active hands-on work.
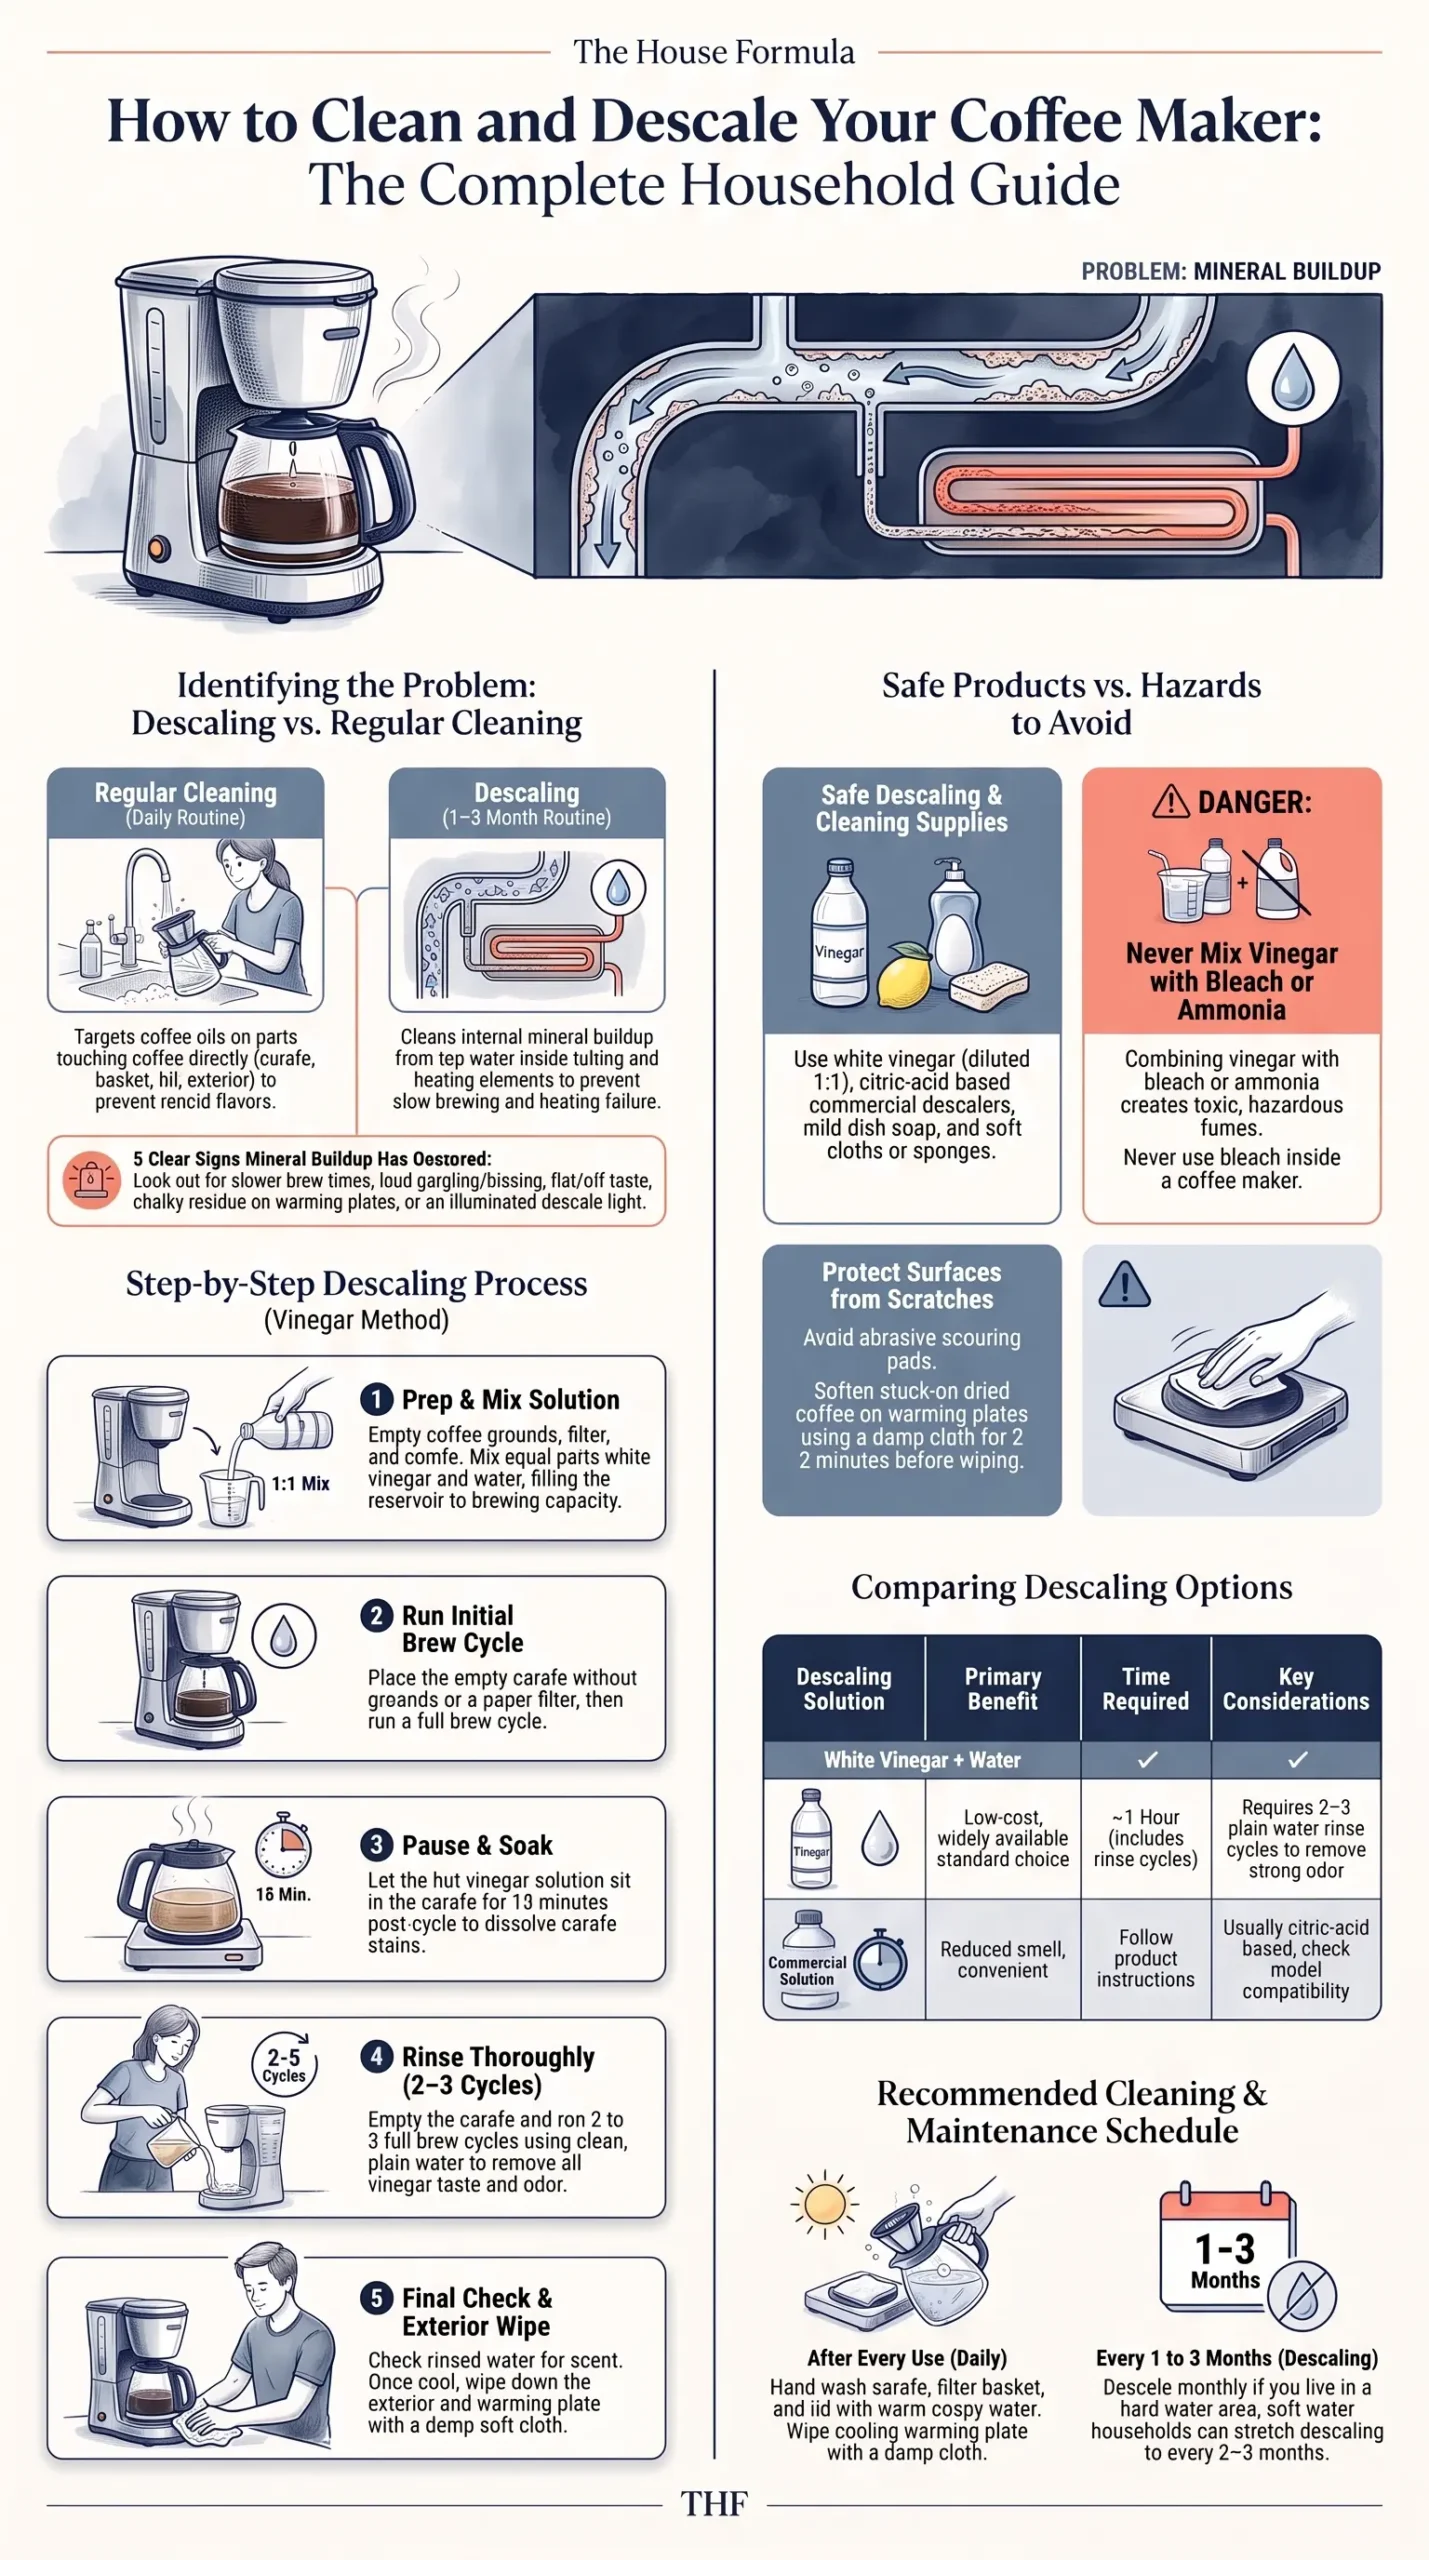
Photo Credit: Hobby Guidebook Editorial
How to Tell If Your Coffee Maker Needs Descaling
A few signs point clearly to mineral buildup rather than a general cleaning issue.
- Noticeably slower brew times than when the machine was newer
- Louder gurgling or hissing sounds during the brew cycle
- Coffee that tastes slightly off or flat, even with fresh grounds and clean water
- Visible white or chalky residue around the water reservoir opening or on the warming plate
- The machine's built-in descale indicator light, if your model has one, turning on
If you're in a hard water area, these signs tend to show up faster and more often than in homes with softer water, since mineral buildup happens more quickly regardless of how carefully you clean the removable parts.
Regular Cleaning: Carafe, Filter Basket, and Exterior
Beyond descaling, the parts that handle coffee and grounds directly need their own routine.
- Wash the carafe by hand with warm, soapy water after each use, rinsing thoroughly to avoid leftover soap taste in the next pot
- Remove and rinse the filter basket daily, since coffee oils can build up on the plastic or metal mesh and turn rancid over time
- Wipe the warming plate with a damp cloth once it has cooled, since dried coffee drips here can create a sticky residue that's harder to remove the longer it sits
- Check the lid and any seals for coffee residue, since these areas are easy to overlook during a quick rinse
Most coffee makers with a removable carafe and basket can handle dish soap and warm water without any special product, making this part of the routine simple to keep up daily.
What Cleaning Products Are Safe for a Coffee Maker?
A short list covers what both descaling and regular cleaning need.
- White vinegar: the standard choice for descaling, diluted with equal parts water for the brew cycle
- Mild dish soap: appropriate for the carafe, filter basket, and lid
- A commercial descaling solution: a citric-acid-based alternative to vinegar, useful for anyone who prefers not to deal with the vinegar smell, though it's worth checking that the product is labeled safe for your specific coffee maker model
- A soft cloth: for wiping the exterior and warming plate without scratching the finish
Avoid using bleach to clean any part of the coffee maker, since bleach residue can linger in plastic components and isn't necessary for this task. Never mix vinegar with bleach or ammonia-based products, since combining them produces hazardous fumes. Avoid abrasive scouring pads on the carafe or exterior housing, since these can scratch glass or plastic surfaces and create spots where residue collects more easily.
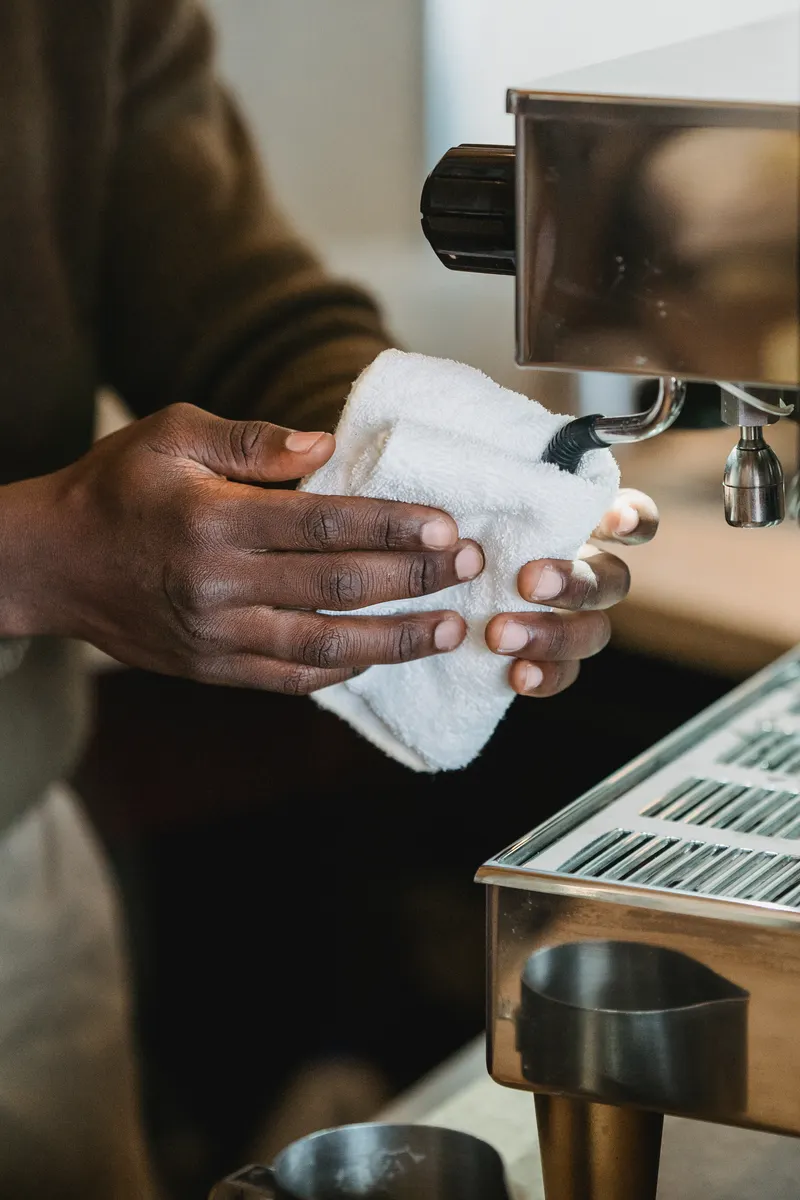
Photo Credit: Mizuno K
Coffee Maker Descaling Without Scratching the Surface
The carafe, warming plate, and exterior housing are all more prone to fine scratches than people expect, particularly with a glass carafe or a plastic housing with a matte finish. A soft sponge or cloth handles daily cleaning well without risking this kind of damage, and it's worth reserving anything more abrasive, like a scrub brush, only for truly stuck-on spots rather than routine wiping. For the warming plate specifically, letting dried coffee soften with a damp cloth for a minute or two before wiping works better than scraping at it directly, since scraping is where most scratches happen. Testing any new cleaning product on a small, less visible spot first is a reasonable habit if you're trying something beyond dish soap and vinegar for the first time.
Commercial Descaling Solution vs. Vinegar
Both options descale effectively, and the choice often comes down to smell tolerance and how often you're willing to run extra rinse cycles.
|
Approach |
Best For |
Time Required |
Considerations |
|
White vinegar and water |
Routine descaling, low cost |
About an hour, including rinse cycles |
Requires extra rinse cycles to clear the smell, widely available |
|
Commercial descaling solution |
Reduced vinegar smell, convenience |
Follow product instructions |
Often formulated with citric acid, check that it's rated safe for your specific machine |
Vinegar remains a reliable, low-cost option for most households, while a commercial descaling product can be worth it for anyone who finds the vinegar smell unpleasant or wants a slightly more streamlined process.
How Often Should You Clean and Descale a Coffee Maker?
Wash the carafe, filter basket, and lid after every use, or at minimum once daily if the machine runs multiple times a day. Descaling works well every one to three months for most households, with hard water areas typically needing this closer to monthly and soft water areas able to stretch it to every two to three months. Checking for the signs of mineral buildup mentioned earlier is a reasonable way to fine-tune this schedule rather than sticking rigidly to a fixed number of weeks.
Is Professional Cleaning Worth It for a Coffee Maker?
Coffee maker descaling is generally a straightforward enough task that professional cleaning services aren't a standard offering for this specific appliance, unlike larger kitchen equipment. Most manufacturers design their machines with home descaling in mind, and the vinegar or commercial descaling solution process covered here handles the vast majority of buildup without needing outside help. If a machine continues brewing poorly even after a proper descaling cycle, that more often points to a mechanical issue, like a failing heating element, which would fall under appliance repair rather than cleaning, and is worth checking against your warranty or a qualified appliance technician instead.
What to Avoid When Cleaning and Descaling a Coffee Maker
A few habits tend to cause more problems than they solve.
- Skipping the plain water rinse cycles after descaling: this leaves a lingering vinegar taste in your next several pots of coffee
- Using bleach anywhere in the machine: unnecessary for this task, and residue can linger in plastic parts
- Letting the filter basket sit unwashed for days: coffee oils turn rancid and affect the taste of future brews
- Scraping dried coffee off the warming plate: this risks scratching the surface, so soften it with a damp cloth first instead
- Descaling too infrequently in a hard water area: waiting until brew times are noticeably slow means buildup has already become significant
Related Coffee and Kettle Care
If you use a single-serve pod machine rather than a traditional drip coffee maker, the internal design and descaling process work a bit differently, since water often follows a narrower, more complex path through these machines. The Descaling a Single-Serve Coffee Maker guide covers that process specifically, including how often single-serve machines typically need this compared to a standard drip model.

Photo Credit: Quintin Gellar
Electric kettles face the same hard water mineral buildup issue, often even more visibly since the heating element sits in plain sight at the bottom of the kettle. The Electric Kettle Descaling guide walks through that process, which shares some similarities with coffee maker descaling but differs in a few key steps due to the kettle's more open design.
Frequently Asked Questions
What is the best way to clean and descale a coffee maker? Run a brew cycle with equal parts vinegar and water, let it sit briefly in the carafe, then run two to three plain water cycles to rinse. Wash the carafe, filter basket, and lid by hand after each use for regular cleaning.
How often should you clean and descale a coffee maker? Wash the carafe and filter basket daily, and descale every one to three months, more often in hard water areas.
What cleaning products are safe for a coffee maker? White vinegar or a commercial descaling solution for internal buildup, and mild dish soap for the carafe, filter basket, and lid. Avoid bleach and never mix vinegar with bleach or ammonia.
What should you avoid when cleaning and descaling a coffee maker? Avoid skipping the rinse cycles after descaling, using bleach anywhere in the machine, and scraping dried coffee off the warming plate.
How can you clean and descale a coffee maker without damaging it? Use a soft cloth or sponge rather than abrasive pads, soften dried coffee with a damp cloth before wiping, and run enough plain water cycles after descaling to fully clear the vinegar.
A Quick Note on Safety
Let the coffee maker cool before wiping the warming plate or handling any heated parts. Never mix vinegar with bleach or ammonia-based products, since this produces hazardous fumes. If the machine continues brewing slowly or unevenly even after a proper descaling cycle, that may point to a mechanical issue worth checking with the manufacturer or a qualified appliance technician.
For more on keeping the rest of your kitchen clean, explore the complete kitchen cleaning guide.





Leave a Reply