

A kitchen sink handles more raw food contact than almost any other surface in the house, from rinsing chicken to washing produce to soaking dishes that sat out too long. That makes it one of the more important spots to disinfect regularly, not just clean. Disinfecting the kitchen sink means going a step beyond removing visible grime, since the goal is reducing the bacteria that can linger after food prep even when the sink looks perfectly clean. This guide is part of the Kitchen Sink & Faucet Cleaning Guide, and it covers how to disinfect safely across the most common sink materials without damaging the surface in the process.
How Do You Disinfect a Kitchen Sink Safely?
Wash the sink first with warm water and dish soap to remove food debris, grease, and surface grime. Rinse thoroughly, then apply a disinfecting solution appropriate for your sink's material, such as a diluted bleach solution for stainless steel or a hydrogen peroxide rinse for more sensitive materials. Let the disinfectant sit on the surface for the contact time listed on the product label, typically several minutes, then rinse well and dry with a clean towel. Never mix bleach with other cleaning products, especially vinegar or ammonia, since this combination produces dangerous fumes.
The rest of this guide breaks down why cleaning and disinfecting are two different steps, how sink material changes which disinfectant is appropriate, and how often this process is actually needed.
Cleaning vs Disinfecting: Why the Difference Matters
Cleaning removes visible dirt, food residue, and grease using soap and water or a general cleaner. Disinfecting goes further, using a product formulated to reduce bacteria and germs on a surface, and it only works effectively on a surface that's already been cleaned first. A sink can look spotless and still carry bacteria from raw meat or poultry, which is why disinfecting matters even when there's no visible mess.
This distinction is worth remembering because disinfecting products, particularly bleach, are formulated for germ reduction rather than grease-cutting. Using a disinfectant as a substitute for regular soap-and-water cleaning skips the debris removal step that lets the disinfectant actually reach the surface underneath.
Know Your Sink Material First
Not every sink material tolerates the same disinfecting approach, and this is the step that prevents accidental damage. A method that's perfectly safe on stainless steel can dull, discolor, or degrade a different material.
|
Sink material |
Disinfecting approach |
What to avoid |
|
Stainless steel |
Diluted bleach solution (check label for dilution ratio) or hydrogen peroxide, rinsed thoroughly afterward |
Leaving bleach solution in prolonged contact, which can cause pitting over time |
|
Porcelain or ceramic |
Diluted bleach is generally tolerated, but check for hairline cracks first, since bleach can seep into cracks and cause discoloration |
Abrasive scrubbing alongside bleach, which can wear down the glaze |
|
Granite composite |
Hydrogen peroxide or a manufacturer-approved disinfectant; bleach is typically not recommended by manufacturers for this material |
Bleach, which can discolor the resin-based surface |
|
Fireclay or farmhouse-style sinks |
Diluted bleach is often tolerated on the glazed surface, but check manufacturer guidance for the specific glaze used |
Prolonged bleach contact on any hairline cracks in the glaze |
|
Copper |
Manufacturer-specific care instructions should be followed; bleach and many standard disinfectants can strip the patina |
Bleach and most standard disinfecting products without checking manufacturer guidance first |
If you're unsure what your sink is made from, checking under the counter for a manufacturer label, or reviewing any documentation from when the sink was installed, is worth doing before applying any disinfectant beyond mild soap and water. When in doubt, a diluted bleach solution rinsed promptly is the most broadly researched option for hard, non-porous materials like stainless steel and porcelain, but it isn't the right default for composite or metal finishes with special coatings.

Photo Credit: KATRIN BOLOVTSOVA
Step-by-Step Disinfecting Process
- Clear the sink of dishes and any items sitting in the basin.
- Wash the entire sink with warm water and a few drops of mild dish soap, using a soft sponge or cloth to remove food residue, grease, and visible grime.
- Rinse thoroughly with clean water, making sure no soap residue remains, since leftover soap can interfere with how well a disinfectant works on the surface.
- Choose a disinfectant appropriate for your sink material, based on the table above. For stainless steel and porcelain, a diluted bleach solution mixed according to the product label's instructions is commonly used. For granite composite or coated finishes, hydrogen peroxide or a product specifically labeled safe for that material is the safer choice.
- Apply the disinfectant to the entire basin, including the drain area and around the faucet base, using a cloth or spray bottle depending on the product.
- Let it sit for the contact time listed on the product label, usually several minutes. This waiting period is what allows the disinfectant to actually work, so don't rinse it away immediately.
- Rinse thoroughly with clean water to remove all disinfectant residue from the surface.
- Dry with a clean towel, since leaving the sink wet can encourage mineral buildup or, in the case of certain finishes, water spotting.
This full process takes about 15 to 20 minutes including contact time, and it's worth doing after handling raw meat, poultry, or seafood, even if you plan to wash the rest of the kitchen later.
What Cleaning Products Are Safe for Disinfecting a Kitchen Sink?
A few products cover most disinfecting needs, though the right choice depends on the sink material involved.
- Diluted bleach solution: effective on stainless steel and most porcelain or ceramic sinks when mixed according to the product label and rinsed thoroughly afterward
- Hydrogen peroxide: a gentler option that works on a broader range of materials, including some sinks where bleach isn't recommended, though it's worth checking manufacturer guidance for your specific sink first
- Commercial disinfecting sprays labeled for kitchen surfaces: convenient and formulated for general kitchen use, but check that the label specifies safety for your sink's material
- Mild dish soap: not a disinfectant on its own, but a necessary first step that removes debris so a disinfectant can actually reach the surface
Distilled white vinegar is often mentioned in general kitchen cleaning contexts, but it's important to be clear here: vinegar is a mild cleaning agent, not a registered disinfectant, and it does not reduce bacteria to the same degree that bleach or hydrogen peroxide do. If disinfecting is the actual goal, vinegar alone isn't the right tool for that job.
What to Avoid When Disinfecting a Kitchen Sink
A few mistakes account for most of the problems people run into with sink disinfecting, ranging from safety issues to surface damage.
- Never mix bleach with vinegar, ammonia, or other acids or cleaning products. This combination produces hazardous fumes and is dangerous in any enclosed kitchen space, regardless of the sink material involved.
- Using bleach on granite composite or copper sinks without checking manufacturer guidance, since these materials can discolor or degrade with bleach exposure.
- Skipping the initial soap-and-water cleaning step, which leaves grease and debris that block the disinfectant from reaching the surface underneath.
- Rinsing the disinfectant away before the label's contact time has passed, which reduces how effective the disinfecting step actually is.
- Using abrasive pads alongside a disinfectant, since scratching the surface while it's already exposed to a stronger chemical increases the risk of surface damage.
- Leaving disinfectant residue on the surface, particularly bleach, since dried residue left in contact with metal over time can contribute to pitting or discoloration.
If you're ever unsure whether a specific disinfectant is appropriate for your sink, testing a small, inconspicuous area first and checking manufacturer documentation is a reasonable precaution before treating the entire basin.
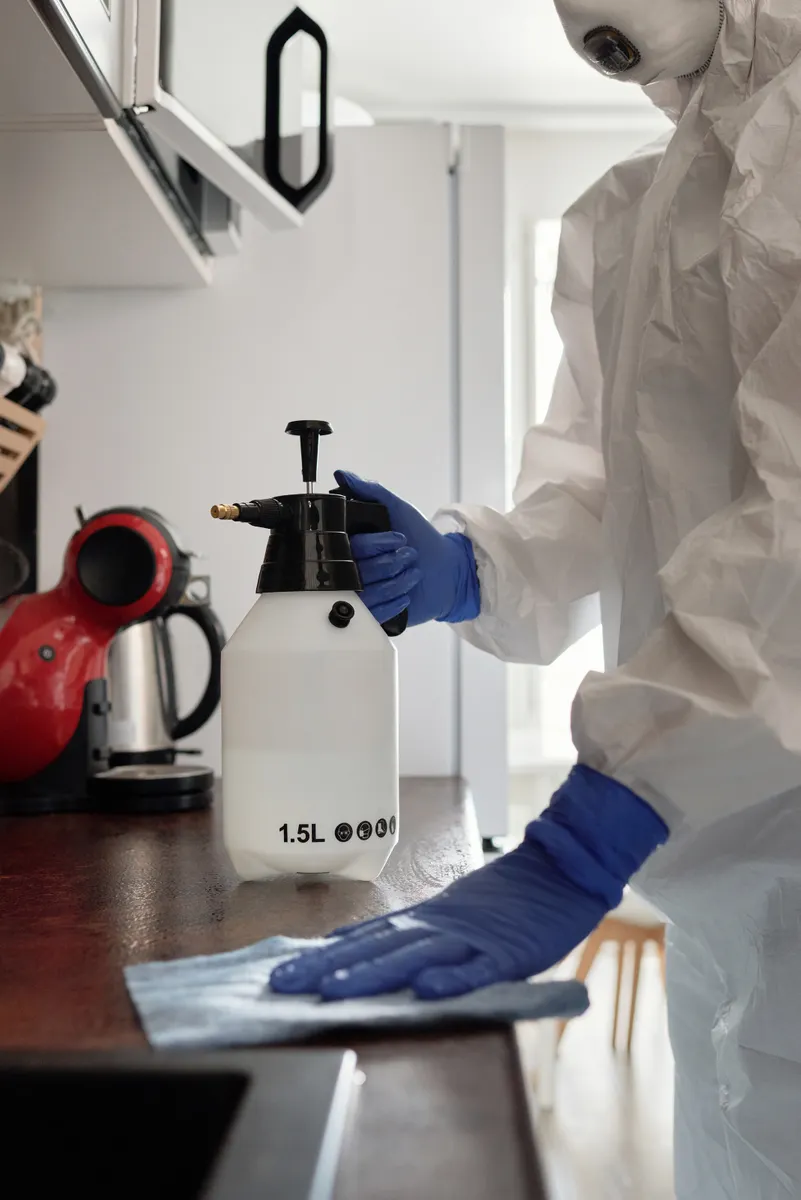
Photo Credit: Matilda Wormwood
How to Tell If Your Kitchen Sink Needs Disinfecting
Some situations call for disinfecting beyond the regular routine, and recognizing them helps decide when a quick soap-and-water wipe isn't quite enough.
- After handling raw meat, poultry, seafood, or eggs, since these foods carry bacteria that a simple rinse doesn't fully address
- After someone in the household has been sick, particularly with a stomach illness, since surfaces touched during that time can carry more bacteria than usual
- A persistent smell coming from the drain or basin even after regular cleaning, which can indicate bacterial buildup that soap alone hasn't addressed
- Visible slimy residue in the basin or around the drain, which often points to bacterial buildup that benefits from a proper disinfecting pass rather than just a wipe-down
Outside of these situations, a well-maintained sink that gets washed with soap and water regularly, plus a disinfecting pass a few times a week, generally stays in good shape without needing disinfectant applied after every single use.
How Often Should You Disinfect a Kitchen Sink?
Wash the sink with soap and water after every use involving food prep, especially raw meat or produce. A full disinfecting pass, following the steps above, works well two to three times a week for most households, with more frequent disinfecting after handling raw poultry or if anyone in the home has been ill. Daily disinfecting generally isn't necessary if the sink is cleaned properly with soap and water in between, though households with higher food safety concerns, such as someone immunocompromised living in the home, may reasonably choose to disinfect more often.
Material-Specific Cleaning Beyond Disinfecting
Disinfecting handles the bacteria side of sink care, but each material also has its own routine cleaning needs that go beyond germ reduction, things like preventing water spots, managing mineral buildup, or keeping a glazed finish from dulling over time.
Stainless steel sinks, for example, benefit from a specific approach to avoid streaking and to bring back shine after disinfecting strips away some of the surface's natural luster temporarily. The Stainless Steel Sink Cleaning guide covers that routine in detail, including how to handle water spots and light scratching.
Porcelain and ceramic sinks have their own considerations too, particularly around avoiding abrasive cleaners that can wear down the glaze over repeated use. The Porcelain & Ceramic Sink Cleaning guide walks through safe products and methods specific to that finish, which pairs well with the disinfecting steps covered here.

Photo Credit: shaza jocarlos
Disinfecting Isn't Limited to the Kitchen
The same basic principles, cleaning before disinfecting, choosing a product appropriate for the surface material, and never mixing bleach with other chemicals, apply just as much to bathroom sinks as they do here. If you're looking to extend the same careful approach to another part of the home, Disinfecting a Bathroom Sink covers the process for that space, including how bathroom-specific concerns like soap scum and toothpaste residue factor into the routine.
Frequently Asked Questions
How do you disinfect a kitchen sink safely? Wash the sink with soap and water first to remove debris, then apply a disinfectant appropriate for your sink's material, such as diluted bleach for stainless steel or hydrogen peroxide for more sensitive finishes. Let it sit for the contact time on the label, then rinse thoroughly and dry.
How often should you clean and disinfect a kitchen sink? Wash with soap and water after every food prep use. A full disinfecting pass two to three times a week covers most households, with more frequent disinfecting after handling raw poultry or during illness in the home.
What cleaning products are safe for a kitchen sink? Mild dish soap for everyday cleaning, plus diluted bleach or hydrogen peroxide for disinfecting, depending on your sink material. Vinegar cleans lightly but isn't a substitute for an actual disinfectant.
What should you avoid when cleaning a kitchen sink? Avoid mixing bleach with vinegar, ammonia, or other cleaning products, and avoid using bleach on materials like granite composite or copper without checking manufacturer guidance first.
How can you clean a kitchen sink without damaging it? Identify your sink's material before choosing a disinfectant, always clean with soap and water first, rinse disinfectants thoroughly afterward, and avoid abrasive scrubbing tools that can scratch the surface while it's exposed to a stronger chemical.
A Quick Note on Safety
Disinfecting a kitchen sink involves stronger chemicals than routine cleaning, so a few precautions matter here more than usual. Never mix bleach with vinegar, ammonia, or other acids or cleaning products, since this produces hazardous fumes in an enclosed space. Always check the product label for the correct dilution ratio and contact time, and confirm that the disinfectant is appropriate for your specific sink material before applying it to the whole basin. Work with a window open or fan running for ventilation when using bleach or a strong commercial disinfectant, and rinse the surface thoroughly afterward. If your sink shows unusual discoloration, cracking, or damage after disinfecting, stop using that product and consult the manufacturer's care instructions or a professional for further guidance.
For more on keeping the rest of your kitchen clean, explore the complete kitchen cleaning guide.





Leave a Reply