
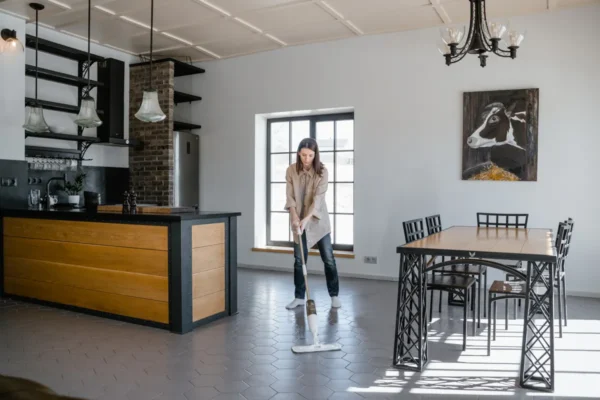
The kitchen floor takes more daily abuse than almost any other surface in the house. Foot traffic, dropped food, grease splatter, and spilled liquids all land on it, often within the same hour. Good kitchen floor cleaning is not complicated, but it does depend on knowing what your floor is made of and matching your method to that material. Get this wrong and you can dull a finish, warp a board, or leave a sticky film that attracts more dirt than it removes.
This guide walks through a full, practical routine for cleaning a kitchen floor, covers how often to do it, and explains which products are safe (and which ones to avoid) depending on your flooring type. For the bigger picture of how floor care fits into the rest of the room, see the complete kitchen cleaning guide.
What Is the Best Way to Clean a Kitchen Floor?
The best way to clean a kitchen floor is to remove loose debris first, then mop with a cleaner suited to your specific flooring material, using only as much water as the material can safely handle. In short order, that means:
- Sweep or vacuum to clear crumbs, dust, and grit.
- Identify your floor type (tile, hardwood, laminate, vinyl, or stone).
- Choose a cleaner made for that material, diluted correctly.
- Mop in small sections, working from the back of the room toward the doorway.
- Dry the floor with a clean towel or let it air-dry fully before walking on it.
The details matter more than the outline, though, especially the parts about water quantity and product choice. Those two factors cause most of the floor damage people run into.
Step-by-Step Kitchen Floor Cleaning Guide
Follow these steps in order. Skipping the early steps is one of the most common reasons a mopped floor still looks dull or gritty afterward.
1. Clear the Floor
Move chairs, pet bowls, and floor mats out of the way. A few extra minutes here means you will not be mopping around obstacles or leaving dry patches under them.
2. Sweep or Vacuum First
Always remove loose dirt and crumbs before introducing any liquid. Mopping over grit just drags it across the floor and can scratch finishes, especially on hardwood and laminate. A soft-bristle broom or a vacuum with a hard-floor setting works well. Pay extra attention to corners, along the base of cabinets, and under the toe kick, where debris tends to collect.
3. Check the Floor Material
This is the step people skip most often, and it is the one that determines everything else. Tile, sealed hardwood, laminate, vinyl, and natural stone each respond differently to water and cleaning chemicals. If you are unsure what you have, look at the flooring warranty paperwork, ask a landlord or previous owner, or examine the seams: hardwood shows real wood grain, laminate has a printed pattern under a clear layer, and vinyl is usually softer underfoot and slightly flexible at the edges.
4. Choose the Right Cleaner
Match the product to the material. A cleaner that is fine on ceramic tile can strip the finish off hardwood, and a hardwood cleaner may not cut through grease on tile grout. The product section below breaks this down by material, including specific guidance for tile kitchen floor cleaning and hardwood kitchen floor cleaning.
5. Mop in Sections
Work in small areas, roughly one arm's length at a time, so the cleaner does not sit on the floor too long before you wipe it up. Start at the far corner of the kitchen and work backward toward the doorway so you are not stepping on freshly cleaned flooring. Wring the mop so it is damp, not dripping. Standing water is the single biggest risk factor for warping, staining, or clouding a finish, regardless of material.
6. Rinse If the Product Requires It
Some cleaners need a plain-water rinse pass to prevent residue buildup, which can leave floors looking hazy or feeling slightly sticky underfoot. Check the product label. If it says "no-rinse," a second pass with plain water is not necessary and may even undo the benefit.
7. Dry the Floor
Use a clean, dry towel or microfiber mop to pick up remaining moisture, or let the floor air-dry with a window cracked or a fan running. Wet floors are a slip hazard, and prolonged moisture is especially damaging for hardwood and some laminate products.

Photo Credit: Tima Miroshnichenko
How Often Should You Clean a Kitchen Floor?
Kitchen floors need more frequent attention than floors in other rooms because of grease, food spills, and higher foot traffic. A simple, sustainable pattern looks like this:
|
Frequency |
Task |
|
Daily |
Quick sweep or spot-clean visible crumbs and spills |
|
2 to 3 times per week |
Full mop of the whole floor |
|
Weekly |
Wipe down baseboards and the base of cabinets |
|
Monthly |
Move appliances and furniture to clean underneath and behind |
Households that cook often, have pets, or have young kids may need to mop more frequently, sometimes daily. Households with lower kitchen traffic can often stretch full mopping to once a week without the floor looking neglected. The goal is consistency rather than intensity: a floor cleaned lightly and often stays easier to manage than one left for a big weekend deep clean.
What Cleaning Products Are Safe for a Kitchen Floor?
Product safety depends entirely on the flooring material. Using the wrong cleaner is one of the fastest ways to dull a finish or void a manufacturer's warranty.
|
Floor Type |
Safe Options |
Avoid |
|
Ceramic or porcelain tile |
pH-neutral floor cleaner, warm water with mild dish soap |
Vinegar or acidic cleaners on natural stone-look tile, excess wax buildup |
|
Sealed hardwood |
Cleaner labeled specifically for hardwood, used sparingly |
Steam mops, excess water, vinegar-based solutions, wax on polyurethane finishes |
|
Laminate |
Laminate-specific cleaner or a barely damp microfiber mop |
Standing water, steam mops, wax-based products |
|
Vinyl (sheet or LVT) |
pH-neutral cleaner, warm water with mild dish soap |
Solvent-based cleaners, abrasive scrubbers, wax |
|
Natural stone (marble, travertine, slate) |
Stone-safe, pH-neutral cleaner only |
Vinegar, lemon juice, or any acidic cleaner, which can etch the surface |
For tile floors specifically, including grout care and stain prevention, see the full tile kitchen floor cleaning guide. For real wood floors, moisture control and finish protection deserve their own detailed approach, covered in hardwood kitchen floor cleaning.
A general dish soap and warm water solution is a reasonably safe default for tile and vinyl when you are not sure which specialty product to reach for, but it is not a substitute for a manufacturer-recommended cleaner on hardwood or natural stone. When in doubt, check the flooring manufacturer's care instructions before applying anything new, and always test an unfamiliar product on a small, hidden section first.
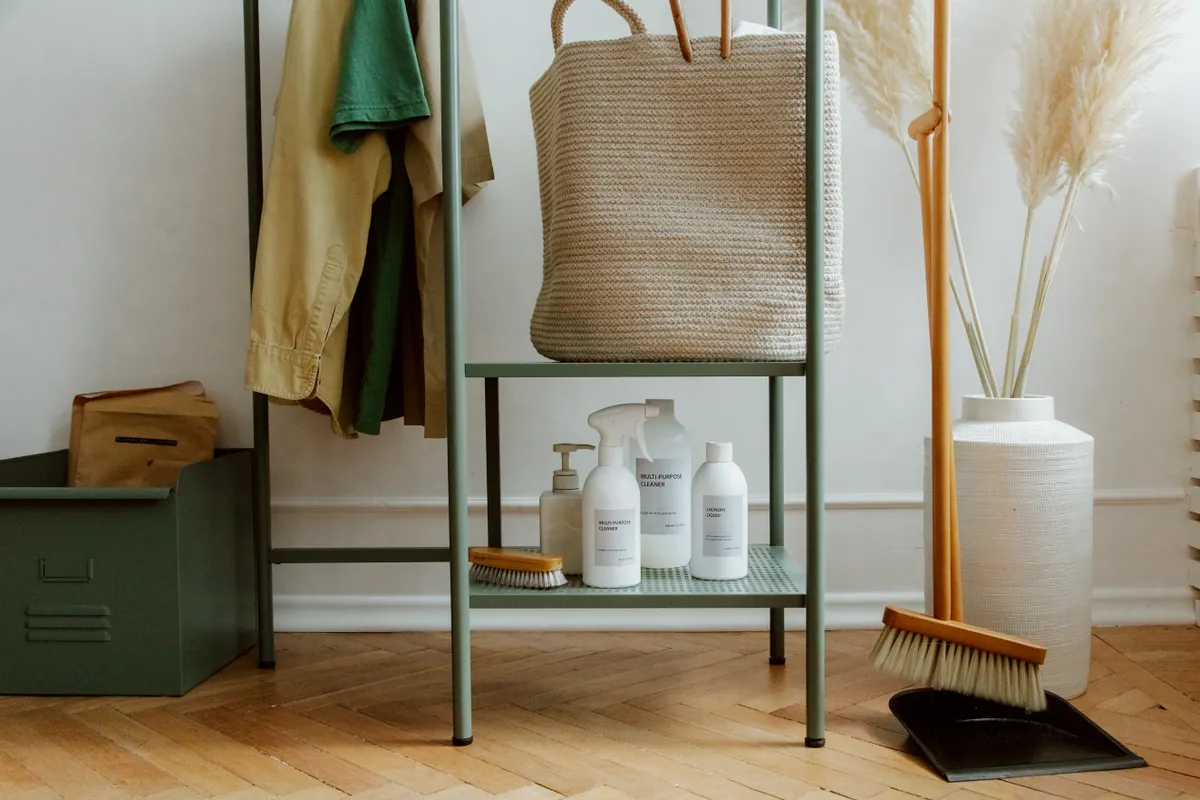
Photo Credit: Ron Lach
What Should You Avoid When Cleaning a Kitchen Floor?
A few habits cause the majority of floor damage complaints:
- Excess water on wood or laminate. These materials can swell, warp, or develop a cloudy finish when water sits too long or seeps between seams.
- Vinegar on natural stone. Vinegar is mildly acidic and can etch marble, travertine, and similar stone surfaces, leaving dull spots that are difficult to reverse.
- Steam mops on sealed hardwood or laminate. The heat and moisture can damage the finish or the core material underneath.
- Wax on polyurethane-finished hardwood. Modern hardwood finishes do not need wax, and adding it creates a slippery, uneven film.
- Mixing cleaning chemicals. Never combine bleach with ammonia, vinegar, or other acidic products. This combination can release dangerous fumes. If a floor needs disinfecting, use a single product labeled for that purpose rather than layering multiple chemicals.
- Abrasive scrub pads on shiny or coated finishes. These can create fine scratches that dull the surface over time, even if the damage is not obvious right away.
How Can You Clean a Kitchen Floor Without Damaging It?
The safest approach is to treat every unfamiliar floor as delicate until you confirm otherwise. A few habits go a long way:
- Test new products on a small, hidden area first, such as inside a pantry doorway, before using them across the whole floor.
- Use the least aggressive method that gets the job done. Start with a damp mop and mild cleaner before reaching for a stronger product.
- Match water levels to the material. Tile can generally handle more moisture than wood or laminate.
- Dry the floor promptly rather than letting it air-dry indefinitely, especially in humid climates.
- Use floor mats at entry points and near the sink to reduce the amount of grit and moisture the floor absorbs day to day.
- Address spills immediately, particularly oil, wine, or anything acidic, since these can etch or stain certain finishes if left to sit.

Photo Credit: RDNE Stock project
Common Mistakes to Avoid With Kitchen Floors
Even careful homeowners fall into a few predictable traps:
- Mopping before sweeping. This just turns dry dirt into a gritty paste that scratches the floor.
- Using too much cleaner. More product does not mean cleaner floors. Excess cleaner often leaves a sticky residue that attracts more dust.
- Ignoring the grout or seams. Grout lines and laminate seams trap grime that a quick mop pass will not remove.
- Skipping the drying step. Wet floors are both a slip hazard and a risk for warping in wood-based materials.
- Using the wrong tool. A string mop can push too much water into seams, while an overly stiff brush can scratch softer materials like vinyl.
- Forgetting under appliances. The refrigerator, oven, and dishwasher all sit on the floor, and grease and crumbs build up underneath them over time. A monthly check keeps this from becoming a bigger job later.
A Simple Beginner's Routine
If you are just building a kitchen floor cleaning habit, keep it simple at first:
- Sweep daily, even if it takes two minutes.
- Mop two to three times a week with a cleaner made for your floor type.
- Wipe up spills the moment they happen, especially grease or anything acidic.
- Do a deeper clean, including under appliances, once a month.
This routine covers the basics for kitchen floor cleaning for beginners without requiring a long list of specialty products. As you get more familiar with how your specific floor reacts to different cleaners, you can adjust frequency and product choice from there.
Frequently Asked Questions
What is the best way to clean a kitchen floor? Sweep or vacuum first to remove loose debris, then mop with a cleaner matched to your flooring material using a damp, not soaked, mop. Dry the floor afterward rather than letting water sit.
How often should you clean a kitchen floor? Sweep or spot-clean daily, mop two to three times a week, and do a deeper clean under appliances once a month. Busier kitchens may need more frequent mopping.
What cleaning products are safe for a kitchen floor? It depends on the material. Tile and vinyl generally tolerate a pH-neutral cleaner or mild dish soap and water. Hardwood needs a wood-specific cleaner used sparingly. Natural stone requires a pH-neutral, stone-safe product, since acidic cleaners like vinegar can etch the surface.
What should you avoid when cleaning a kitchen floor? Avoid excess water on wood and laminate, vinegar on natural stone, steam mops on sealed hardwood, wax on modern finished hardwood, and mixing cleaning chemicals like bleach and ammonia.
How can you clean a kitchen floor without damaging it? Test unfamiliar products on a small hidden area first, use the least amount of water the material allows, dry the floor promptly, and choose cleaners made specifically for your flooring type rather than a one-size-fits-all product.
What common mistakes should you avoid with kitchen floors? The most frequent mistakes are mopping before sweeping, using too much cleaner or water, skipping the drying step, and forgetting to clean under appliances during a deeper monthly clean.
A Quick Safety Note
Always check the manufacturer's care instructions for your specific flooring before applying an unfamiliar cleaning product, since finishes and sealants vary between products even within the same material category. Never mix cleaning chemicals, particularly bleach with ammonia or acidic products like vinegar, as this can produce hazardous fumes. Use cleaning products in a ventilated space, and if a floor has extensive water damage, mold, or an unknown stain that will not respond to normal cleaning, it is reasonable to bring in a flooring professional rather than experimenting further.
For more kitchen care topics, including countertops, appliances, and cabinets, return to the complete kitchen cleaning guide.





Leave a Reply