
Spills happen in every kitchen, sometimes several times a day. A splash of sauce on the counter, a sticky ring left by a coffee cup, grease spatter near the stove: none of it is a big deal if you catch it early and use the right method. The trouble starts when a spill sits too long and turns into residue that's harder to lift.
This guide walks through kitchen spill cleanup from start to finish, covering fresh spills, dried residue, and the burnt-on messes that build up around cooktops and ovens. For the full picture of routine kitchen upkeep, Back to the complete kitchen cleaning guide covers everything from counters to appliances in one place.
The Fastest Way to Handle a Kitchen Spill
For most kitchen spills, the same basic sequence works:
- Wipe up the excess right away with a paper towel or clean cloth.
- Identify the surface you're working with (counter, stovetop, floor, appliance).
- Pick a cleaner suited to both the spill and the surface, not just whatever is closest.
- Apply it, let it sit briefly if the label allows, then wipe or rinse.
- Dry the area completely so no streaks, water spots, or slick residue remain.
The details change depending on what spilled and where, but this order rarely does. Acting quickly is the single biggest factor in how easy the cleanup turns out to be.
Why Kitchen Spills Need Different Cleaning Approaches
Not every spill behaves the same way, and not every kitchen surface reacts the same way to a given cleaner. A splash of milk on a laminate counter is a two-second wipe. The same milk left on unsealed wood or natural stone can soak in and leave a dull mark if it's not caught quickly.
Spills generally fall into a few categories:
- Liquid spills: water, juice, milk, broth. These spread fast but usually lift easily if wiped before they dry.
- Sugary or sticky spills: syrup, soda, jam. These can leave a tacky film that attracts dust and grime if not fully rinsed.
- Oily or greasy spills: cooking oil, butter, pan drippings. These need a degreasing approach, not just water.
- Starchy or food-based residue: sauce, batter, cheese. These can dry into a crust that needs soaking or gentle scraping.
The surface matters just as much as the spill type. Sealed stone, stainless steel, laminate, tile, and painted cabinets each respond differently to moisture, acids, and abrasive scrubbing. When a spill has already dried into a stubborn mark on a specific material, a more targeted, material-specific method usually works better than general spill cleanup.
Cleaning Fresh Kitchen Spills Before They Set
The easiest spill to clean is one that hasn't had time to dry. Fresh liquid spills should be blotted, not smeared, especially on grout lines, wood cabinets, or unsealed stone where wiping can push moisture into seams and pores. A folded paper towel pressed straight down lifts most of the liquid without spreading it further.
For sticky spills like syrup or soda, a damp cloth with a small amount of dish soap usually cuts through the residue in one or two passes. Rinse the cloth often so you're not just moving sugar residue from one spot to another. Oily spills respond best to dish soap as well, since it's designed to break down fats and grease, unlike plain water, which can spread oil around instead of lifting it.
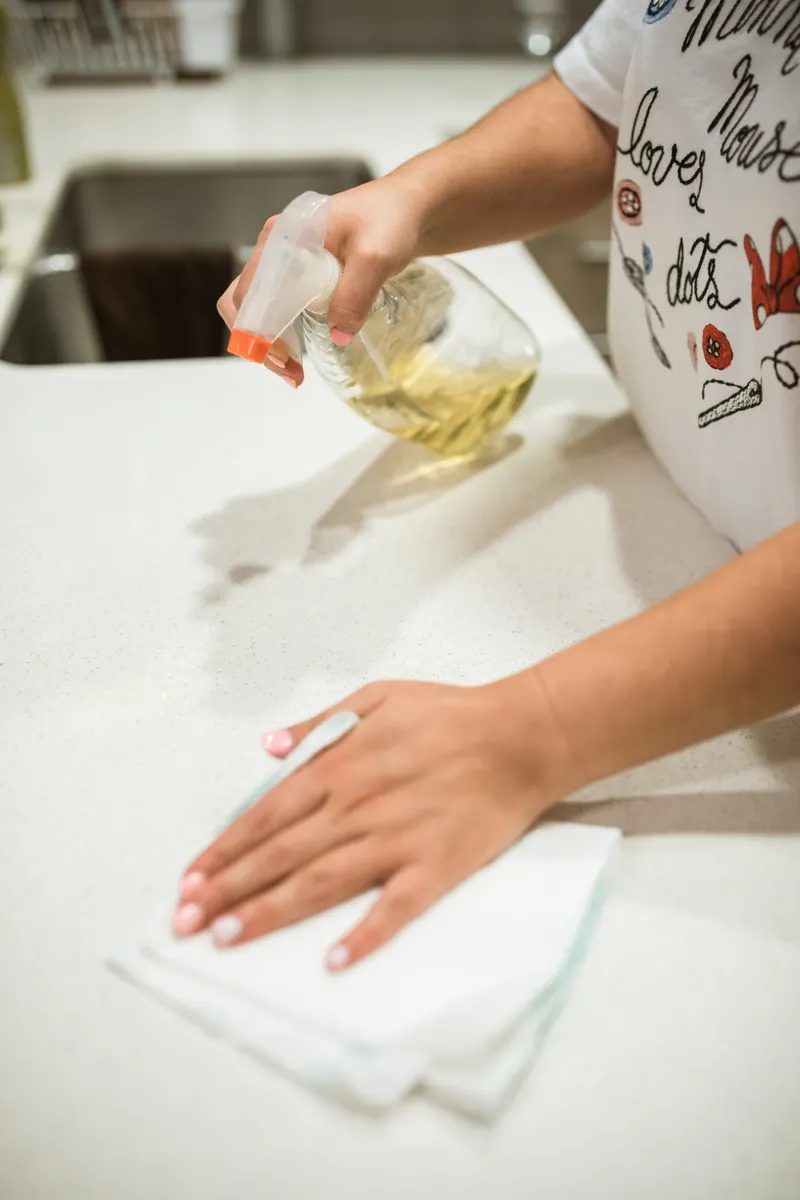
Photo Credit: RDNE Stock project
Timing matters more than most people think. A spill wiped within a minute or two rarely needs anything beyond soap and water. The same spill left for twenty minutes on a warm stovetop or under kitchen lighting can start to set, especially anything with sugar or starch in it. If you're dealing with a spill that's already begun to dry, a slightly damp cloth left on the area for a minute or two will usually soften it enough to wipe clean without scrubbing.
For a complete walkthrough of technique by spill type and surface, Cleaning Fresh Kitchen Spills Before They Set covers the process in more depth than a general overview can.
What Happens When Spills Are Left Too Long
Once a spill dries, it stops behaving like a spill and starts behaving like residue. Sugar hardens into a glaze. Sauce forms a crust. Grease cools and thickens into a film that grabs dust and grime. At this stage, wiping alone usually isn't enough.
Dried residue generally needs one of two approaches: softening it with moisture, or lifting it with light abrasion.
- Softening: lay a damp cloth or paper towel over the spot for several minutes to loosen dried food or sugar before wiping.
- Light abrasion: use a soft-bristle brush, a non-scratch scrub sponge, or a paste made from baking soda and water for residue that doesn't respond to moisture alone.
Avoid scraping dried residue with a knife or metal tool, especially on nonstick pans, glass cooktops, or painted cabinet surfaces. It's easy to scratch a finish trying to speed things up, and a scratch is a much longer-term problem than a few extra minutes of soaking.
Removing Burnt Food Residue
Burnt-on residue is the most stubborn version of this problem, and it shows up most often on stovetops, in ovens, and on the bottoms of pots and pans. The good news is that most burnt food, even when it looks permanent, will lift with enough soak time and the right method.
A common and reliable approach for burnt cookware and stovetop grates is a baking soda paste: mix baking soda with a small amount of water until it forms a thick paste, spread it over the burnt area, and let it sit for 15 to 30 minutes before scrubbing with a non-scratch sponge. For heavier buildup, some people let the paste sit longer, even overnight, which softens tougher residue without needing harsh scrubbing.
For oven interiors, follow the manufacturer's guidance first, since some oven coatings and self-cleaning cycles have specific requirements. On non-self-cleaning ovens, a paste of baking soda and water applied to cooled surfaces and left for several hours (or overnight) typically loosens baked-on grime enough for an easy wipe the next day.
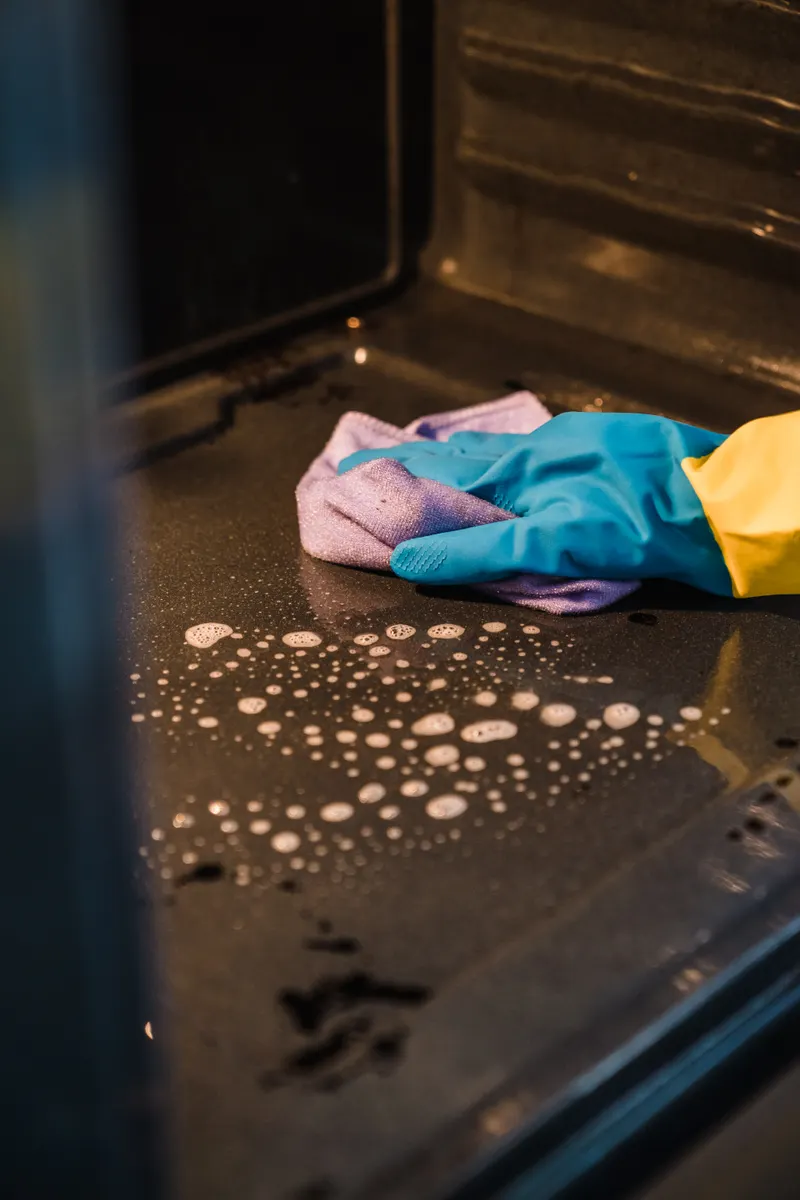
Photo Credit: Liliana Drew
A few things to avoid with burnt residue:
- Don't use metal scouring pads on nonstick, ceramic, or glass surfaces, since they can scratch the finish permanently.
- Don't apply oven cleaner to a hot oven or near an active flame; always let surfaces cool first and follow label directions.
- Don't scrub aggressively on a cold cast iron pan right after cooking; letting it cool slightly and soaking briefly prevents warping and protects the seasoning.
Because burnt residue often involves specific pans, finishes, and appliance types, Removing Burnt Food Residue breaks down the method by surface in more detail.
Safe Products for Kitchen Spill Cleanup
Most kitchen spills don't need a specialty product. A few basics handle the majority of situations:
|
Cleaner |
Best Use |
Caution |
|
Dish soap and warm water |
Everyday spills, grease, food residue |
Safe for most sealed surfaces; rinse fully to avoid film |
|
Baking soda paste |
Dried or burnt-on food, mild scrubbing |
Test on painted or delicate finishes first |
|
Diluted vinegar solution |
Cutting through sugary or sticky residue |
Avoid on natural stone (marble, granite, limestone); can etch the surface |
|
All-purpose kitchen cleaner |
General countertop and appliance wiping |
Check the label for material compatibility before use |
Never mix cleaning products unless the label confirms it's safe. Bleach should never be combined with ammonia, vinegar, or other acidic cleaners, since the combination can produce dangerous fumes. If you use bleach anywhere in the kitchen, rinse the area fully and let it dry before applying any other cleaning product.
Vinegar is a popular natural option for cutting through sticky or sugary residue, but it's an acid, which means it isn't suitable for every surface. Natural stone counters, in particular, can etch or dull if vinegar sits on them, even briefly. When in doubt about a surface, test any new cleaner on a small, hidden spot first before using it on the whole area.
Surface-by-Surface Quick Reference
Different kitchen surfaces call for slightly different handling, even when the spill itself is the same. Countertops made of sealed granite or quartz tolerate mild cleaners well, but unsealed stone needs gentler treatment and quick drying. Stainless steel resists most spills easily but shows water spots if left to air dry, so a quick towel dry after wiping keeps it looking clean. Painted or wood cabinets should avoid standing moisture altogether, since trapped water at the seams can eventually cause swelling or finish damage.
|
Surface |
Recommended Approach |
Avoid |
|
Laminate or quartz counters |
Dish soap and water, or all-purpose cleaner |
Abrasive scouring pads |
|
Natural stone counters |
Mild soap, immediate drying |
Vinegar, acidic cleaners, standing liquid |
|
Stainless steel sinks and appliances |
Dish soap, dry with a towel to prevent spotting |
Steel wool, chlorine-based cleaners |
|
Glass or ceramic cooktops |
Baking soda paste for burnt spots, cooktop-specific cleaner |
Metal scrapers on a cold surface without checking manufacturer guidance |
|
Tile or grout floors |
Warm water, mild cleaner, blot rather than smear on grout lines |
Excess standing water on grout seams |
|
Painted or wood cabinets |
Damp cloth, dry immediately |
Soaking, harsh solvents |
If you're not sure what a countertop or cabinet finish is made of, start with the gentlest option: warm water and mild dish soap. It's rarely wrong, and it won't risk damaging a surface you're not certain about.
Photo Credit: Jason Deines
How Often Should You Clean Kitchen Spills and Residue?
There's no fixed schedule for spills, since they happen unpredictably, but the general rule is simple: clean a spill as soon as you notice it, not at the end of the day. Letting spills accumulate makes each one harder to remove and increases the chance that something dries into a stain or attracts pests.
Beyond individual spills, a few habits help keep residue from building up:
- Wipe counters and the stovetop after every meal prep session, not just once a day.
- Check under appliances (toasters, coffee makers, stand mixers) weekly, since crumbs and splashes collect there unnoticed.
- Do a quick residue check on the stovetop and around the sink every few days, catching anything that's started to dry before it hardens further.
Kitchens that see heavy daily cooking generally need more frequent spot-cleaning than kitchens used mainly for reheating or light meal prep. The goal isn't a rigid schedule; it's catching spills while they're still easy to handle.
Common Mistakes to Avoid With Kitchen Spill Cleanup
A few habits make spill cleanup harder than it needs to be:
- Waiting too long. Even a short delay lets sugar, starch, and grease begin to set, turning an easy wipe into a scrubbing job.
- Using the wrong cloth. Rough scouring pads on delicate finishes can scratch, while a soft cloth on heavy burnt residue may just push grime around without lifting it.
- Skipping the rinse step. Leftover soap or cleaner residue can attract more dust and grime, and on food-prep surfaces it's worth a final rinse with plain water.
- Mixing cleaning products without checking. Combining bleach with vinegar, ammonia, or other acidic products can create hazardous fumes; always check that products are safe to use together before combining them.
- Scraping instead of soaking. Metal tools speed things up but risk scratching nonstick coatings, glass cooktops, and painted finishes.
- Ignoring the surface type. A method that works on stainless steel isn't automatically safe on natural stone or painted wood.
Most of these mistakes come from trying to save time. In practice, a short soak or a slightly damp cloth left in place for a few minutes usually saves more effort than aggressive scrubbing does.
Preventing Spills From Becoming Stains
The best way to avoid deep cleaning sessions is to stop spills from setting in the first place. A few simple habits make a real difference over time:
- Keep a cloth or paper towel within reach while cooking, so spills get caught immediately.
- Use a splatter guard when frying or sautéing to reduce grease spray on the stovetop and nearby counters.
- Place a mat or tray under items that spill often, like a coffee maker or oil bottle.
- Wipe the stovetop while it's still warm (not hot) after cooking, since residue lifts more easily before it fully cools and hardens.
- Reseal natural stone counters as recommended by the manufacturer, since a well-sealed surface resists staining far better than an unsealed one.
None of these steps take much time, but together they cut down significantly on how often you're dealing with dried, set-in residue instead of a quick wipe.
Frequently Asked Questions
What is the best way to clean kitchen spill and residue cleanup? Wipe up fresh spills immediately, match your cleaner to the surface involved, and dry the area fully afterward. Speed matters more than any specific product for most everyday spills.
How often should you clean kitchen spill and residue cleanup? Clean spills as soon as they happen rather than waiting. Beyond that, a quick wipe of counters and the stovetop after each cooking session keeps residue from building up.
What cleaning products are safe for kitchen spill and residue cleanup? Dish soap and warm water handle most spills safely. Baking soda paste works well for dried or burnt residue. Vinegar can help with sticky spills but should be avoided on natural stone.
What should you avoid when cleaning kitchen spill and residue cleanup? Avoid mixing bleach with vinegar or ammonia, since this can create dangerous fumes. Also avoid abrasive scouring pads on nonstick, glass, or painted surfaces, which can scratch the finish.
How can you clean kitchen spill and residue cleanup without damaging them? Identify the surface first. Sealed stone, laminate, and stainless steel tolerate mild cleaners well, while unsealed stone, wood, and delicate finishes need gentler handling and quick drying to avoid moisture damage.
What common mistakes should you avoid with kitchen spill and residue cleanup? The most common mistakes are waiting too long to wipe a spill, scraping dried residue with metal tools, and using a cleaner that isn't suited to the surface. All three tend to turn a simple wipe into a bigger cleaning job.
A Quick Safety Note
Manufacturer instructions for your specific countertop, cooktop, or appliance always take priority over general advice. Never mix bleach with ammonia, vinegar, or other acidic cleaners, since the combination can release harmful fumes. When using any cleaner for the first time on a surface, test it on a small, hidden area first. Work in a well-ventilated space when using stronger cleaning products, and if you're dealing with a spill or residue situation that seems beyond a routine cleanup, especially involving mold, pests, or an unknown substance, it's worth reaching out to a professional rather than guessing.
Kitchen spills are unavoidable, but they don't have to turn into bigger cleaning projects. Catch them early, match your method to the surface, and a little consistency keeps residue from ever getting the upper hand. View the full kitchen cleaning guide for more on keeping every part of the kitchen easy to maintain.





Leave a Reply