
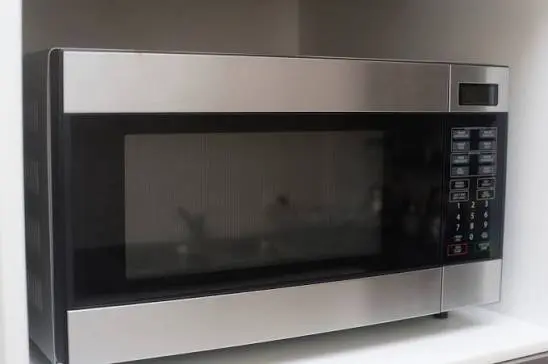
The outside of a microwave takes a different kind of abuse than the inside. Fingerprints build up around the door handle, splatters from nearby cooking land on the front panel, and the keypad collects a fine layer of grease from hands that just touched a pot handle or a piece of food. Microwave exterior cleaning is one of the simpler kitchen tasks, but it does call for a bit of care around buttons, displays, and any stainless steel finish, since the wrong product or too much liquid in the wrong spot can cause more trouble than the mess it was meant to fix. This guide is part of the Microwave Cleaning Guide, and it covers the door, handle, control panel, and outer housing, along with which products work well and which ones to keep away from this appliance.
The Best Way to Clean a Microwave Exterior and Keypad
Wipe the exterior surface with a soft cloth dampened in warm, soapy water, working in the direction of the grain if the microwave has a stainless steel finish. For the keypad, dampen a cloth lightly rather than spraying cleaner directly onto the buttons, and wipe gently to avoid pushing moisture into the seams around each button. A baking soda paste handles stubborn grease spots on the housing well, while a diluted vinegar wipe can help cut through any remaining film on the door and handle. Dry the entire exterior with a clean, dry cloth once finished, paying extra attention to the keypad area.
The sections below go through this process in more detail, along with keypad-specific care and how to handle a stainless steel finish without leaving streaks.
Why the Keypad and Display Need Extra Care
The keypad and digital display are the most sensitive parts of a microwave's exterior, since they sit directly above electronic components that don't respond well to excess moisture. Spraying cleaner straight onto the keypad, or using a cloth that's too wet, risks liquid seeping into the gaps between buttons and potentially affecting the electronics underneath. This is different from the rest of the housing, which can generally handle a slightly damper cloth without the same concern.
A light touch works best here: dampen the cloth first, away from the microwave, then wipe the keypad rather than spraying anything directly onto it. This single habit prevents most of the moisture-related issues people run into with microwave keypads, and it's worth keeping in mind every time you clean this appliance, not just during a deeper cleaning session.
Step-by-Step Cleaning Process
- Unplug the microwave or make sure it's switched off before cleaning, particularly around the keypad and display.
- Dampen a soft cloth with warm water and a small amount of mild dish soap, wringing out excess moisture so the cloth feels damp rather than wet.
- Wipe down the outer housing first, working in the direction of the grain if the surface is stainless steel, to avoid streaking.
- Clean the door and handle, paying attention to the area around the handle where fingerprints and grease tend to concentrate.
- Dampen a separate, barely damp cloth for the keypad, then wipe gently over the buttons and display without pressing hard or letting moisture pool in the seams.
- For stubborn grease spots on the housing, apply a small amount of baking soda paste, let it sit for a few minutes, then wipe clean with a damp cloth.
- Dry the entire exterior thoroughly with a clean, dry cloth, giving the keypad area a final light wipe to remove any remaining dampness.
This process typically takes 10 to 15 minutes for routine cleaning, slightly longer if there's noticeable grease buildup on the housing.
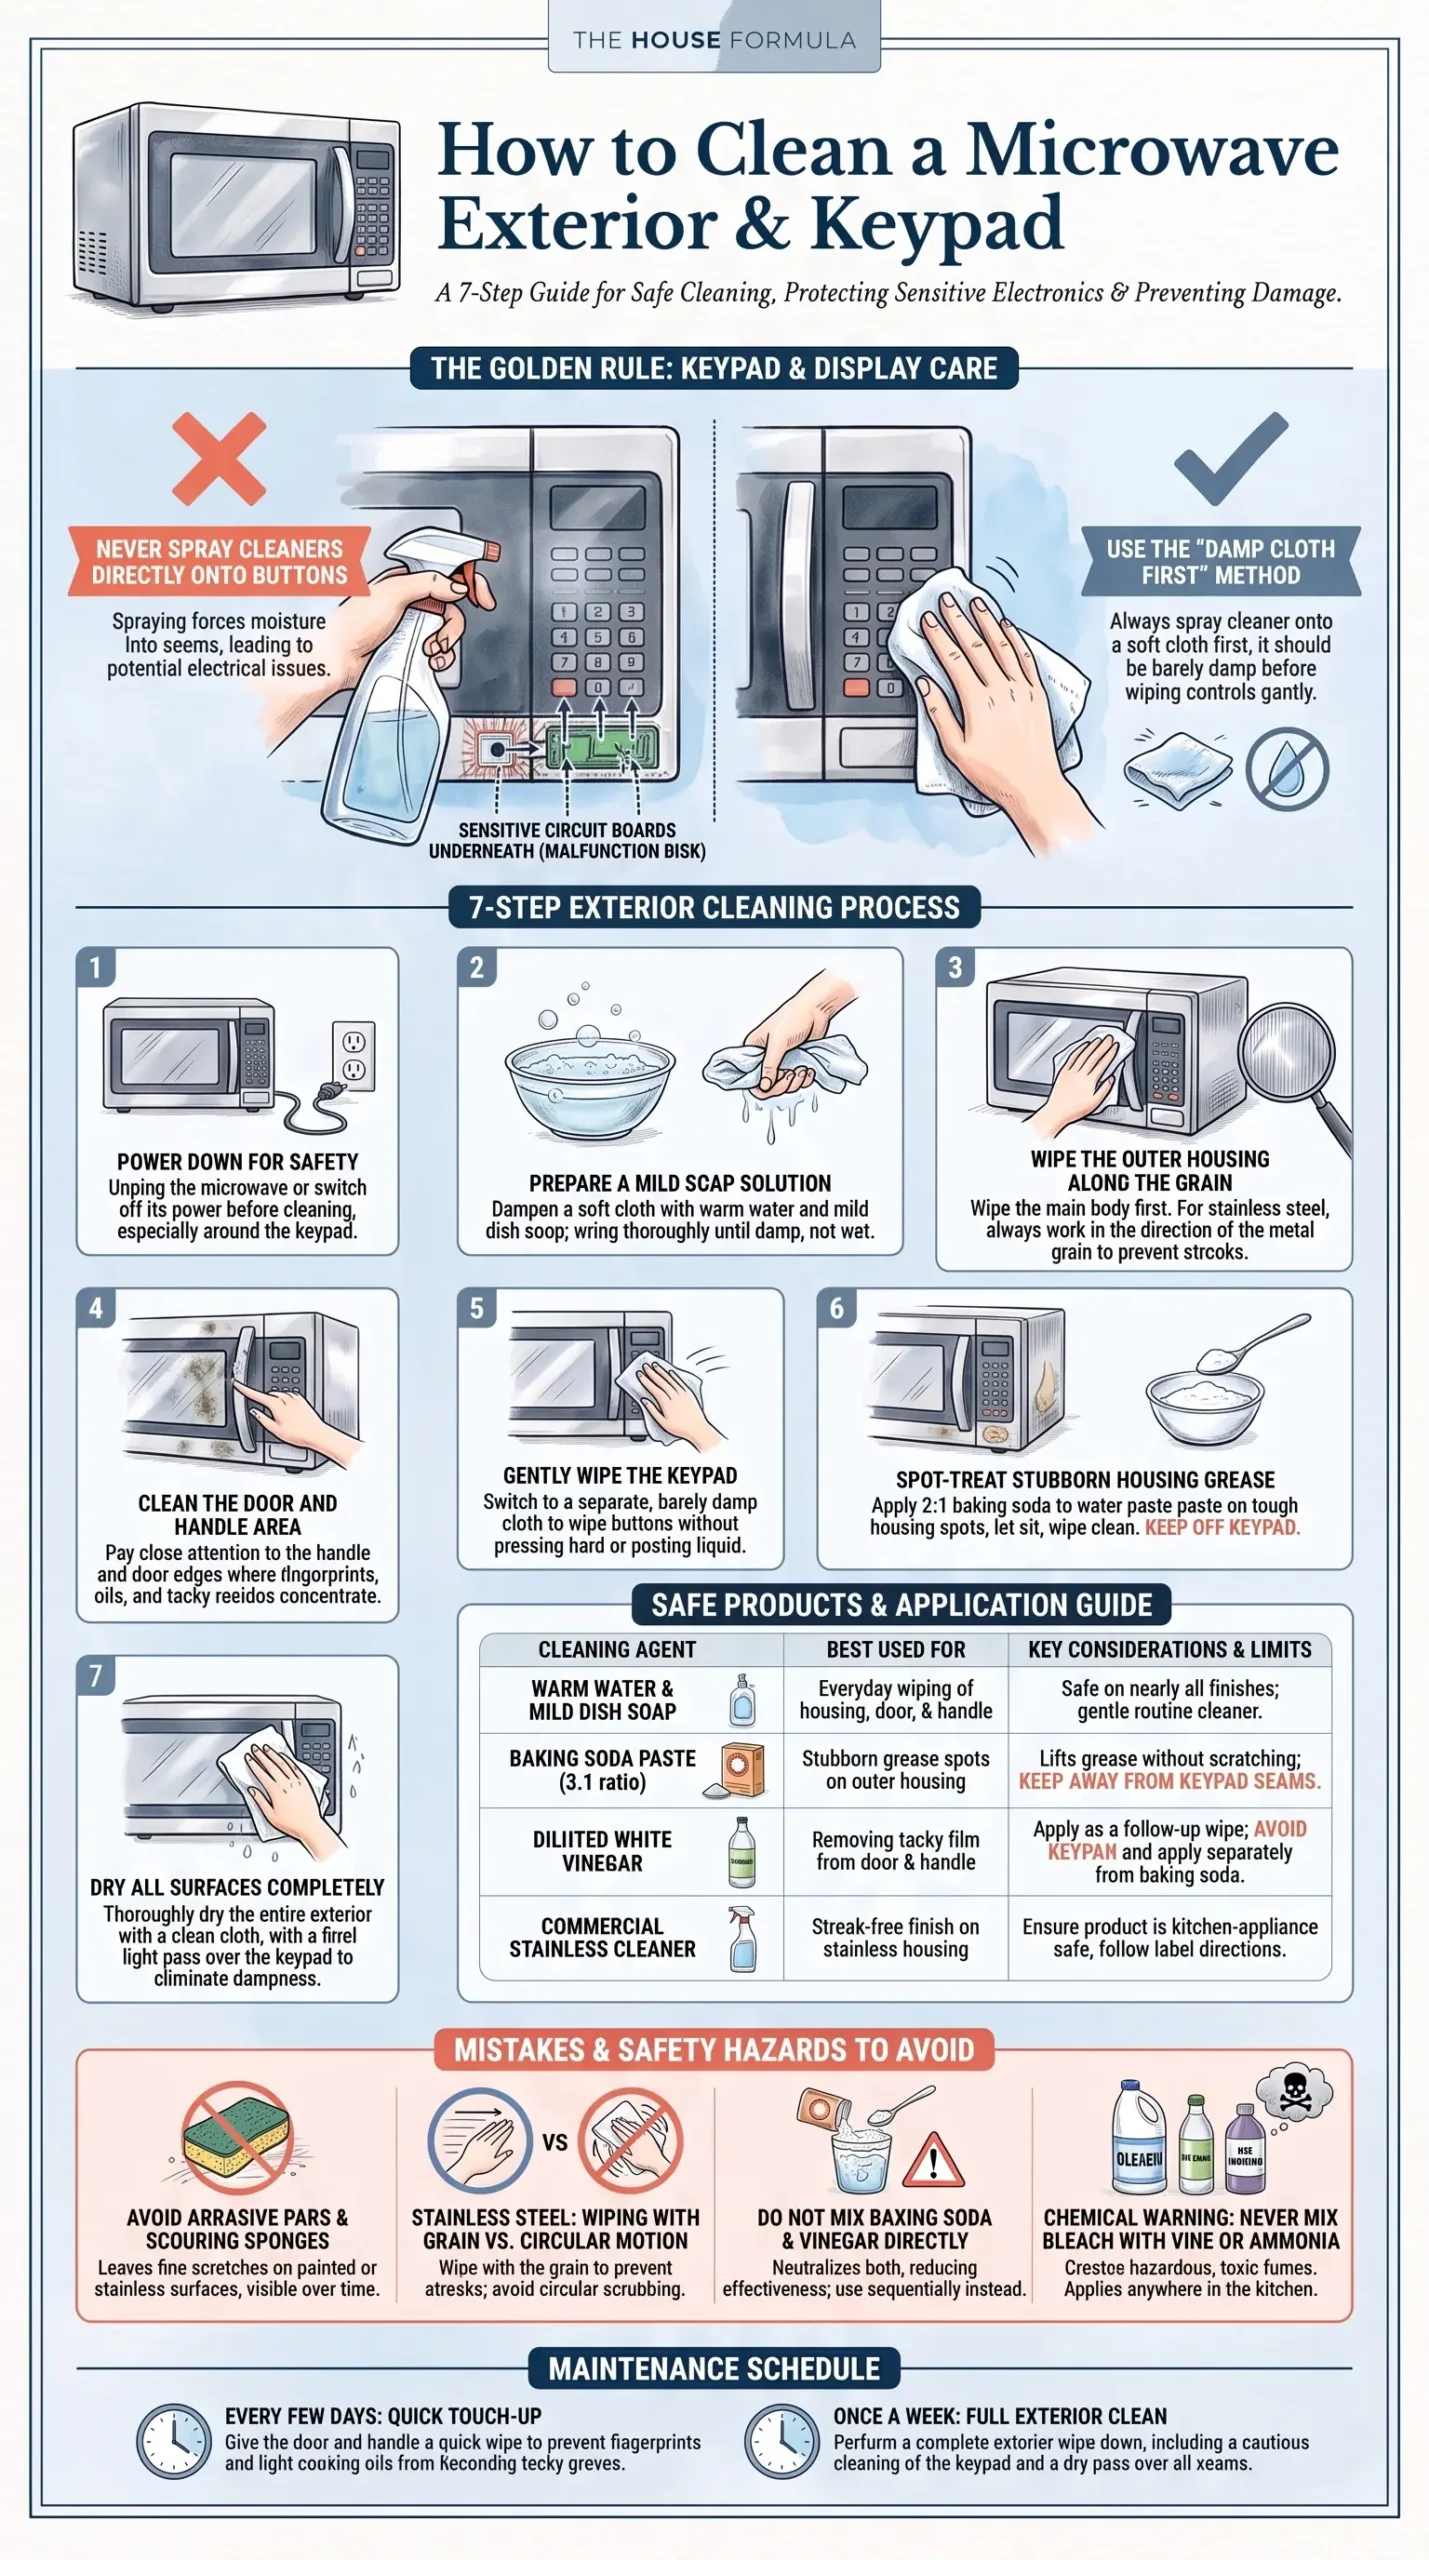
Photo Credit: Hobby Guidebook Editorial
Vinegar and Baking Soda for Microwave Exterior and Keypad
Baking soda paste and diluted vinegar both work well on the exterior housing, though they're most effective used one after the other rather than combined directly. A baking soda paste (roughly three parts baking soda to one part water) lifts grease and light stains from the housing when left to sit for a few minutes before wiping away. Following up with a light vinegar wipe on the door or handle can help remove any remaining greasy film, particularly useful if fingerprints have built up into a slightly tacky feel. Rinse with a plain damp cloth after either step and dry thoroughly.
Keep both of these away from the keypad and display area specifically. The seams around buttons make this a spot where you want minimal moisture, not an application point for a paste or a vinegar wipe. Stick to the barely damp cloth method for the keypad, saving baking soda and vinegar for the housing, door, and handle instead.
Commercial Cleaner vs. Natural Method for Microwave Exterior
Both approaches work, and the right choice often comes down to how much buildup you're dealing with and what finish your microwave has.
|
Approach |
Best For |
Considerations |
|
Warm water and dish soap |
Everyday wiping, light fingerprints |
Gentle, safe on nearly all finishes, needs no special purchase |
|
Baking soda paste |
Grease spots, light staining on housing |
Effective without scratching, keep away from keypad seams |
|
Diluted vinegar |
Cutting through greasy film on door and handle |
Apply separately from baking soda, avoid on keypad |
|
Commercial stainless steel cleaner |
Streak-free finish on stainless housings |
Check the label for microwave suitability, follow directions for amount and application |
For most households, warm water and dish soap handle routine cleaning well, with baking soda as a simple backup for anything more stubborn. A commercial stainless steel cleaner can be worth using if your microwave has that finish and you want a streak-free result with less effort, though it's not a requirement for keeping the appliance clean.
What Cleaning Products Are Safe for a Microwave Exterior and Keypad?
A short list covers what this task actually needs.
- Warm water and mild dish soap: the standard choice for the housing, door, and handle
- Baking soda and water: effective for grease spots on the housing, kept away from the keypad
- Diluted white vinegar: useful as a follow-up wipe on the door and handle, applied separately from baking soda
- A soft, barely damp cloth: the safest tool for the keypad and display specifically
- Stainless steel cleaner (if applicable): a reasonable option for stainless housings, provided the product is labeled safe for kitchen appliances
Avoid spraying any liquid cleaner directly onto the keypad or display, since this increases the risk of moisture seeping into the seams. Avoid abrasive sponges or scouring pads on any painted or stainless surface, since these can leave fine scratches. Never mix bleach with vinegar or ammonia-based products, since this produces hazardous fumes, and this applies to cleaning near the microwave just as it does anywhere else in the kitchen.
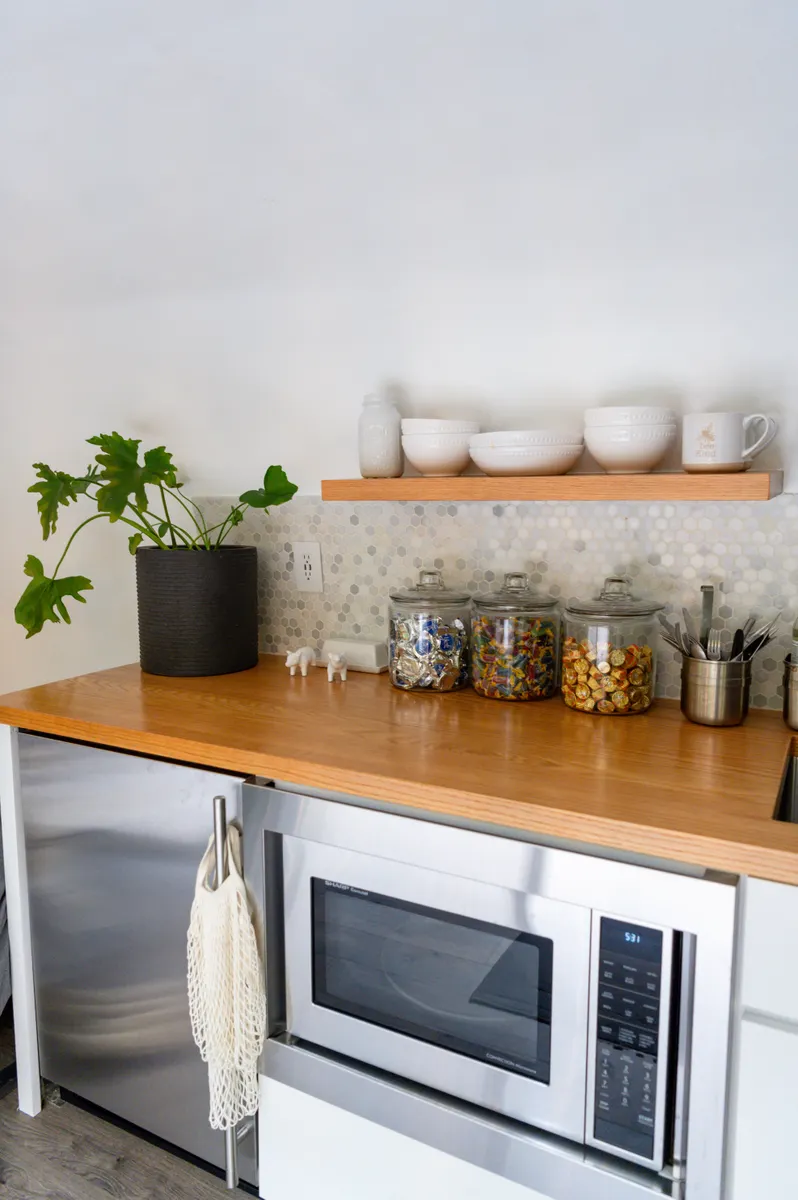
Photo Credit: Andrea Davis
How to Clean Stainless Steel Microwave Exteriors Without Streaking
Stainless steel shows fingerprints and streaks more readily than other finishes, which makes technique matter more here than on a plain painted surface. Wiping in the direction of the grain, rather than in circles or against it, generally produces a cleaner, more even result. A small amount of dish soap in warm water handles most grease and fingerprints well, and drying immediately afterward with a separate dry cloth helps prevent water spots from forming as the surface air dries. If streaking remains a persistent issue even with careful technique, a cleaner formulated specifically for stainless steel appliances can offer a more consistent finish, though checking that it's appropriate for kitchen appliances, rather than a general household surface, is worth doing first.
How Often Should You Clean a Microwave Exterior and Keypad?
A quick wipe of the door and handle every few days keeps fingerprints and light grease from building up. A fuller clean of the entire exterior, including the keypad, works well once a week for most households, or more often in a busy kitchen where the microwave sees frequent use. Checking the keypad specifically during each cleaning session helps catch any sticky residue before it builds up in the seams around buttons.
What to Avoid When Cleaning a Microwave Exterior and Keypad
A handful of habits account for most of the issues people run into with this task.
- Spraying cleaner directly onto the keypad: dampen a cloth separately instead to avoid moisture seeping into button seams
- Using abrasive pads on stainless steel or painted finishes: this leaves fine scratches that become more visible over time
- Letting excess water sit on the display or around buttons: dry thoroughly after cleaning to avoid any lingering moisture
- Mixing baking soda and vinegar directly together: use them as separate steps instead, since combining them reduces the cleaning effect of both
- Using harsh degreasers not labeled for kitchen appliances: check the label before applying any commercial product to the housing
A Note on Odors and Ventilation
Cleaning the exterior handles fingerprints, grease, and surface grime well, but it won't address a lingering smell coming from inside the microwave itself. If your microwave has developed an odor that persists even after regular cleaning, that typically points to something that needs attention on the interior rather than the outside surfaces. The Removing Odors from a Microwave guide covers that process separately, including which ingredients work well for neutralizing smells without leaving a residue behind.
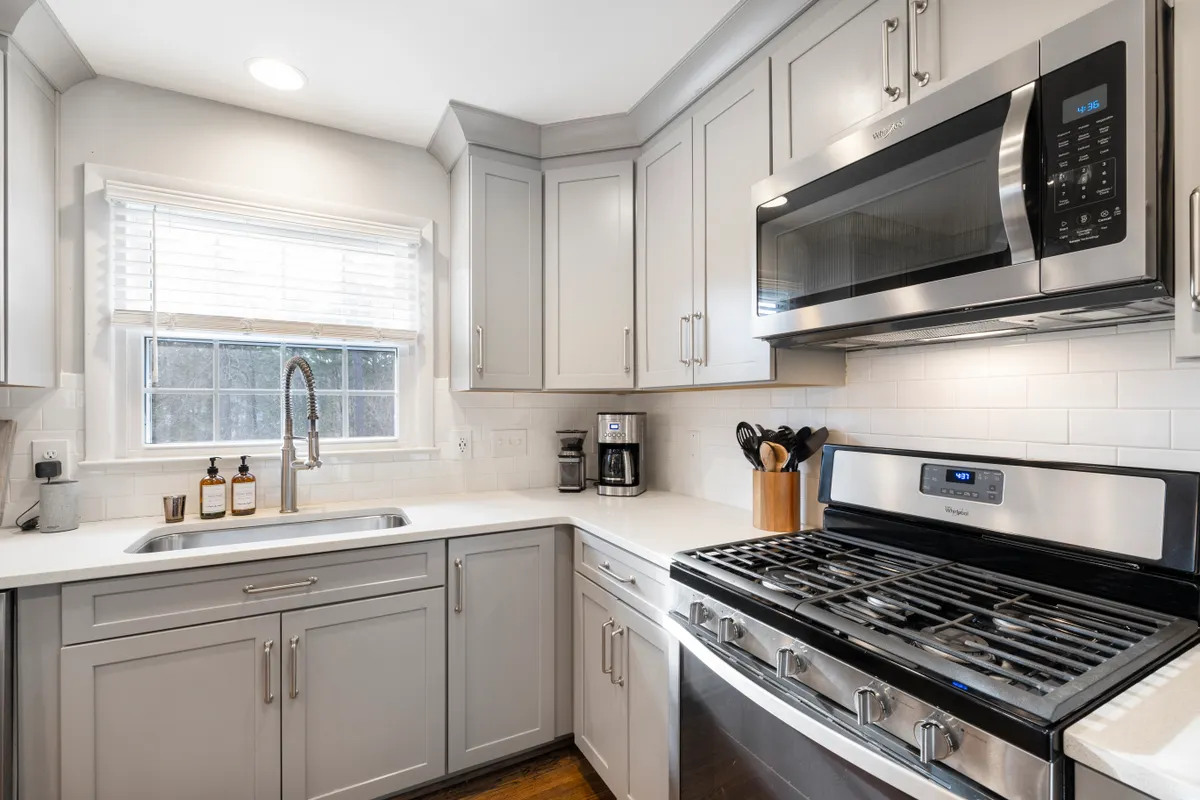
Photo Credit: Curtis Adams
If your microwave is an over-the-range model, it also has a vent system built into the top or front that filters cooking smoke and steam, similar in function to a range hood. That vent and its filter need a different cleaning approach than the exterior housing, since grease tends to build up inside the vent openings in a way that a simple wipe-down won't reach. The Over-the-Range Microwave Vent Cleaning guide walks through that process for anyone with this type of installation.
Frequently Asked Questions
What is the best way to clean a microwave exterior and keypad? Wipe the housing and door with a soft cloth dampened in warm, soapy water, then use a barely damp cloth for the keypad specifically, avoiding direct sprays. Dry thoroughly when finished.
How often should you clean a microwave exterior and keypad? Wipe the door and handle every few days, and do a full exterior clean, including the keypad, about once a week, more often in a busy kitchen.
What cleaning products are safe for a microwave exterior and keypad? Warm water and mild dish soap, baking soda paste for grease spots, diluted vinegar as a separate follow-up wipe, and stainless steel cleaner if your microwave has that finish.
What should you avoid when cleaning a microwave exterior and keypad? Avoid spraying cleaner directly onto the keypad, using abrasive pads on any finish, and mixing bleach with vinegar or ammonia-based products.
How can you clean a microwave exterior and keypad without damaging them? Use a barely damp cloth for the keypad rather than a spray, wipe stainless steel in the direction of the grain, and dry all surfaces thoroughly after cleaning.
A Quick Note on Safety
Unplug or switch off the microwave before cleaning, and keep moisture away from the keypad and display by using a damp cloth rather than a direct spray. Never mix bleach with vinegar or ammonia-based products, since this produces hazardous fumes. If the keypad becomes unresponsive or behaves oddly after cleaning, unplug the appliance and allow it to dry fully before use, and contact a qualified technician if the issue persists.
For more on keeping the rest of your kitchen clean, head back to the complete kitchen cleaning guide.





Leave a Reply