

Cleaning a kitchen in the wrong order usually means redoing work you already finished. Wipe the counters first, then knock crumbs off the cabinets above them, and you've just undone your own progress. The best order to clean a kitchen follows a simple rule: start high and work down, and start dry before you go wet. This guide is part of Kitchen Cleaning Questions & Troubleshooting, and it walks through a full top to bottom routine, the mistakes that slow people down, and how to know when a stubborn problem needs more than a weekend of scrubbing.
Quick Answer: The Top to Bottom Order
For a full kitchen clean, work through these stages in order:
- Clear clutter and dishes first.
- Dust and wipe the tops of cabinets and high surfaces.
- Clean the fronts of upper cabinets.
- Clear and clean countertops.
- Wipe the backsplash.
- Clean the stovetop and exterior of major appliances.
- Clean the sink.
- Sweep, then mop the floor last.
This order keeps debris and dust moving downward instead of resettling on a surface you already cleaned. Each stage builds on the one before it, so skipping ahead usually creates extra work later.
Why Order Matters When Cleaning a Kitchen
Dust, grease, and crumbs fall. That's the whole logic behind top to bottom cleaning. If you mop the floor before wiping the counters, you'll end up sweeping crumbs and dust onto a floor that was already clean. If you clean the stovetop before wiping down the cabinets above it, grease residue and dust can drift down and land right back where you just cleaned.
Working in the right order also saves time. Instead of re-cleaning the same spot twice, you move through the kitchen once, from the highest surfaces down to the floor. This matters most during a deep clean, but it's also useful for a faster weekly routine, since it keeps you from backtracking.
Step by Step: The Full Top to Bottom Routine
1. Clear the Kitchen First
Before any wiping or scrubbing starts, clear counters of dishes, mail, appliances you're not using, and general clutter. Load the dishwasher or fill the sink so dishes are out of the way. This step doesn't take long, but it makes every following step faster, since you're not cleaning around obstacles.
2. Dust High Surfaces and Cabinet Tops
Start at the top. Dust the tops of cabinets, the top of the refrigerator, light fixtures, and any high shelves. A microfiber cloth or a duster with an extendable handle works well here, since it traps dust instead of just scattering it. If cabinet tops haven't been cleaned in a while, expect a layer of greasy dust, which is common near stovetops due to rising cooking residue. A damp cloth with a small amount of dish soap usually cuts through this without needing anything stronger.
3. Clean Cabinet Fronts and Handles
Move down to cabinet doors, drawer fronts, and handles. These collect fingerprints, splatter, and general grime, especially near the stove and sink. Warm water with a few drops of dish soap is usually enough for painted or laminate cabinets. Wood cabinets with a finish should be wiped with a barely damp cloth and dried right away, since standing water can dull or damage the finish over time. If you're unsure what your cabinet finish is, test any cleaner on a small, hidden spot first.
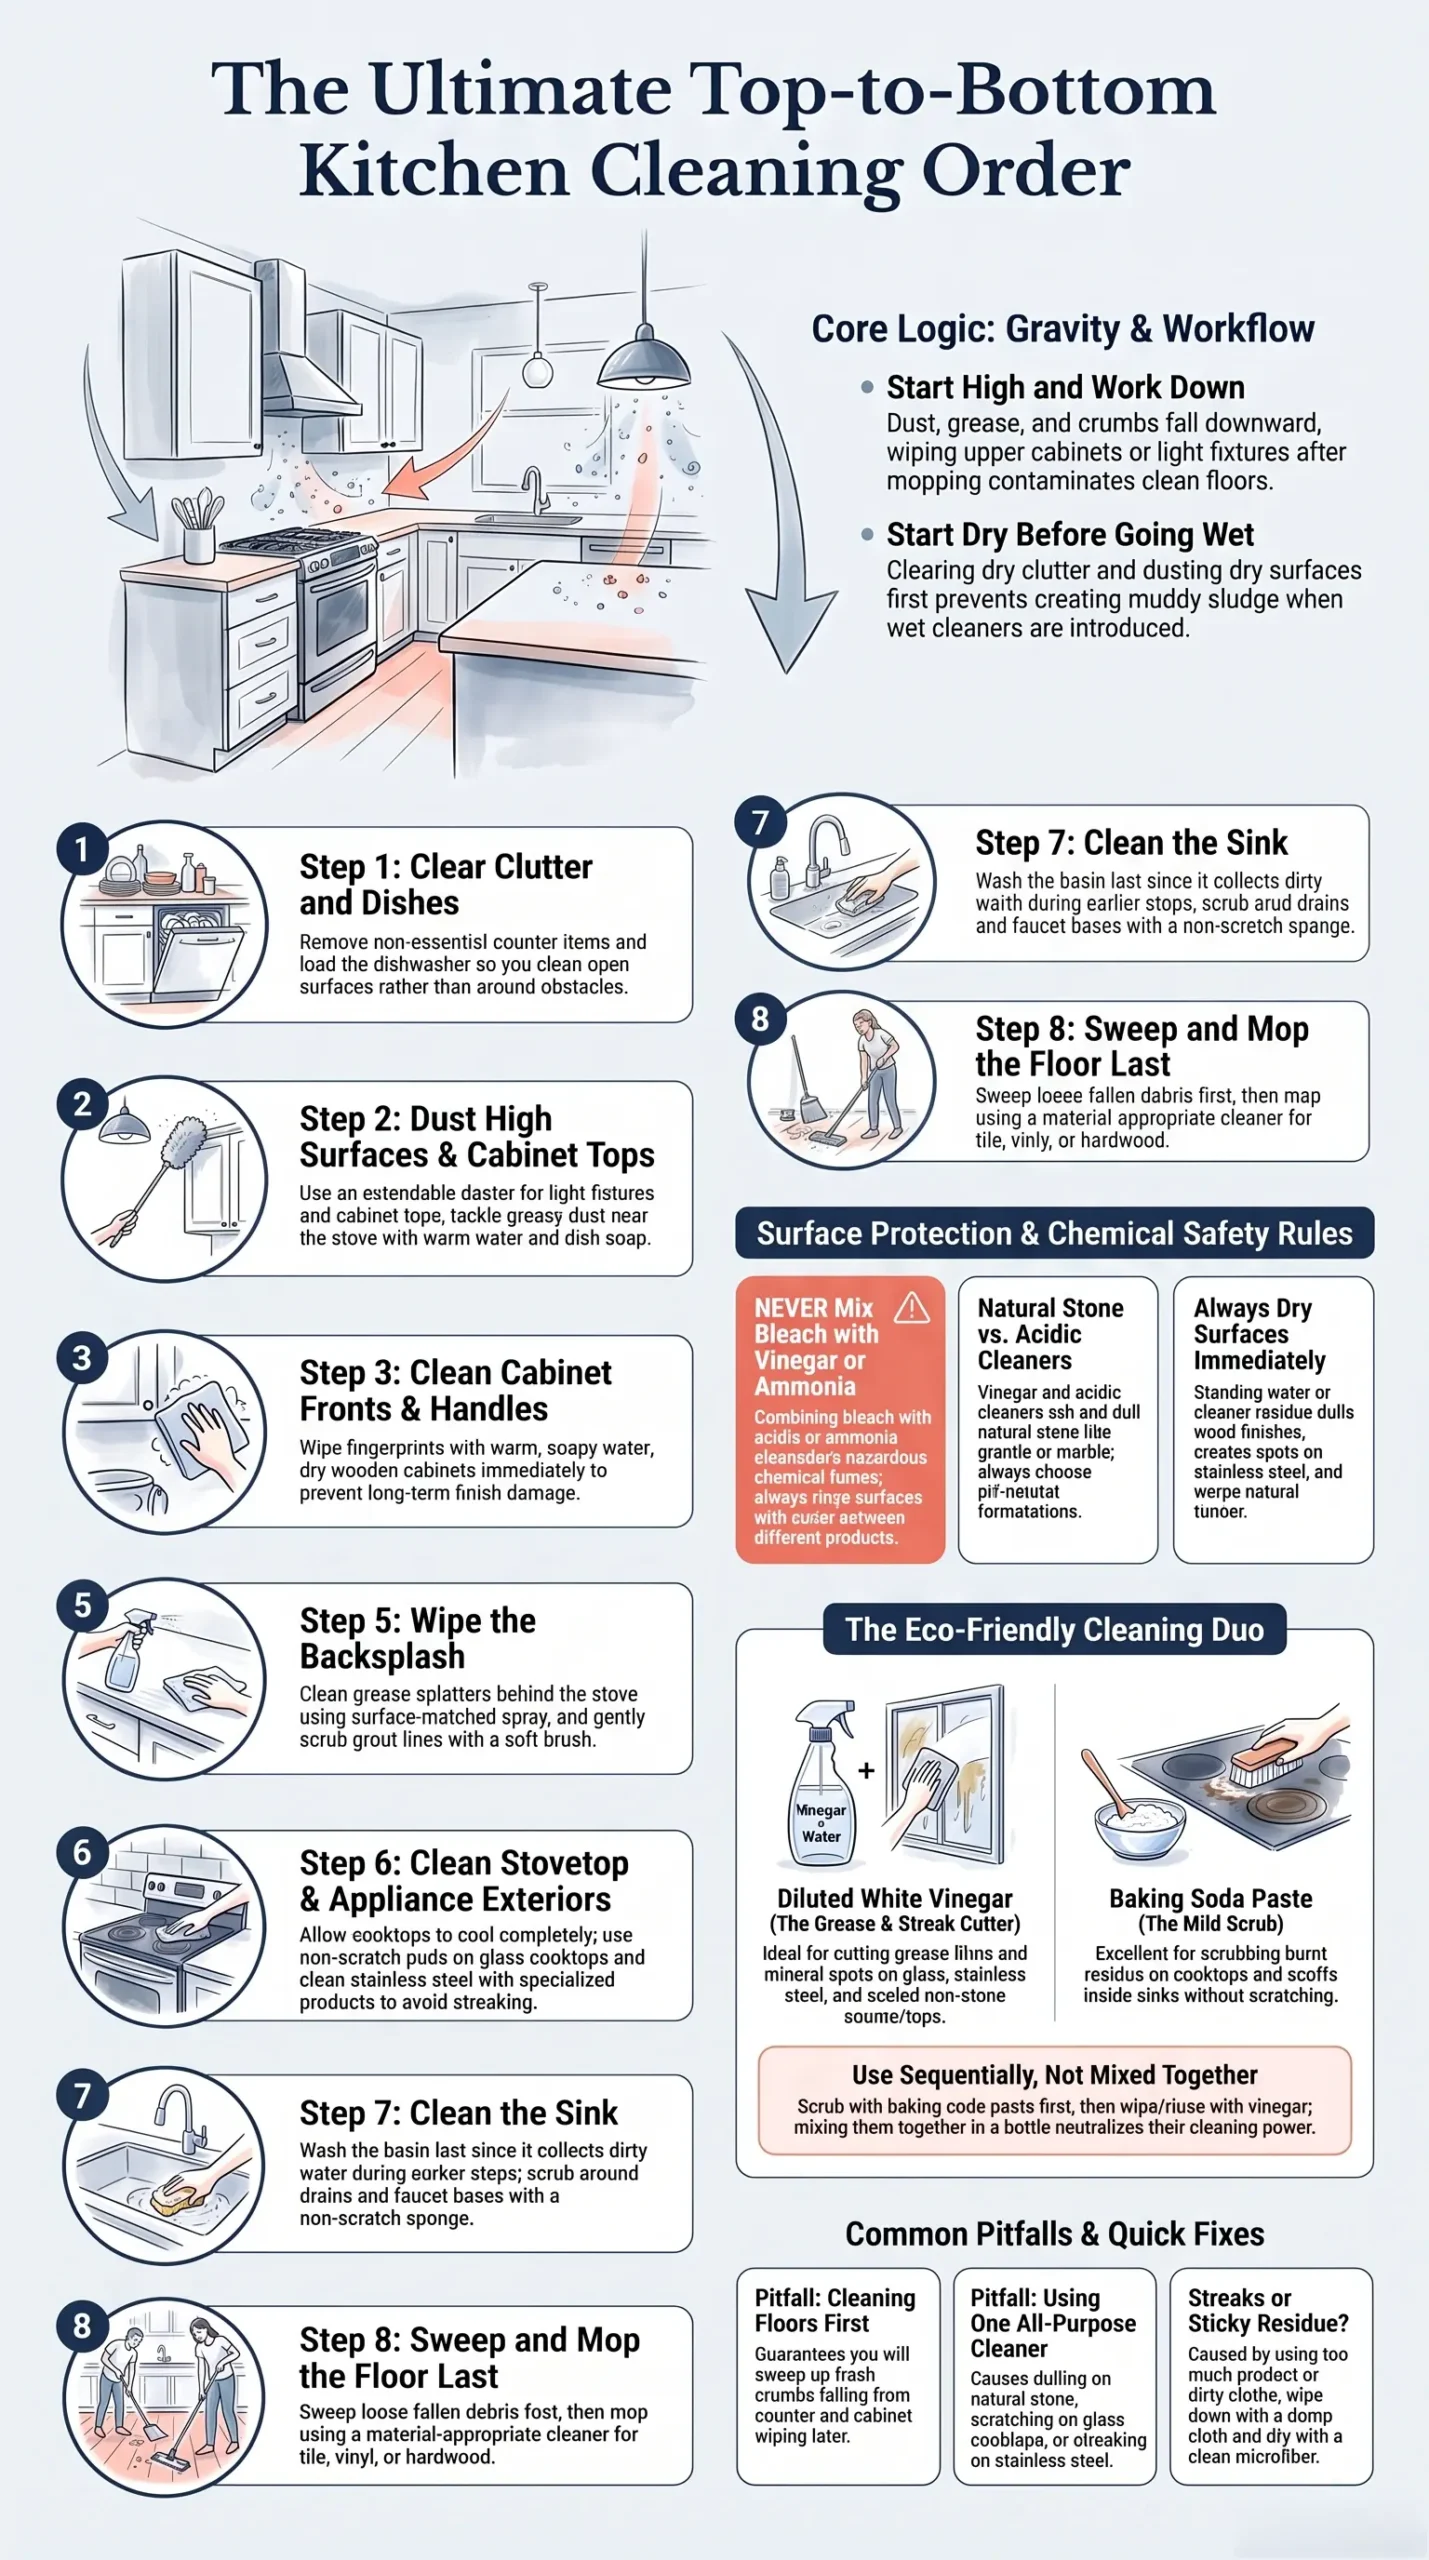
Photo Credit: Hobby Guidebook Editorial
4. Clear and Clean the Countertops
With cabinets done, move to the countertops. Clear off small appliances and containers, then wipe the entire surface with a cleaner suited to the material. Laminate and sealed quartz generally tolerate an all-purpose cleaner or a diluted vinegar solution well. Natural stone counters, like granite or marble, need a pH-neutral cleaner instead, since vinegar and other acidic cleaners can etch and dull the surface over time.
Give extra attention to the edges of the counter and the area right around the sink, where crumbs and moisture tend to collect. Dry the surface with a clean cloth once you're done, since standing moisture can encourage streaking or, on some materials, water spots.
5. Wipe the Backsplash
The backsplash catches grease splatter, sauce spots, and water marks, especially the section behind the stove. Wipe it down with the same cleaner used on the counters if the materials match, or a glass cleaner if it's a tile or glass backsplash. Grout lines may need a bit more attention with a soft brush if grime has built up, but this is closer to deep grout care, which is covered in more detail under Surface & Material Cleaning if you're dealing with stained or discolored grout.
6. Clean the Stovetop and Appliance Exteriors
Once the counters and backsplash are done, move to the stovetop. Let it cool completely first. Wipe up loose debris, then clean burner grates, knobs, and the surface itself with a cleaner suited to the stovetop type: glass, ceramic, and stainless steel each respond differently, and a scouring pad that's fine for stainless steel can scratch a glass cooktop. Wipe down the exterior of the refrigerator, dishwasher, and microwave next, using a damp cloth and mild cleaner for most finishes, and a stainless-steel-specific cleaner or plain water with a soft cloth for stainless finishes to avoid streaking.
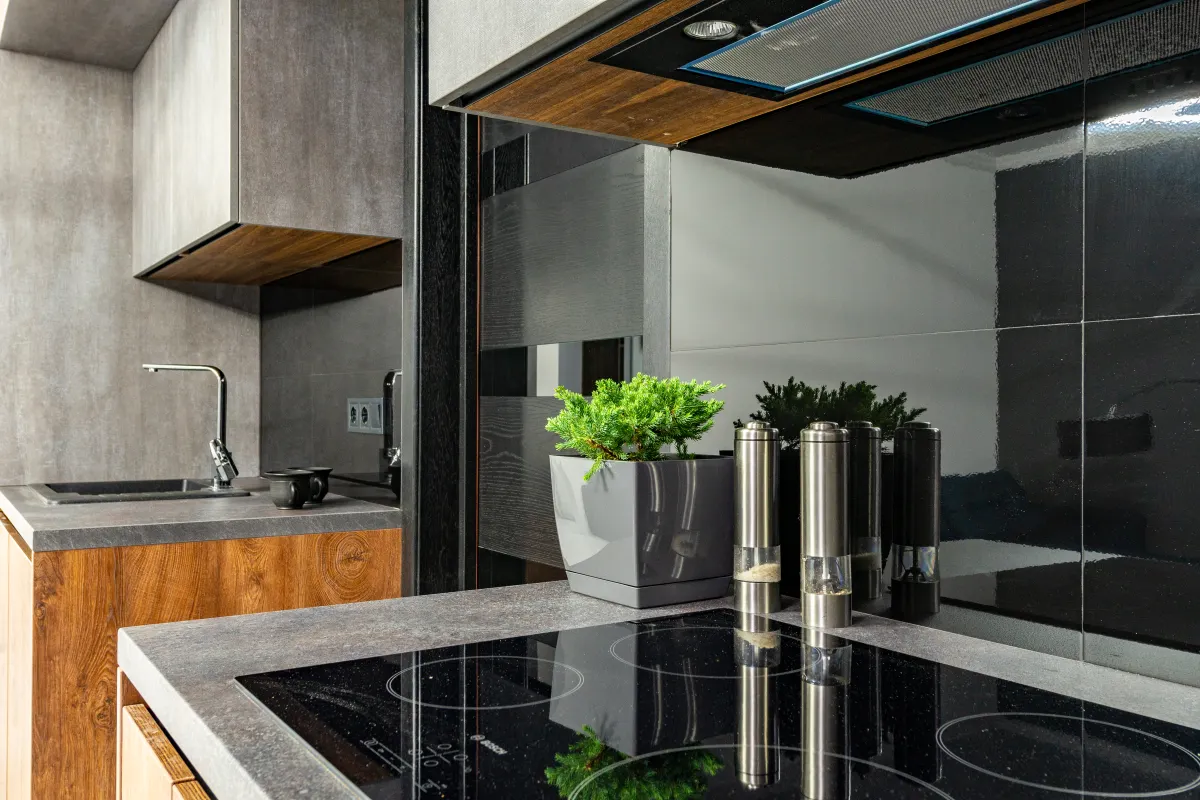
Photo Credit: Max Vakhtbovych
7. Clean the Sink
The sink comes after the counters and appliances since it's where you'll rinse cloths and dispose of dirty water throughout the process. Scrub the basin with dish soap and a non-scratch sponge, paying attention to the drain area and faucet base where grime tends to build. Stainless steel sinks benefit from a final wipe with a vinegar-dampened cloth to cut mineral spots, but this should be a separate step from any bleach-based disinfecting, since the two should never be combined.
8. Sweep and Mop the Floor Last
The floor goes last because everything above it, dust, crumbs, and drips, ends up there eventually. Sweep first to pick up loose debris, then mop with a cleaner suited to your flooring: tile, vinyl, and hardwood all have different tolerances for moisture and cleaning products. Let the floor air dry fully before walking on it, and avoid soaking hardwood, since standing water can warp the wood or damage the finish over time.
Common Mistakes When Cleaning a Kitchen in This Order
Even with a clear routine, a few habits tend to slow people down or undo progress.
- Cleaning the floor before the counters. This almost always means sweeping or mopping crumbs and dust that later fall from higher surfaces.
- Skipping the "clear first" step. Cleaning around clutter takes longer and often leaves gaps where dishes or containers were sitting.
- Using one cleaner for every surface. Stainless steel, natural stone, laminate, and glass each have different limits, and a cleaner that's fine on one can dull or damage another.
- Not drying surfaces after cleaning. Leftover moisture on stone, wood, or stainless steel can lead to spotting or, on wood, longer-term damage.
- Mixing cleaning products without checking compatibility. Never combine bleach with vinegar, ammonia, or other acidic cleaners, since this can produce hazardous fumes. If a surface was recently cleaned with one product, rinse it with plain water before applying a different one.
Avoiding these mistakes usually cuts total cleaning time, since you're not repeating steps or dealing with streaks and residue left behind by the wrong product.
An Eco-Friendly Way to Follow This Order
Vinegar and baking soda cover a surprising amount of ground in this routine without relying on harsher chemical cleaners. Diluted white vinegar works well on glass, stainless steel, and sealed countertops for cutting through grease film and water spots. Baking soda's mild abrasiveness makes it useful for scrubbing burnt-on residue on stovetops or scuffed spots in the sink, when used as a paste with a small amount of water.
These two should be used as separate steps rather than mixed together in one solution. Baking soda for scrubbing, vinegar for wiping and rinsing, works better than combining them in a sealed container, where the reaction reduces the cleaning power of both. This approach keeps the routine budget-friendly and cuts down on the number of specialized products needed for a full top to bottom clean.
How Often Should You Follow the Full Routine?
A complete top to bottom clean isn't something most households need daily. Wiping counters, rinsing the sink, and a quick floor sweep make sense as a daily habit, while the full routine, including cabinet fronts, backsplash, and appliance exteriors, works well on a weekly or biweekly schedule depending on how often the kitchen is used. If you're not sure how often daily upkeep should actually happen, Do I Need to Clean My Kitchen Every Day? breaks down what daily tasks are worth doing versus what can wait for a deeper weekly pass.
Troubleshooting: What If Something Doesn't Come Clean?
Some problems don't respond to a standard wipe-down, and it helps to know why before reaching for a stronger product.
Grease film that won't lift. This usually means the cleaner isn't strong enough to break down the buildup, or it hasn't had enough contact time. Let the cleaner sit for a minute or two before wiping, and use a degreaser suited to the surface rather than switching to a harsher, unrelated chemical.
Recurring grime in the same spot. If a stain or residue keeps coming back in the same place, like near the stove or under the sink, the cause is often a repeated source, such as splatter from cooking or a slow drip from a fitting, rather than a cleaning method problem. Cleaning the surface won't solve it permanently if the source isn't addressed.
Streaks after cleaning. Streaking is often caused by using too much product, not rinsing thoroughly, or wiping with a dirty cloth. Switching to a clean microfiber cloth and a lighter amount of cleaner usually resolves it.
Sticky residue after wiping. This can mean the cleaner wasn't rinsed off, or the product itself isn't suited to the surface. Rinsing with a damp cloth and drying fully often clears it.
If you're unsure what's causing a specific stain or residue, or whether a particular product is safe for a specific material, it's worth checking a dedicated resource before experimenting. Can I Clean X With Y? Kitchen Edition FAQ answers many of these product-and-surface pairing questions directly.
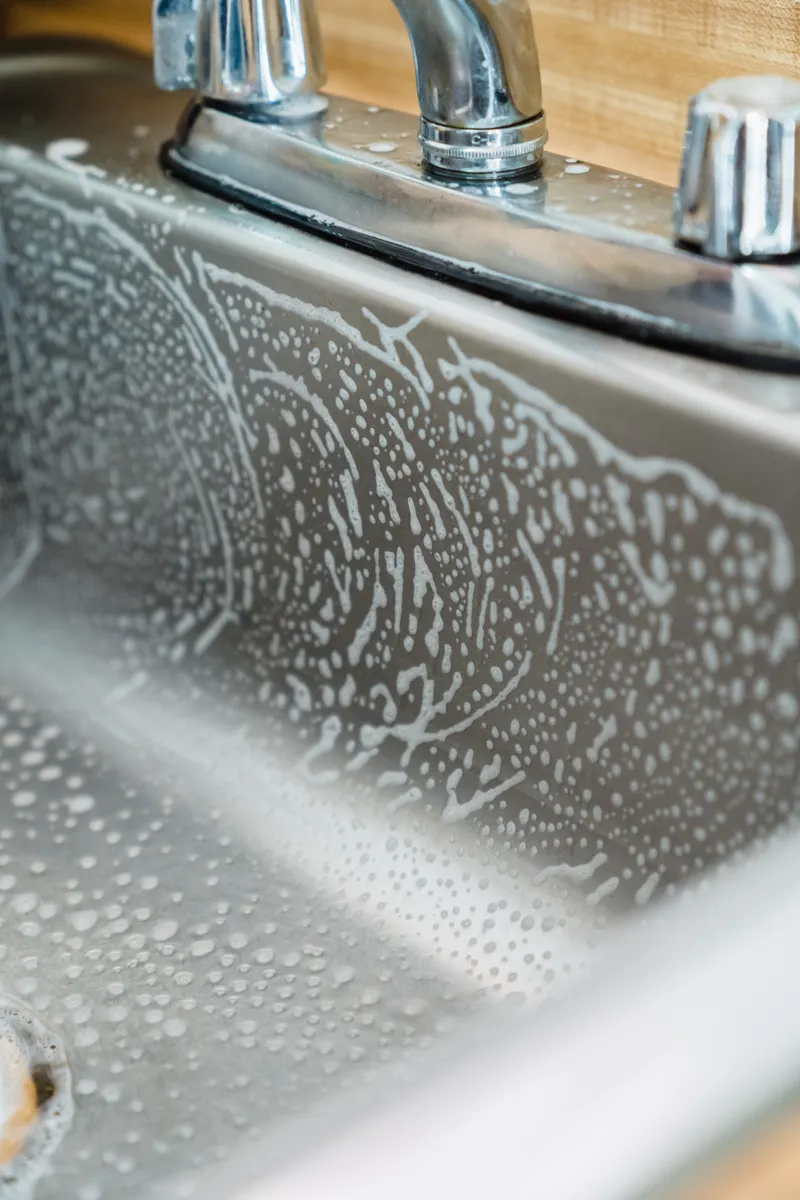
Photo Credit: Liliana Drew
What Is the Safest Way to Troubleshoot the Kitchen?
The safest approach is to identify the surface material first, then choose a cleaner known to be safe for it, rather than reaching for the strongest product available. Test any new cleaner on a small, hidden area before applying it broadly. Avoid combining products, especially bleach with vinegar or ammonia, since this can create hazardous fumes. If a stain or odor persists after a reasonable, safe attempt, it's better to pause and investigate the cause than to keep escalating to stronger chemicals.
When Should You Call a Professional?
Most kitchen cleaning problems are manageable with the right method and a bit of patience, but a few situations call for outside help:
- Mold that keeps returning despite cleaning, especially around a sink, dishwasher, or under-appliance area
- A persistent odor that doesn't clear after a full cleaning and doesn't have an obvious source
- Appliance issues that affect cleaning, like a dishwasher or garbage disposal that isn't draining properly
- Grout or caulking that's deteriorating and allowing moisture behind tile or countertops
- Any situation involving a gas appliance connection or electrical component that needs to be moved or accessed
In these cases, a professional can address the underlying cause rather than just the surface symptom, which prevents the same problem from resurfacing after every cleaning session.
Frequently Asked Questions
What are the most common problems with the kitchen? Grease buildup on cabinets and stovetops, recurring odors from the sink or fridge, streaky countertops, and mineral spots on stainless steel are among the most common issues homeowners run into during regular cleaning.
Why does the kitchen keep causing the same problem? Repeating issues, like grime in the same spot or a lingering smell, usually point to an ongoing source rather than a cleaning method failure. A leak, food residue trapped in a hard-to-reach spot, or a habit like leaving damp cloths in one place can keep reintroducing the problem.
What is the safest way to troubleshoot the kitchen? Identify the surface material, use a cleaner suited to it, test on a small area first, and avoid mixing chemical products. Address persistent problems by looking for the underlying cause rather than repeating the same cleaning step.
When should you stop DIY work on the kitchen and call a professional? Call a professional when mold keeps returning, an odor has no clear source, an appliance isn't functioning correctly, or the issue involves gas lines, electrical components, or structural damage behind tile or countertops.
What common mistakes should you avoid with the kitchen? Cleaning the floor before the counters, using one cleaner on every surface, skipping the decluttering step, leaving surfaces wet, and mixing incompatible cleaning products are the mistakes that most often slow down a kitchen cleaning routine.
A Note on Safe Cleaning Practices
Always check that a cleaning product is suited to the specific surface before using it, since materials like natural stone, wood, and stainless steel each have different limits. Never mix bleach with vinegar, ammonia, or other acidic cleaners, as this can produce hazardous fumes. Work in a ventilated space when using stronger cleaners, and test new products on a small, hidden area first. For mold, persistent odors, or appliance problems that don't resolve with regular cleaning, a professional assessment is a safer next step than continued DIY attempts.
For more detailed routines and troubleshooting across every part of the kitchen, see the full kitchen cleaning guide.





Leave a Reply