
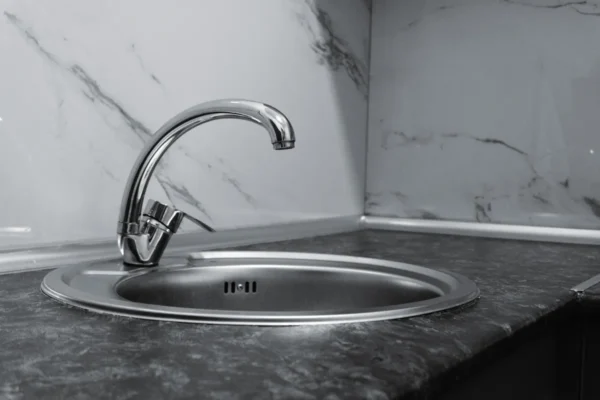
Stainless steel sinks look great when they're clean, but they show every water spot, food splatter, and fingerprint almost immediately. Hard water leaves behind a chalky film, coffee grounds and food scraps can dull the finish, and the wrong scrub pad can leave permanent scratches. Stainless steel sink cleaning isn't complicated, but it does need the right technique to keep the surface looking good instead of streaky or scuffed.
This guide covers daily maintenance, deeper cleaning for buildup, and the products that are safe to use on stainless steel. It's part of the Kitchen Sink & Faucet Cleaning Guide, which covers care for every sink material and finish.
The Best Way to Clean a Stainless Steel Sink (Quick Answer)
For most stainless steel sinks, this routine keeps things looking their best:
- Rinse the sink with warm water to clear loose debris.
- Wipe with a soft cloth or sponge and a small amount of mild dish soap.
- Rinse thoroughly and dry with a towel, following the direction of the grain lines.
- For water spots or mineral film, use a vinegar and water solution, then rinse and dry right away.
Drying the sink after each use is the single biggest factor in keeping stainless steel spot-free, since most of the dullness people notice comes from mineral deposits left behind by air-drying water.
What You'll Need
Keep a small kit near the sink for regular upkeep:
- A soft sponge or non-abrasive cloth
- Mild dish soap
- White vinegar (for water spots and mineral buildup)
- Baking soda (for light scrubbing and odor control)
- A soft microfiber towel for drying
- A soft-bristle brush for drain edges and corners
Avoid steel wool, wire brushes, and anything labeled as a heavy-duty scouring pad. These can scratch the surface of stainless steel, and once scratches set in, they trap dirt and make the sink harder to keep clean going forward. Look for the faint brushed lines on your sink, called the grain, and always clean in that direction rather than across it.
Step-by-Step: Cleaning a Stainless Steel Sink
Step 1: Clear the sink and rinse. Remove dishes, food scraps, and anything sitting in the basin. Run warm water over the entire surface to loosen light debris before you start scrubbing.
Step 2: Wash with mild soap. Apply a small amount of dish soap to a soft sponge or cloth. Wipe the entire sink, including the sides and around the drain, following the direction of the grain lines rather than circular motions. This helps avoid the faint swirl marks that can show up under certain lighting.
Step 3: Pay attention to the drain and faucet base. Food particles and soap scum tend to collect around the drain opening and where the faucet meets the sink. A soft brush works well here, since these spots often need a bit more attention than the flat basin surface.
Step 4: Rinse completely. Rinse away all soap residue with warm water. Leftover soap film can dry into a hazy layer that dulls the shine, especially on darker or matte stainless finishes.
Step 5: Dry the sink fully. Use a soft towel to dry the entire sink, wiping in the direction of the grain. This step matters more than people expect. Air-drying lets hard water evaporate and leave mineral spots behind, and those spots build up faster if the sink never gets a full dry-down.
Step 6: Address water spots if needed. If mineral spots have already formed, a vinegar and water solution (roughly equal parts) applied with a cloth usually lifts them without much effort. Let it sit for a minute or two, then wipe and rinse well.
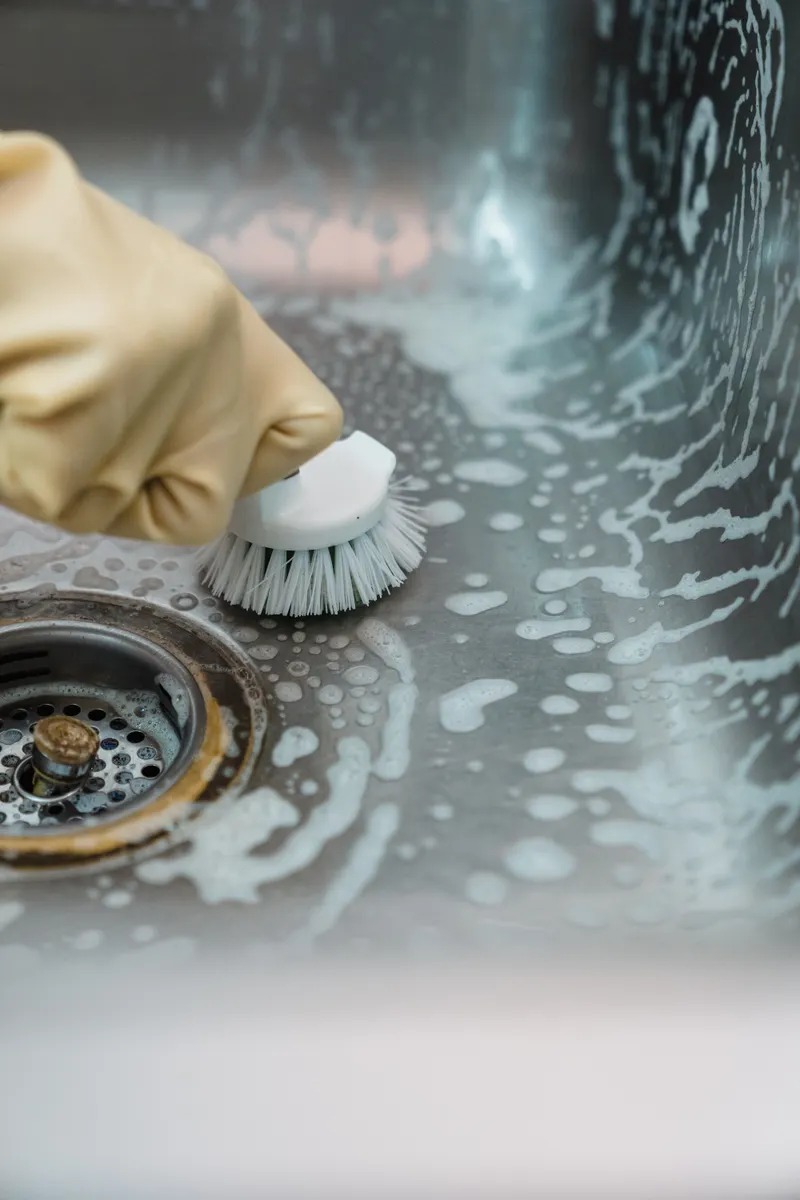
Photo Credit: Liliana Drew
Removing Water Spots and Hard Water Film
Hard water is one of the most common reasons a stainless steel sink starts to look dull, especially in homes with mineral-heavy tap water. The white, chalky film left behind isn't damaging the metal itself, but it does sit on the surface and reflect light unevenly, which makes the sink look streaky even right after cleaning.
A vinegar and water solution is a reliable, low-risk way to handle this. Vinegar is mildly acidic, which helps break down mineral deposits without being harsh enough to damage stainless steel in normal household use. Apply it with a soft cloth, let it sit briefly, then rinse and dry thoroughly. Avoid leaving vinegar on the surface for extended periods, and never use it alongside bleach-based cleaners, since combining bleach and vinegar can release harmful fumes.
If water spots keep coming back quickly, that's often a sign of consistently hard water rather than a cleaning mistake. Drying the sink after every use, rather than just occasionally, tends to be the most effective long-term fix. For a deeper look at this specific issue, including tougher mineral buildup that a quick vinegar wipe doesn't fully resolve, see our guide on Removing Water Spots from a Stainless Steel Sink.
Restoring Shine to a Dull Sink
Over time, even a well-maintained stainless steel sink can start looking dull rather than bright and reflective. This is usually a combination of mineral film, light scratching from abrasive cleaning tools, and soap residue that's built up in layers rather than being fully rinsed away each time.
A baking soda paste (a small amount mixed with water) can help lift this kind of gentle, general dullness. Apply it with a soft cloth, work it in along the grain lines, then rinse and dry completely. This is a mild abrasive, gentler than a scouring pad, but it should still be used sparingly and never with a stiff brush that could create fine scratches.
For sinks that have lost their shine more significantly, a dedicated stainless steel polish (not a general kitchen cleaner) can help restore some of the original finish. These products are formulated specifically for the metal and often leave behind a light protective layer that helps repel water spots for a while. If your sink needs more than a routine clean, our guide on Restoring Shine to a Dull Stainless Steel Sink walks through the process in more depth, including how to tell the difference between surface dullness and actual scratching.

Photo Credit: RDNE Stock project
Safe Products vs. Products to Avoid
|
Product |
Safe for stainless steel? |
Notes |
|
Mild dish soap and water |
Yes |
Best everyday choice; rinse and dry fully after use |
|
White vinegar (diluted) |
Yes |
Effective for water spots; never combine with bleach |
|
Baking soda paste |
Yes, used gently |
Mild abrasive; rinse well and avoid stiff brushes |
|
Stainless steel polish |
Yes, for occasional use |
Choose one formulated specifically for stainless steel |
|
Steel wool or wire brushes |
No |
Will scratch the surface, even on light passes |
|
Bleach-based cleaners |
Use with caution |
Can discolor stainless steel with repeated exposure; never mix with vinegar or ammonia |
|
Abrasive powder cleansers |
No |
Too harsh; leaves fine scratches that dull the finish over time |
If a product label doesn't specifically mention stainless steel, it's worth checking the manufacturer's instructions before applying it to your sink, since some all-purpose cleaners contain ingredients that can discolor or streak stainless finishes over repeated use.
How Often Should You Clean a Stainless Steel Sink
A quick rinse and dry after each use goes a long way toward keeping a stainless steel sink looking clean, since it prevents food residue and water spots from setting in.
A more thorough clean, using dish soap and covering the drain area and faucet base, is worth doing daily to every few days depending on how often the sink is used. Kitchens with heavy daily cooking may need this more often than a lightly used sink in a smaller household.
A deeper clean, addressing water spots or dullness with vinegar or baking soda, is typically only needed every week or two, and sometimes less if the water in your area isn't especially hard. Paying attention to how quickly spots reappear is a good way to judge your own sink's cleaning rhythm rather than following a fixed schedule.
Photo Credit: Mateusz Pielech
Common Mistakes to Avoid
- Using steel wool or wire brushes. These scratch the surface almost immediately and the damage isn't reversible without professional refinishing.
- Letting the sink air-dry. This is the leading cause of persistent water spots and mineral film.
- Scrubbing across the grain. Cleaning against the brushed lines can create faint scratches that show up under certain lighting.
- Mixing bleach with vinegar or ammonia-based cleaners. This combination can produce harmful fumes and should always be avoided.
- Using abrasive powders for routine cleaning. These are too harsh for daily use and gradually dull the finish over time.
- Leaving cast iron or copper cookware sitting in the sink. Metal-on-metal contact and rust transfer from other cookware can leave marks that are hard to fully remove.
Professional Cleaning and Cost Considerations
Most stainless steel sink maintenance is a simple DIY task that doesn't require outside help. Professional cleaning or restoration services do exist for stainless steel surfaces, particularly for sinks that have significant scratching, heavy discoloration, or pitting from prolonged exposure to harsh chemicals.
The cost for this kind of service varies widely depending on the extent of the damage, the region, and whether the service is a general cleaning visit or a specialized metal restoration job. Because pricing depends so heavily on these factors, it's best to get a direct quote from a local service rather than relying on a general estimate. For most households, routine cleaning with mild soap, vinegar, and occasional polish keeps a stainless steel sink in good condition without ever needing professional intervention.
If your sink is part of a broader stainless steel kitchen setup, including appliances or countertops, our Stainless Steel Cleaning & Polishing guide covers care across different stainless surfaces, which can be useful if you're maintaining a consistent look throughout the kitchen.
When to Call a Professional
Bring in a professional if:
- The sink has visible pitting or corrosion rather than surface dullness
- Scratches are deep enough to catch a fingernail
- Discoloration persists after trying mild soap, vinegar, and baking soda methods
- The sink was exposed to a harsh chemical, like undiluted bleach or a strong acid, and shows lasting damage
These situations usually go beyond what home cleaning methods can fix and may require specialized polishing or, in some cases, sink replacement.
FAQ
What is the best way to clean a stainless steel sink? Wipe with warm water and mild dish soap in the direction of the grain, rinse thoroughly, and dry completely with a soft towel after each use.
How often should you clean a stainless steel sink? A quick rinse after each use, a soap cleaning daily to every few days, and a deeper vinegar or baking soda clean every week or two keeps most sinks looking their best.
What cleaning products are safe for a stainless steel sink? Mild dish soap, diluted white vinegar, baking soda paste, and stainless steel specific polish are all safe options when used as directed and rinsed well.
What should you avoid when cleaning a stainless steel sink? Avoid steel wool, wire brushes, abrasive powders, and mixing bleach with vinegar or ammonia-based cleaners.
How can you clean a stainless steel sink without damaging it? Always clean in the direction of the grain lines, use non-abrasive tools, and dry the sink fully after cleaning to prevent water spots and reduce the chance of scratching.
For more sink and faucet care routines, view the full kitchen cleaning guide for additional room-by-room instructions.
A quick safety note: always check product labels before applying anything to stainless steel, and never mix bleach with vinegar, ammonia, or other acidic products, since this can create hazardous fumes. If your sink has significant corrosion, pitting, or damage from a strong chemical, a professional is the safer option for repair or restoration.





Leave a Reply