
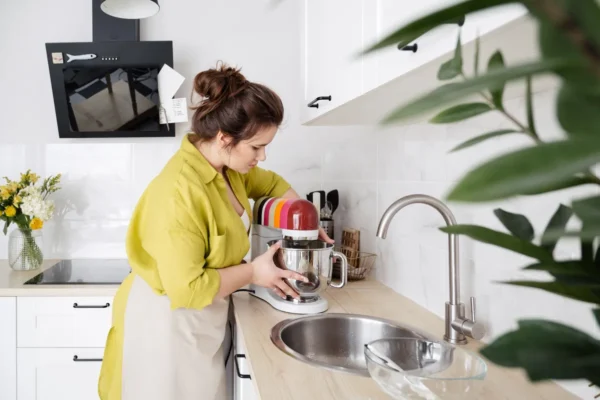
A stand mixer handles everything from bread dough to whipped cream, but all that mixing leaves residue in places a quick wipe doesn't reach. Batter dries into the attachment hub, flour dust settles on the motor housing, and the beater or dough hook picks up sticky buildup around its base. Stand mixer cleaning is simple once you know which parts can be washed normally and which need a gentler touch.
This guide covers cleaning the bowl and attachments, caring for the motor housing safely, and how often each part of the mixer actually needs attention. It's part of the Small Kitchen Appliance Cleaning Guide, which covers care for other everyday kitchen appliances beyond the stand mixer.
The Best Way to Clean a Stand Mixer (Quick Answer)
For most stand mixers, this approach works well:
- Wash the bowl and metal attachments (beater, whisk, dough hook) in warm soapy water, or check if they're dishwasher-safe first.
- Wipe the motor housing and base with a damp cloth, never submerging it in water.
- Clean the attachment hub with a small brush to clear dried batter or flour buildup.
- Dry everything fully before reattaching or storing.
The motor housing is the part most people accidentally damage, since it holds electrical components that should never get wet, unlike the bowl and attachments which are usually safe for a full wash.
Cleaning the Bowl and Attachments
The mixing bowl and metal attachments handle direct contact with food, so they need the most thorough cleaning after each use.
- Rinse the bowl and attachments under warm water right after use to loosen batter or dough before it dries on.
- Wash with warm water and mild dish soap, using a sponge to clean the bowl's interior and the grooves on the beater or whisk.
- Check the manufacturer's manual to confirm whether your specific bowl and attachments are dishwasher-safe, since this varies by model and material.
- Dry thoroughly with a clean towel or let air dry on a rack before storing or reattaching to the mixer.
Stainless steel bowls and attachments generally hold up well to regular washing, including in a dishwasher if the manufacturer confirms it's safe. Coated or non-stick attachments may need hand washing instead, since dishwasher detergent can wear down certain coatings over repeated cycles.
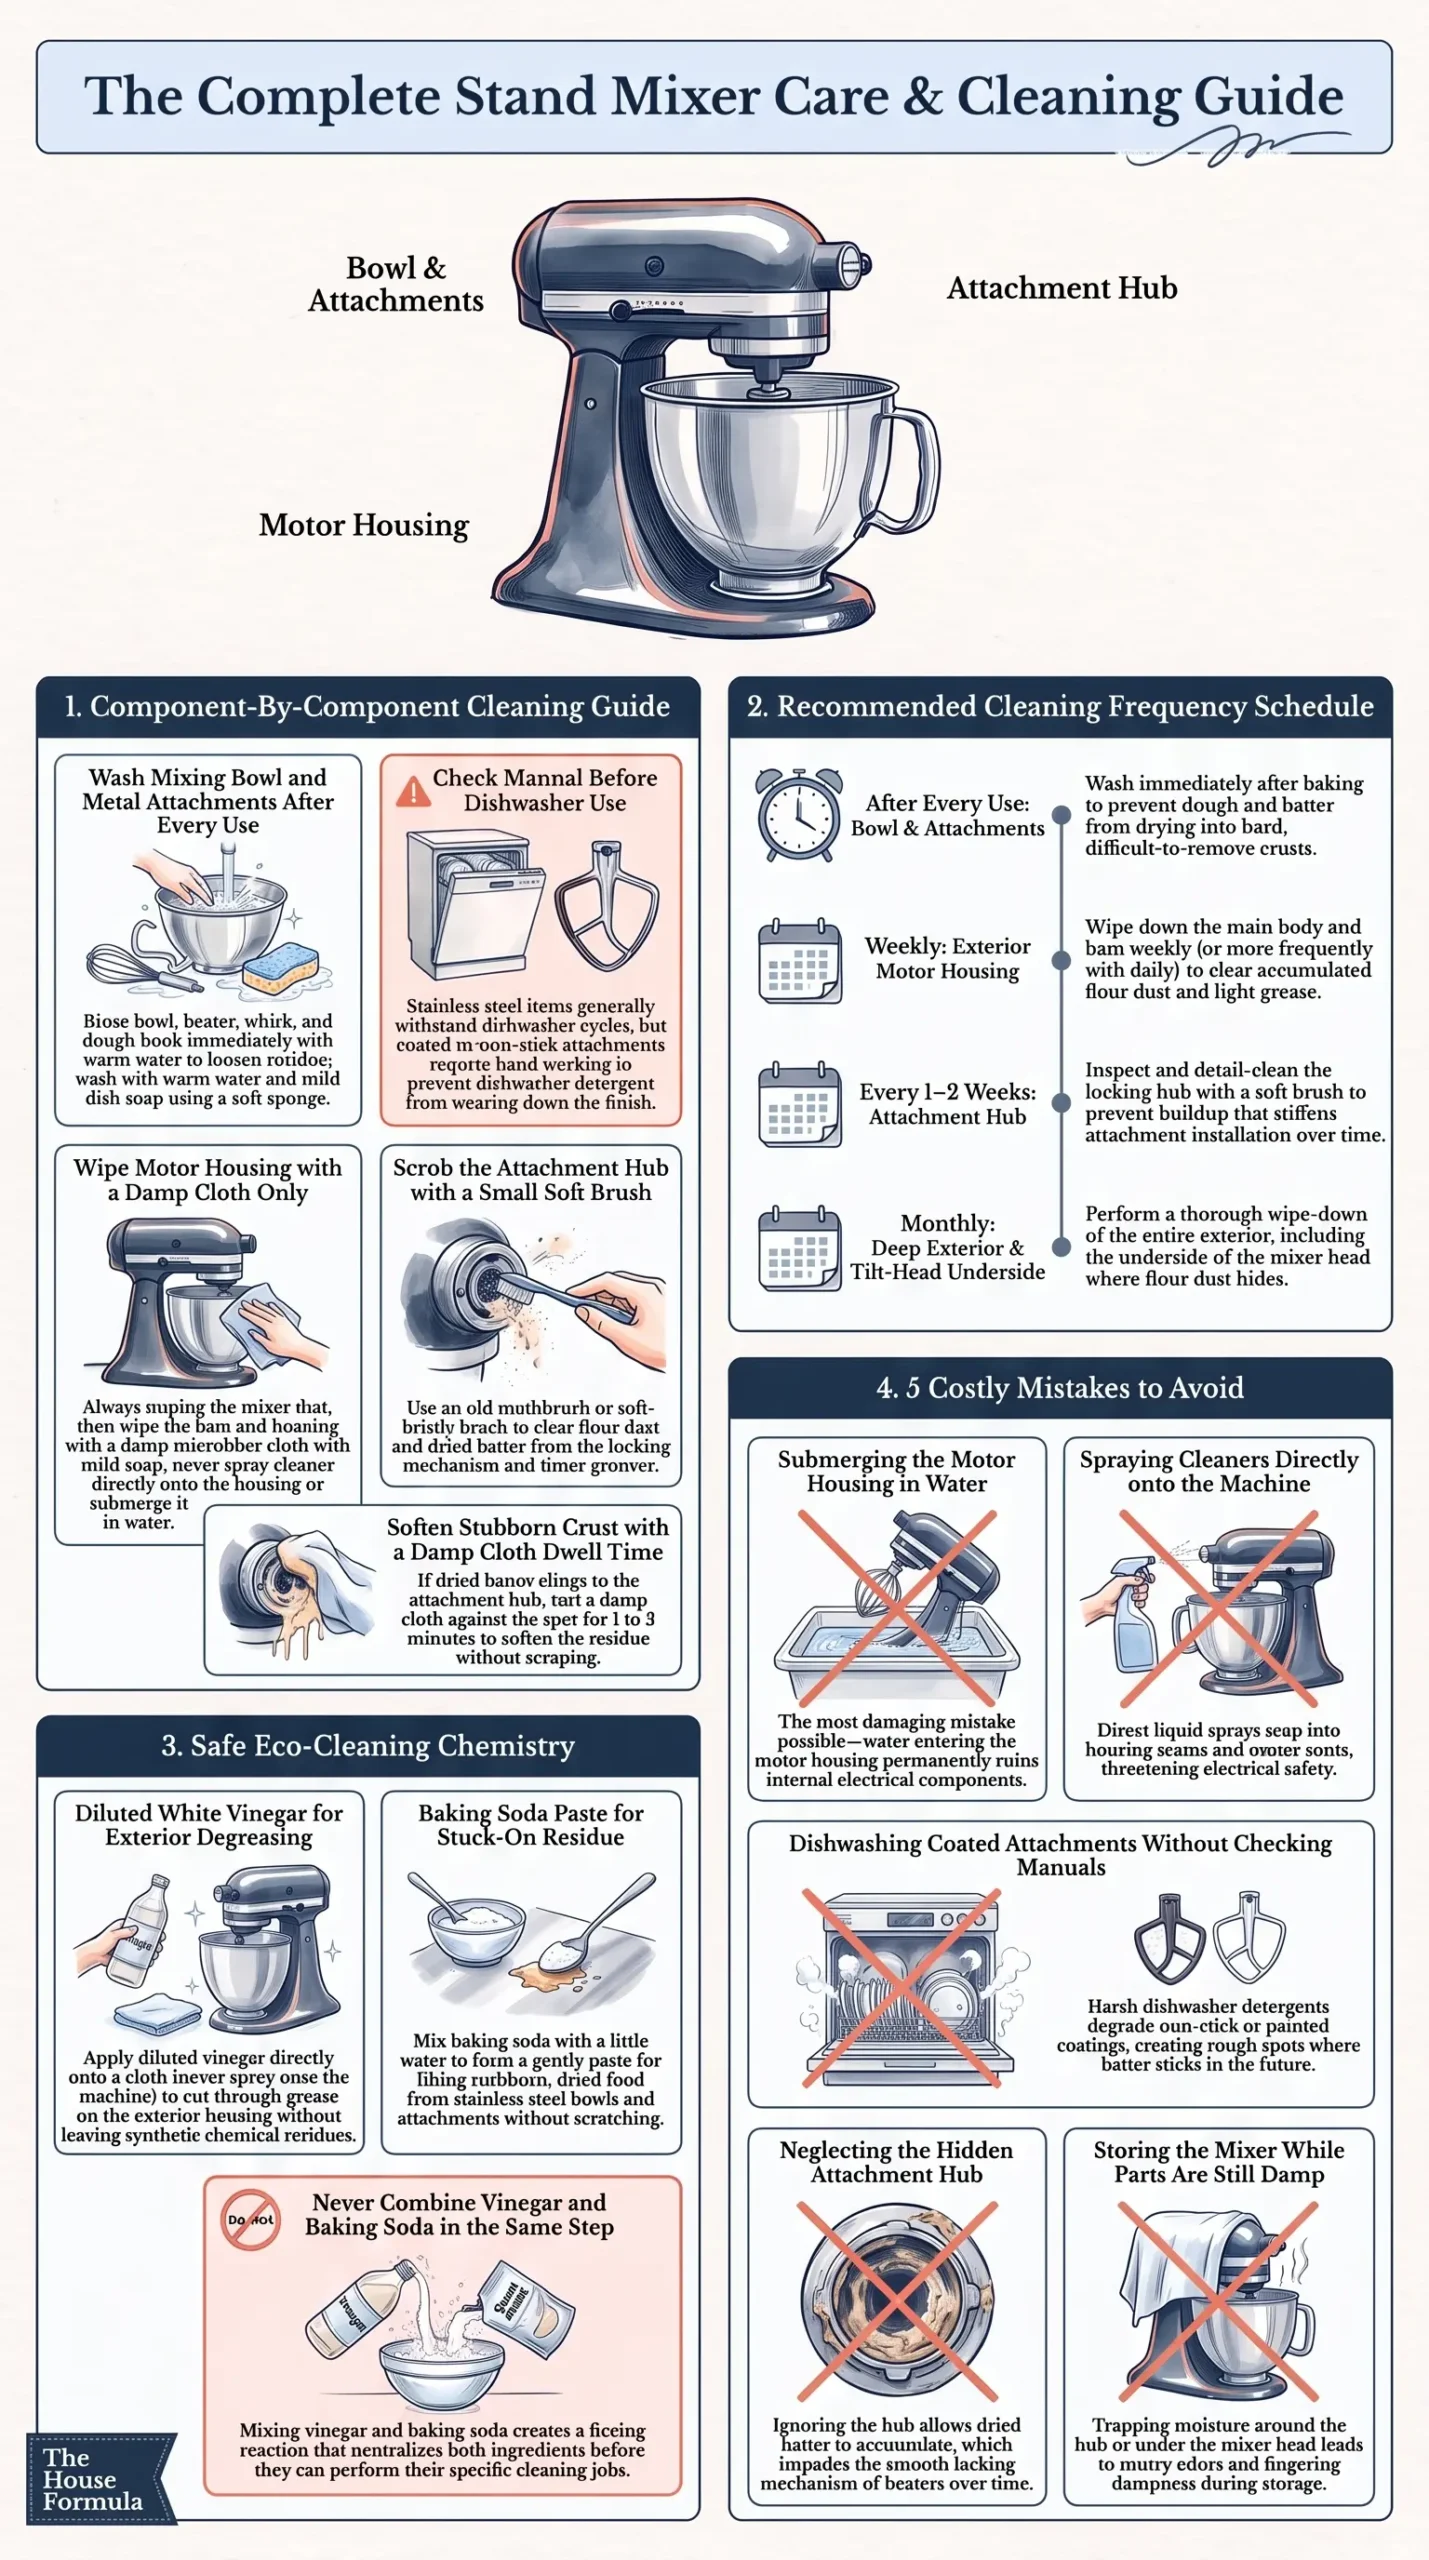
Photo Credit: Hobby Guidebook Editorial
Cleaning the Motor Housing and Base
The motor housing is the part of the mixer that needs the most careful handling, since it contains the electrical components that power the entire machine.
- Unplug the mixer before cleaning any part of the housing or base.
- Wipe the exterior with a damp cloth, using a small amount of mild dish soap if needed for greasy spots.
- Avoid spraying cleaner directly onto the housing, since liquid can seep into vents or seams and reach internal components.
- Dry the housing with a separate clean cloth before plugging the mixer back in.
Never submerge the motor housing in water or place it in a dishwasher under any circumstance. This is the single most common mistake people make with stand mixer cleaning, and it can permanently damage the motor.
Cleaning the Attachment Hub
The attachment hub, where beaters and other tools lock into place, tends to collect dried batter and flour dust that a simple wipe doesn't fully clear. This small area often gets skipped since it's less visible than the bowl or beater itself.
- Wipe the hub with a damp cloth first to clear loose flour or surface residue.
- Use a small, soft brush, like an old toothbrush, to reach into the grooves and locking mechanism where dried batter tends to collect.
- Dry the area fully before attaching any tool, since moisture left in the hub can affect how smoothly attachments lock into place.
If batter has dried into a stubborn crust, a slightly damp cloth left resting against the spot for a minute or two usually softens it enough to wipe away without needing to scrape at the mechanism.
Using Vinegar and Baking Soda
Vinegar and baking soda both have a place in stand mixer care, though not for the same tasks or applied at the same time. Vinegar diluted with water works well as a light degreaser for the exterior housing, wiped on with a cloth rather than sprayed directly onto the machine. Baking soda made into a light paste can help lift stubborn, dried-on residue from the bowl or attachments without needing anything abrasive.
These two ingredients shouldn't be combined directly together in the same cleaning step, since mixing them creates a fizzing reaction that uses up both before they can do much cleaning work. Using vinegar for the housing wipe-down and baking soda paste as a separate step for stuck-on bowl residue, as needed, keeps each ingredient effective for its specific job.
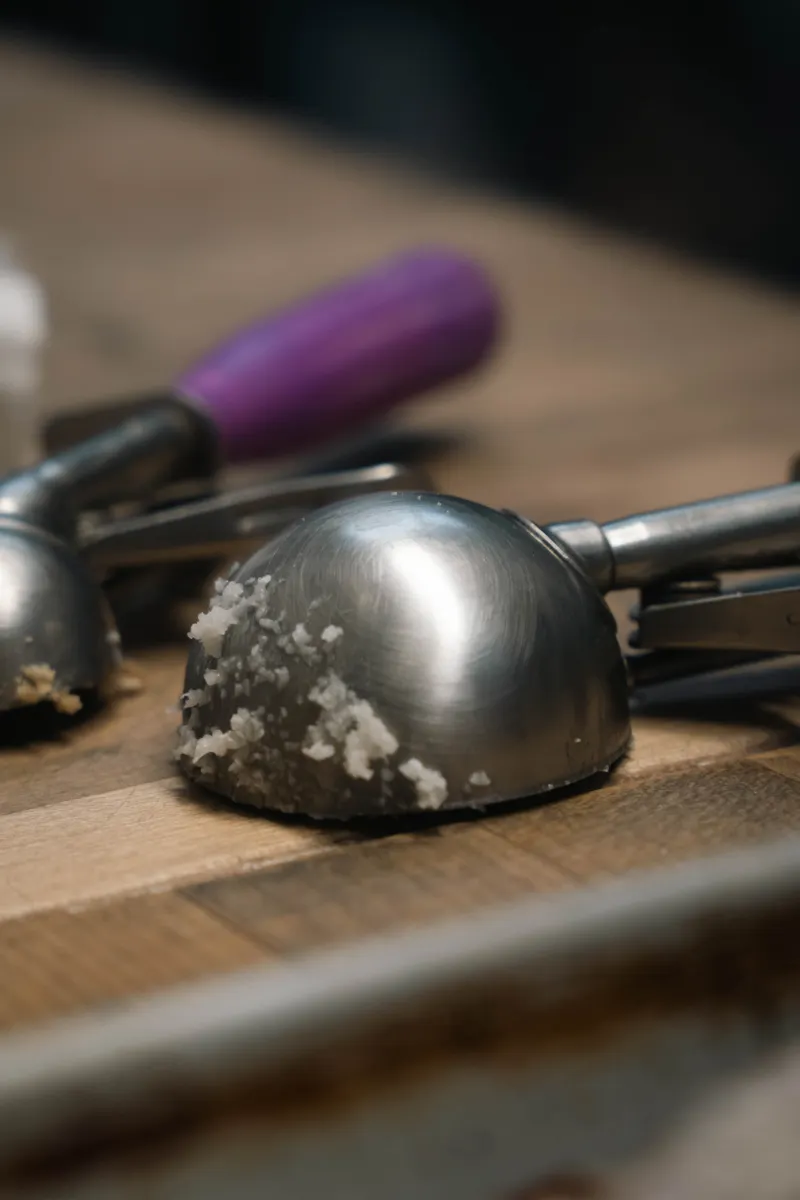
Photo Credit: James Collington
Common Mistakes When Cleaning a Stand Mixer
- Submerging the motor housing in water. This is the most damaging mistake and can ruin the mixer's electrical components entirely.
- Spraying cleaner directly onto the machine. Liquid can seep into seams and vents, so applying cleaner to a cloth first is safer.
- Washing coated attachments in the dishwasher without checking the manual. Dishwasher detergent can wear down non-stick coatings faster than hand washing.
- Skipping the attachment hub. This small area collects dried batter that can affect how smoothly tools attach over time.
- Putting the mixer away while parts are still damp. Trapped moisture around the hub or base can lead to a musty smell developing over time.
What You'll Need
Most of what's needed is already in the kitchen:
- Mild dish soap
- Warm water
- White vinegar (diluted, for the exterior only)
- Baking soda (for a paste, used separately from vinegar)
- A soft sponge
- A small soft-bristle brush for the attachment hub
- A microfiber cloth
Avoid abrasive scrubbers on the bowl or attachments, especially if they have any coating, since scratches create rough spots where residue collects more easily in the future.
An Eco-Friendly Approach
Stand mixer cleaning doesn't require anything beyond basic kitchen staples. Mild dish soap and warm water handle the bowl and attachments effectively, while diluted vinegar manages light grease on the housing without introducing synthetic fragrances or harsh residue near food-contact surfaces. Baking soda offers a gentle way to lift dried residue when a bit more lifting power is needed, without reaching for a stronger commercial cleaner.
This keeps the entire routine limited to a small handful of widely available ingredients rather than a shelf full of specialty appliance cleaners.

Photo Credit: Ron Lach
How Often Should You Clean a Stand Mixer
A quick wash of the bowl and attachments after every use is the easiest habit to maintain, since it prevents batter and dough from drying on in the first place. Beyond that:
- Wipe the motor housing once a week, or more often if the mixer is used daily, to clear flour dust and grease.
- Check and clean the attachment hub every one to two weeks, since this area builds up more slowly than the bowl but still needs occasional attention.
- A deeper wipe-down of the entire exterior, including underneath the mixer head where it tilts, works well once a month to catch spots that don't get regular attention.
If flour dust or dried batter becomes visible sooner than expected, that's a reliable sign it's worth cleaning again regardless of the usual schedule.
Storing a Stand Mixer After Cleaning
Making sure every part is fully dry before storage matters as much as the cleaning itself, since trapped moisture around the attachment hub or under the mixer head can lead to lingering odors over time. Our guide on Stand Mixer Storage covers how to store attachments, protect the housing from dust between uses, and position the mixer to avoid unnecessary wear on the motor.
Caring for Other Small Appliances
Stand mixers aren't the only countertop appliance that needs a specific cleaning approach. Rice cookers develop a different kind of buildup around the inner pot and steam vent, and our guide on Rice Cooker Cleaning covers that process step by step.
Slow cookers face their own challenges, particularly around the ceramic insert and lid seal, where dried food can cling after a long cook time. Our Slow Cooker Cleaning guide walks through safely cleaning these parts without damaging the ceramic finish.
FAQ
What is the best way to clean a stand mixer? Wash the bowl and metal attachments in warm soapy water, wipe the motor housing with a damp cloth, and clean the attachment hub with a small brush to clear dried residue.
How often should you clean a stand mixer? Wash the bowl and attachments after every use, wipe the housing weekly, and check the attachment hub every one to two weeks.
What cleaning products are safe for a stand mixer? Mild dish soap and warm water for the bowl and attachments, diluted vinegar for the exterior housing, and a baking soda paste for stubborn residue.
What should you avoid when cleaning a stand mixer? Avoid submerging the motor housing in water, spraying cleaner directly onto the machine, and washing coated attachments in the dishwasher without checking the manual.
How can you clean a stand mixer without damaging it? Keep water away from the motor housing entirely, use a soft sponge or brush rather than abrasive tools, and dry every part fully before reassembling or storing.
For more appliance care throughout the kitchen, read the full kitchen cleaning guide for additional routines and schedules.
A quick safety note: never combine vinegar and baking soda in the same cleaning step, and always unplug the mixer before cleaning. Keep the motor housing away from water entirely, since this component isn't designed to handle moisture.



Leave a Reply