
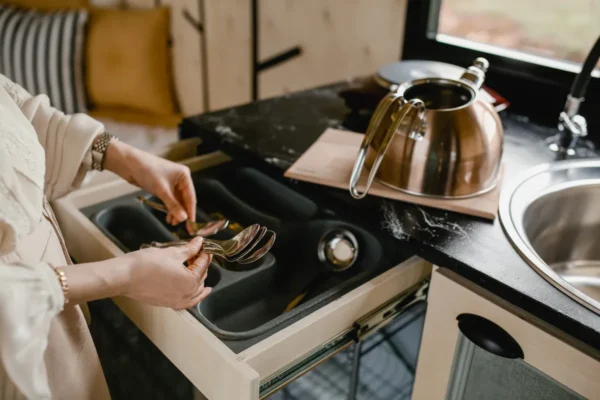
Utensil drawers and deep kitchen drawers collect a mix of mess that cabinets rarely see: crumbs that fall between compartments, sticky residue from spoons set down mid-stir, and dust that settles into corners no one thinks to check. Because these drawers hold items that touch food directly, keeping them clean matters more than it might seem at first glance. This guide is part of the Kitchen Cabinet & Drawer Cleaning Guide, and it covers a full utensil drawer cleaning process along with the deep drawers that store pots, pans, and larger tools.
The Best Way to Clean a Utensil Drawer
Empty the drawer completely, remove any tray or organizer insert, and wash the insert separately with warm water and mild dish soap. Vacuum or wipe out crumbs and debris from the drawer itself, then wipe down the interior with a damp cloth and a few drops of dish soap. Dry everything fully before returning items, since trapping moisture inside a closed drawer invites mildew over time.
That covers the basic process for a standard utensil drawer. The sections below go further into deep drawers with heavier items, how often this cleaning should happen, and which products are actually safe for the different materials involved.
Why Utensil Drawers Need Regular Attention
A utensil drawer holds items that go directly into food, whether that's a spoon stirring a pot or a knife slicing vegetables. Crumbs, food residue, and dust that collect in the drawer can transfer onto those tools the next time they're used, even if the utensils themselves look clean. Compartment trays are especially prone to buildup, since food particles slip into the gaps between sections and sit there unnoticed.
Deep drawers used for pots, pans, or bulkier tools face a different kind of mess: dust, grease that drifts over from nearby cooking, and grime tracked in from an item stored elsewhere before going into the drawer. Both types of drawers benefit from a routine that goes beyond just wiping the front panel, since the real mess collects on the inside surfaces and in the corners.
Tools and Products for Cleaning Drawers
A small set of tools handles both utensil trays and deeper drawers without introducing anything too harsh for the materials involved.
- Handheld vacuum or brush: for lifting crumbs and dust before any wet cleaning
- Mild dish soap: a few drops in warm water for washing trays and wiping interiors
- Soft cloth or sponge: for wiping down drawer interiors and organizer inserts
- Old toothbrush: useful for compartment corners and grooves in utensil trays that a cloth can't reach
- Baking soda paste: a gentle option for lifting sticky residue without scratching the drawer's interior finish
Avoid abrasive scouring pads on plastic organizer trays, since these scratch the surface and create grooves where future grime collects more easily. Save anything stronger than mild soap and water for genuinely stuck-on residue, and even then, test gently before scrubbing harder.
Photo Credit: Meaghan
Step-by-Step Utensil Drawer Cleaning
- Remove everything from the drawer, including the utensil tray or organizer insert.
- Shake out or vacuum the tray to remove loose crumbs before washing it.
- Wash the tray with warm water and a few drops of mild dish soap, using a soft cloth or sponge. For compartment corners, an old toothbrush reaches spots a cloth can't.
- Rinse the tray thoroughly and set it aside to air dry completely, since a damp tray placed back into a closed drawer traps moisture.
- Vacuum or wipe out the drawer itself, removing crumbs and dust from the base and corners.
- Wipe the drawer interior with a damp cloth and mild soap solution, then dry it with a clean towel.
- Let both the drawer and tray dry fully before placing utensils back inside. This usually takes about 15 to 30 minutes depending on humidity and airflow in the kitchen.
- Wipe down each utensil individually if any show buildup or residue before placing it back in the tray.
Skipping the drying step is one of the more common mistakes here, since a drawer that gets closed while still damp creates the exact conditions mildew needs to take hold.
Cleaning Deeper Drawers with Pots, Pans, and Bulkier Tools
Deep drawers holding pots, pans, baking sheets, or larger utensils need a similar process, adjusted slightly for the size and weight of what's stored inside.
- Remove all items from the drawer, checking the bottoms of pots and pans for grease residue before setting them aside.
- Vacuum or wipe out the drawer, paying attention to corners and the track or slide mechanism, where dust and grease tend to build up unnoticed.
- Wipe the interior with warm water and mild dish soap, using a slightly firmer cloth if grease has settled onto the surface.
- For a sticky or greasy film that doesn't lift easily, a baking soda paste applied gently with a soft cloth helps break it down without scratching the drawer's interior finish.
- Dry the drawer completely before returning items, especially if any wet cleaning was involved.
- Wipe down the exterior of pots, pans, and larger tools before placing them back, since grease on the item itself will just transfer back into the drawer otherwise.
Deep drawers also benefit from an occasional check of the slide mechanism itself. A small amount of dust or grime buildup there can make drawers stick or feel harder to open over time, and a dry wipe along the tracks usually resolves this without needing any lubricant or specialty product.
How Often Should You Clean Utensil and Deep Drawers?
A quick wipe of the drawer's visible surface can happen weekly, especially if crumbs are noticeable. A full clean, emptying the drawer, washing the tray, and wiping the interior thoroughly, works well on a monthly basis for most kitchens. Deep drawers with pots and pans can go slightly longer between full cleans, closer to every one to two months, since they typically collect less food residue directly, though grease drift from nearby cooking is worth checking for more often.
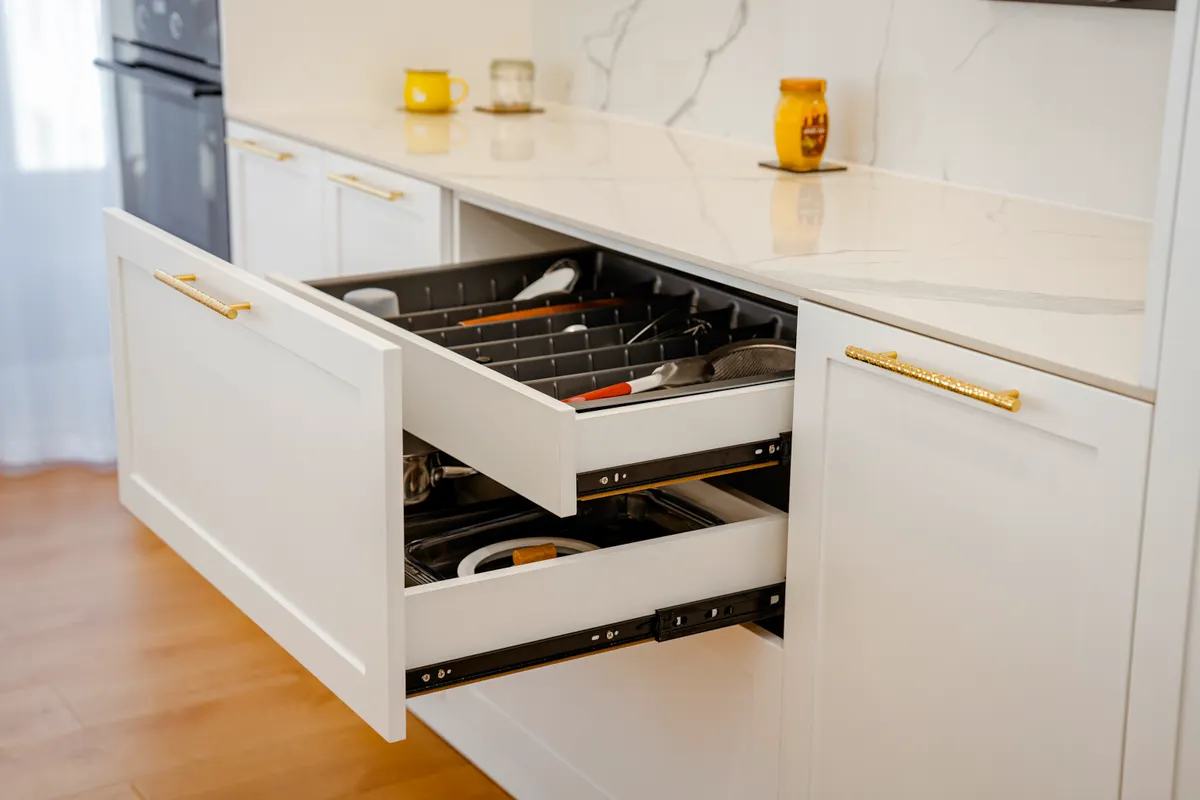
Photo Credit: Bilguun Gantumur
What to Avoid When Cleaning Drawers
A few habits cause avoidable problems in utensil and deep drawers, and steering clear of them keeps the cleaning routine simple and effective.
- Returning items before the drawer or tray is fully dry: trapped moisture in a closed drawer is one of the main causes of mildew smell and growth
- Using abrasive pads on plastic organizer trays: these scratch the surface and create grooves that trap more debris going forward
- Skipping the tray entirely and only wiping the drawer front: most of the actual mess sits inside, not on the visible front panel
- Using strong solvents or undiluted bleach on wood drawer interiors: this can discolor or dry out the wood over time; mild soap and water is the safer default
- Ignoring the slide mechanism: dust buildup here can eventually make the drawer harder to open, and a simple dry wipe along the tracks prevents this
If you notice a persistent musty smell even after a full clean and thorough drying, it may point to moisture getting into the drawer from an outside source, like a nearby sink or dishwasher, rather than something the cleaning routine itself can fix.
Commercial Cleaner vs a Natural Approach
Both approaches work for utensil and deep drawer cleaning, and the right choice mostly comes down to preference and what's already on hand.
|
Approach |
What it involves |
Best for |
Considerations |
|
Natural method |
Mild dish soap, warm water, baking soda paste |
Everyday cleaning, most drawer materials |
Gentle on plastic and wood, requires more manual scrubbing for tough residue |
|
Commercial all-purpose cleaner |
Store-bought spray formulated for kitchen surfaces |
Cutting through grease faster in deep drawers |
Check the label for compatibility with wood or plastic organizer trays before use |
For most utensil trays and lightly used drawers, the natural method handles the job without needing anything stronger. Deep drawers with more grease buildup may benefit from a commercial all-purpose cleaner occasionally, as long as the label confirms it's safe for the specific drawer material.
Beyond the Drawer: Liners and Sticky Residue
If your drawers use a shelf liner or non-slip mat, that liner needs its own attention separately from the drawer surface underneath, since liners trap crumbs and moisture differently than a bare wood or laminate interior. The Cabinet Interior & Shelf Liner Cleaning guide covers how to clean and maintain liners without damaging the adhesive backing or the surface underneath.
Sticky residue that won't lift with a standard wipe, often from spilled syrup, honey, or a forgotten sauce packet, sometimes needs a slightly different approach than routine cleaning covers. For that kind of stubborn buildup on cabinet or drawer surfaces, Removing Sticky Residue from Kitchen Cabinets walks through safer methods for lifting it without damaging the finish underneath.
Photo Credit: hello aesthe
A Note on Keeping Drawers Organized
A clean drawer stays clean longer when the contents have a defined place to go, since loose utensils sliding around tend to create more mess and make thorough cleaning harder each time. If your utensil drawer feels cluttered or disorganized even after cleaning, Utensil Drawer Organization covers practical ways to set up trays and dividers that make both daily use and future cleaning easier.
Frequently Asked Questions
What is the best way to clean a deep drawer and utensil drawer? Empty the drawer fully, wash the tray or organizer separately with mild soap and water, vacuum or wipe out the drawer interior, then dry everything completely before returning items.
How often should you clean a deep drawer and utensil drawer? A quick wipe weekly for visible crumbs, with a full clean including the tray once a month. Deep drawers with pots and pans can go every one to two months between full cleans.
What cleaning products are safe for a deep drawer and utensil drawer? Mild dish soap and warm water handle most cleaning needs. Baking soda paste works well for sticky residue, and a commercial all-purpose cleaner can help with grease in deep drawers if the label confirms it's safe for the material.
What should you avoid when cleaning a deep drawer and utensil drawer? Avoid returning items before everything is fully dry, using abrasive pads on plastic trays, and applying strong solvents or undiluted bleach to wood drawer interiors.
How can you clean a deep drawer and utensil drawer without damaging it? Use soft cloths and mild products, dry the tray and drawer completely before closing them back up, and check the slide mechanism periodically so dust buildup doesn't affect how the drawer opens and closes.
A Quick Note on Safety
Most utensil and deep drawer cleaning relies on mild, low-risk products like dish soap and baking soda, but a few precautions still apply. If you use a commercial all-purpose cleaner, check the label for compatibility with your drawer's material, whether that's wood, laminate, or plastic, before applying it broadly. Never mix cleaning products unless the combination is explicitly confirmed safe on the label. Work in a ventilated space if using a stronger cleaner, and let drawers dry fully before closing them to avoid trapping moisture inside.
For more on keeping the rest of your kitchen clean, go back to the complete kitchen cleaning guide.





Leave a Reply