
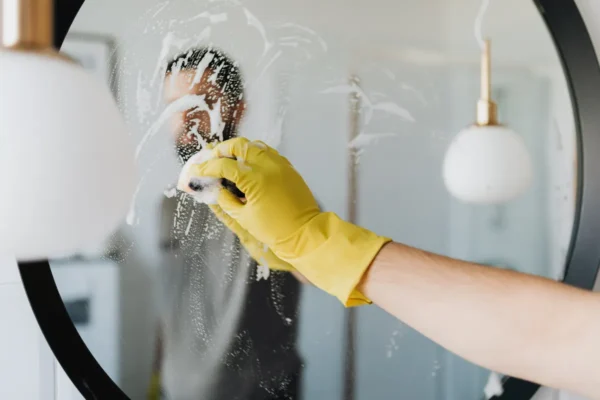
A bathroom mirror shows every flaw instantly. Toothpaste flecks, hairspray mist, water spots, and steam film all stand out on glass in a way they never would on tile or a countertop. Add a small, often poorly ventilated room to the mix, and bathroom mirrors end up needing more frequent, more careful attention than glass anywhere else in the house.
This guide gives you a bathroom mirror and glass cleaning step-by-step guide, covering the right products, the habits that actually prevent streaks, and the specific problems that show up on bathroom glass more than anywhere else. Think of it as bathroom mirror and glass cleaning for beginners, with a simple bathroom mirror and glass cleaning checklist at the end to keep the routine going. If you want the full picture of bathroom care first, you can go Back to the complete bathroom cleaning guide.
The Best Way to Clean a Bathroom Mirror
The most effective method removes loose debris before introducing any liquid, then uses light, even strokes to avoid streaking. Here is the short version:
- Dust the mirror surface and frame with a dry microfiber cloth.
- Spot-treat any toothpaste splatter or heavy soap residue first.
- Apply a glass-safe cleaner to a cloth, not directly to the mirror.
- Wipe in straight, overlapping lines rather than circles.
- Buff dry with a clean, dry microfiber cloth or squeegee.
- Check the edges and corners for missed streaks.
This order matters because spraying cleaner straight onto the glass sends liquid running down behind the frame or into the wall seam, where it can sit and cause damage over time. Applying cleaner to the cloth instead keeps moisture where it belongs, on the glass itself.
How Often You Should Clean a Bathroom Mirror
Bathroom mirrors pick up grime faster than most glass in the house, simply because of what's happening in the room around them. A general schedule looks like this:
- Daily: A quick wipe of any toothpaste splatter or obvious spots right after it happens, before it has a chance to dry and harden.
- Weekly: A full clean of the entire mirror surface, including the frame edges and any decorative trim.
- Monthly: A closer check behind and around the mirror frame, where dust and hairspray residue tend to settle unnoticed.
Households with more people sharing one bathroom will need the daily spot-check more consistently, since more use means more toothpaste flecks and fingerprints. Homes with hard water may also notice mineral spotting on the mirror near the sink, especially if splashes land on the glass during hand washing. If your mirror fogs heavily during every shower and takes a long time to clear, that steady condensation is also worth factoring in, since it means more film buildup between cleanings than in a well-ventilated bathroom.

Photo Credit: Hobby Guidebook Editorial
What Products Are Safe for Bathroom Mirror and Glass Cleaning
Mirrors are more forgiving than many bathroom surfaces, but a few product choices still matter, especially around the frame and backing.
|
Product |
Best Use |
Avoid Using On |
|
Commercial glass cleaner |
General mirror cleaning, quick daily wipes |
Wood-framed mirrors (avoid spraying directly on frame) |
|
Vinegar and water solution |
Mineral spots, general streak-free cleaning |
Antique or unsealed mirror backing |
|
Rubbing alcohol (diluted) |
Hairspray residue, stubborn film |
Frequent use on painted or decorative frames |
|
Mild dish soap and water |
Light daily wipes, toothpaste splatter |
Nothing significant, generally safe |
|
Baking soda paste |
Dried, stubborn toothpaste residue |
Antique glass or mirrors with a delicate coating |
Important: Spraying any liquid cleaner directly onto a mirror risks moisture running down behind the glass and reaching the reflective backing. Over time, this can cause dark spots or edges where the silvering has worn away, and that kind of damage isn't reversible. Applying cleaner to a cloth first, rather than the glass, avoids this problem almost entirely.
Vinegar and water is a reliable, low-cost option for most bathroom mirrors and works well on mineral spots from hard water splashes. However, if your mirror has an antique or unsealed backing, which is more common in older or decorative pieces, avoid vinegar and stick with a dry or barely damp cloth instead, since moisture reaching unsealed backing can cause discoloration.
Tools That Make the Job Easier
A short list of tools covers nearly every bathroom mirror situation:
- A dry microfiber cloth for dusting before you introduce any liquid cleaner.
- A second, clean microfiber cloth dedicated to applying cleaner and buffing the glass dry.
- A squeegee, useful if your mirror fogs regularly from shower steam, since it clears large areas fast without lint.
- An old soft toothbrush, handy for cleaning textured or beveled mirror edges where a cloth can't reach.
- A soft brush or duster for frame edges, especially on wood or textured frames.
Keeping separate cloths for the mirror and the rest of the bathroom matters more than it might seem. A cloth that's already picked up soap residue from the sink or countertop will drag that film across the glass and leave streaks no matter how careful your technique is.
Step-by-Step: Streak-Free Mirror Cleaning
Streaks are almost always a technique problem rather than a product problem, which is good news because it means the fix is simple once you know what's causing it.
- Dust first. Wipe the dry mirror with a microfiber cloth to remove loose dust, since wiping dust with a wet cloth just smears it into a film.
- Apply cleaner to the cloth, not the glass. A light, even coat on the cloth is enough for most mirrors.
- Wipe in straight lines, top to bottom or side to side, rather than circles. Circular wiping tends to leave faint swirl marks that show up under certain lighting.
- Work in sections on larger mirrors, rather than trying to cover the whole surface before the cleaner starts to dry.
- Buff immediately with a dry cloth. Don't let the cleaner air-dry on its own, since that's one of the most common causes of streaking.
- Check at an angle. Streaks are often invisible head-on but show up clearly when you view the mirror from the side under bright light.
Humidity plays a bigger role in streaking than most people expect. Cleaning a mirror right after a hot shower, while the room is still steamy, makes it harder to get a clean, dry finish, since the moisture in the air slows drying and can reintroduce a light film. For a full breakdown of technique, cloth choice, and timing that consistently avoids streaks, see the Streak-Free Bathroom Mirror Cleaning guide.
Step-by-Step: Removing Toothpaste Splatter
Toothpaste is one of the most common and most stubborn marks on a bathroom mirror, especially once it's had time to dry.
- Catch it fresh if possible. A quick wipe with a damp cloth right after brushing removes most splatter before it has a chance to harden.
- For dried splatter, dampen first. A cloth with warm water, held against the spot for 20 to 30 seconds, softens dried toothpaste enough to wipe away cleanly.
- Use a baking soda paste for stubborn residue. Mix a small amount of baking soda with water, apply gently with a soft cloth, and avoid heavy pressure that could scratch the glass.
- Rinse the spot with a clean, damp cloth to remove any leftover paste residue.
- Follow with your regular glass cleaner over the full mirror to avoid a mismatched, extra-clean patch that stands out from the rest of the surface.
- Dry and buff the treated area along with the rest of the mirror for a consistent finish.
Toothpaste with added color or gel formulas can sometimes leave a faint residue even after cleaning, particularly if it's been left to dry for more than a day. For more detail on treating stubborn or discolored toothpaste marks without scratching the glass, see the Removing Toothpaste Splatter from a Mirror guide.

Photo Credit: Diana ✨
Cleaning the Mirror Frame
The frame around a bathroom mirror often gets overlooked, but it collects dust, hairspray residue, and splashed water just like the glass does.
- For metal frames, wipe with a soft cloth and mild soap and water, drying thoroughly to prevent water spots or tarnish, depending on the finish.
- For wood frames, avoid spraying cleaner directly on the wood. Use a barely damp cloth and dry immediately, since standing moisture can warp or dull a wood finish over time.
- For painted frames, stick to mild soap and water and avoid abrasive cloths, which can dull or scratch a painted surface.
If your mirror frame shows any bubbling, peeling, or discoloration, this usually points to moisture getting into the material rather than a cleaning issue, and it's worth addressing the humidity source before it affects the frame further.
Dealing With Fog and Condensation
Fog isn't dirt, but it affects how well you can actually clean and see a bathroom mirror, and it's closely tied to the moisture problems this room deals with more than any other.
A squeegee is the fastest way to clear fog after a shower without leaving streaks. Running the exhaust fan during and for at least 15 to 20 minutes after a shower also helps the mirror clear faster and reduces the film that builds up from steam settling on the glass repeatedly. If your mirror fogs heavily every single time and takes a long while to clear, that's often a sign the bathroom's ventilation isn't keeping up with shower steam, which is worth addressing separately from the cleaning routine itself.
What to Avoid When Cleaning a Bathroom Mirror
A few habits cause more harm than good, even when the goal is a spotless finish.
- Avoid spraying cleaner directly onto the glass, since it can run behind the mirror and damage the reflective backing over time.
- Avoid abrasive scrubbers or dry paper towels, both of which can leave fine scratches on the glass surface.
- Avoid using vinegar on antique or unsealed-backing mirrors, since moisture reaching unsealed backing can cause discoloration.
- Avoid wiping in circles, which tends to leave faint swirl marks visible under certain lighting.
- Avoid cleaning immediately after a hot shower if you can wait, since residual steam in the room makes streak-free drying harder.
How to Clean a Mirror Without Damaging It
Damage to a bathroom mirror is uncommon, but a few habits keep both the glass and the frame in good shape long term:
- Apply cleaner to the cloth, not the mirror, to avoid moisture reaching the frame or backing.
- Use soft, lint-free cloths rather than paper towels or anything textured.
- Dry the glass fully after cleaning, rather than letting it air-dry.
- Match your cleaner to the frame material, especially for wood or painted frames.
- Address peeling or bubbling frame material early, since it usually points to a moisture issue rather than a cleaning gap.
Following any manufacturer care instructions for a decorative or antique mirror takes priority over general guidance, since older glass and backing methods vary.
Common Mistakes to Avoid
Even careful homeowners fall into a few repeat mistakes:
- Spraying cleaner directly onto the glass. This is the single most common cause of long-term mirror damage around the edges.
- Using a dirty cloth from another bathroom task. Residue from the sink or counter transfers easily to glass and causes streaking.
- Skipping the dry-and-buff step. Letting cleaner air-dry is one of the most common reasons for a streaky finish.
- Ignoring the frame. Dust and hairspray buildup on the frame is easy to miss but noticeable once it accumulates.
- Cleaning right after a steamy shower. Residual humidity in the air makes it harder to get a clean, streak-free result.
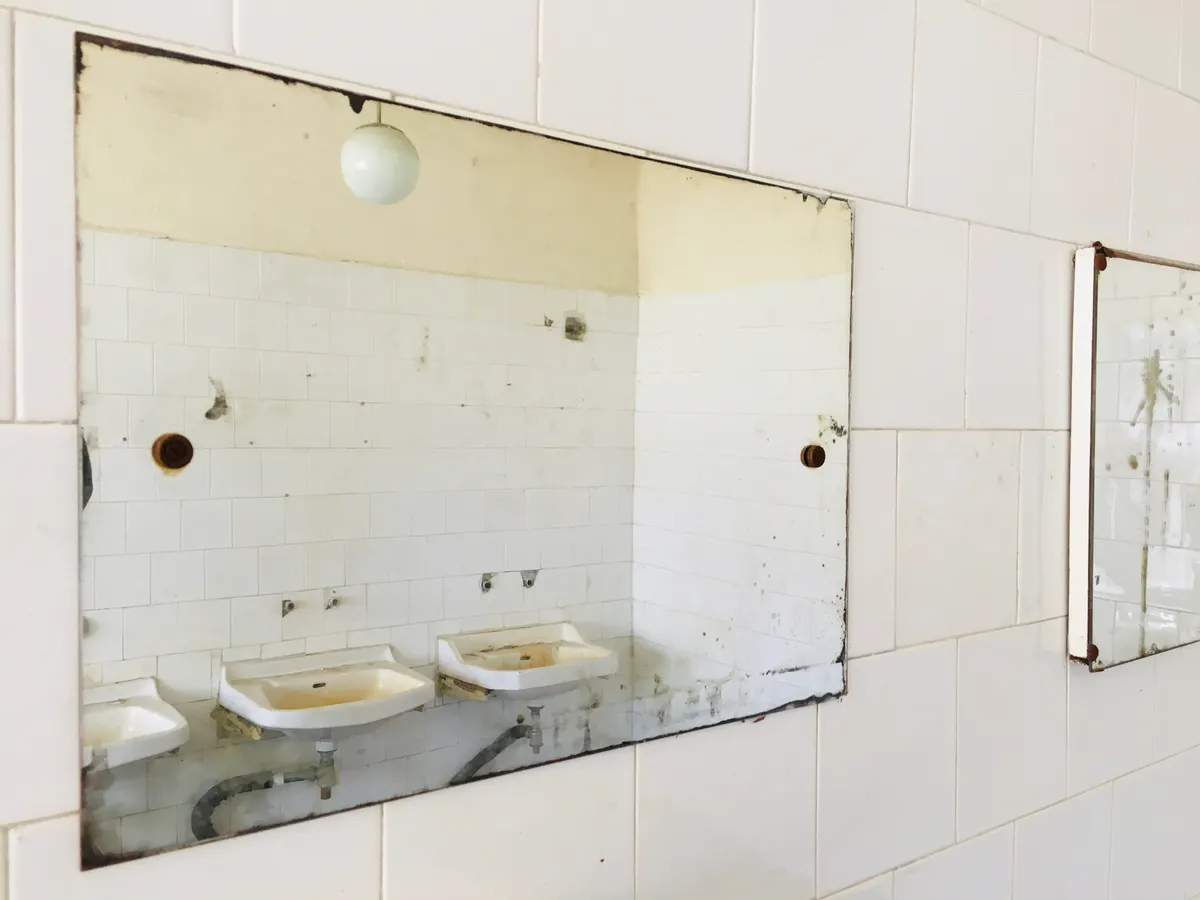
Photo Credit: Ogy Kovachev
How Long a Full Bathroom Mirror Clean Takes
A routine weekly clean of a standard bathroom mirror typically takes 5 to 10 minutes, including the frame. Treating stubborn toothpaste splatter or heavy hairspray film can add another 5 minutes. Larger mirrors, or bathrooms with heavy daily use and more frequent splatter, may need a slightly longer weekly clean to keep the glass consistently streak-free.
Bathroom Mirror and Glass Cleaning Checklist
Use this quick checklist for a fast, streak-free clean:
- Dust the mirror and frame with a dry cloth.
- Spot-treat toothpaste splatter or heavy residue.
- Apply cleaner to the cloth, not the glass.
- Wipe in straight, overlapping lines.
- Buff dry immediately with a clean cloth.
- Check the mirror at an angle for missed streaks.
- Wipe down the frame separately if needed.
- Run the exhaust fan after showers to reduce fog buildup.
Frequently Asked Questions
What is the best way to clean bathroom mirror and glass? Dust the mirror first, apply a glass-safe cleaner to a cloth rather than the glass, wipe in straight lines, and buff dry immediately with a clean cloth to avoid streaks.
How often should you clean bathroom mirror and glass? Spot-clean toothpaste splatter daily, do a full clean of the mirror and frame weekly, and check behind the frame for dust buildup monthly.
What cleaning products are safe for bathroom mirror and glass? Commercial glass cleaner, a vinegar and water solution, or mild dish soap and water all work well, though vinegar should be avoided on antique or unsealed-backing mirrors.
What should you avoid when cleaning bathroom mirror and glass? Avoid spraying cleaner directly on the glass, avoid abrasive scrubbers, and avoid wiping in circles, which can leave visible swirl marks.
How can you clean bathroom mirror and glass without damaging them? Apply cleaner to the cloth instead of the glass, use soft lint-free cloths, dry the surface fully, and match your cleaner to the frame material.
What common mistakes should you avoid with bathroom mirror and glass? Spraying cleaner directly onto the glass, using a dirty cloth from another task, skipping the dry-and-buff step, and ignoring the frame.
For the full room-by-room approach to bathroom care, Check out the full bathroom cleaning guide.



Leave a Reply