
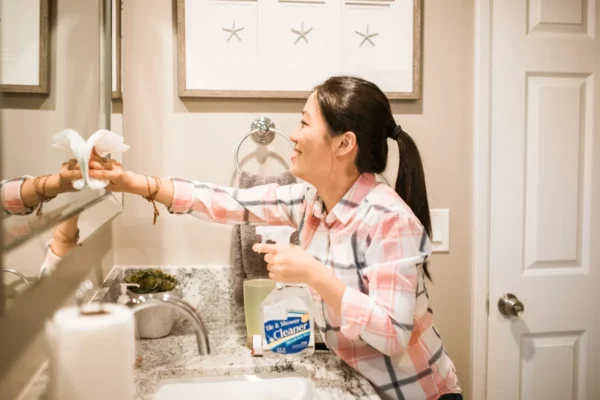
Mold and mildew show up in bathrooms more than almost anywhere else in the house, and that's not bad luck. Bathrooms combine warmth, moisture, and often limited airflow, which is exactly the environment mold needs to grow. Grout lines, caulk, tile corners, and the area around the tub or shower are the usual starting points, since these spots stay damp the longest after every shower or bath.
This guide gives you a bathroom mold and mildew removal cleaning step-by-step guide, covering safe products, surface-specific methods, and the habits that keep mold from coming right back. Think of it as everything you need to know about cleaning bathroom mold and mildew removal, with a bathroom mold and mildew removal cleaning checklist near the end to keep the routine simple. If you want the full picture of bathroom care first, you can go Back to the complete bathroom cleaning guide.
The Best Way to Remove Mold and Mildew from a Bathroom
The most effective approach matches the cleaner to the surface, ventilates the space well, and addresses the moisture source, not just the visible growth. Here is the short version:
- Open a window or turn on the exhaust fan before you start.
- Put on gloves, and a mask if you're sensitive to mold or working in a small, enclosed space.
- Identify the surface (non-porous like tile and glass, or porous like grout, caulk, or drywall).
- Apply a cleaner suited to that surface.
- Let it sit for the recommended time to actually kill the mold, not just remove the visible stain.
- Scrub gently, then rinse.
- Dry the area completely.
- Address the moisture source so mold doesn't return.
This order matters because wiping away visible mold without addressing ventilation or standing moisture usually means it's back within weeks. Treating the surface is only half the job; the other half is making the spot less hospitable to mold going forward.
How Often You Should Check for Mold and Mildew
Bathrooms need regular mold checks in a way that most rooms don't, simply because the conditions for growth are present almost daily. A general schedule looks like this:
- Weekly: A quick visual check of grout lines, caulk edges, and shower corners for the first signs of dark spots or a musty smell.
- Monthly: A closer look behind the shower curtain, under bath mats, and around the base of the toilet, where mold can develop somewhat out of sight.
- Every 3 to 6 months: A deeper check of ventilation performance, since a weak or dusty exhaust fan lets more moisture linger and directly increases the chance of mold returning.
Homes without a working exhaust fan, or bathrooms with a window that rarely gets opened, generally need mold checks more often, since moisture has nowhere to go after each shower. Households in humid climates may notice mold developing faster than the weekly check assumes, which usually means the ventilation routine, not just the cleaning routine, needs attention.
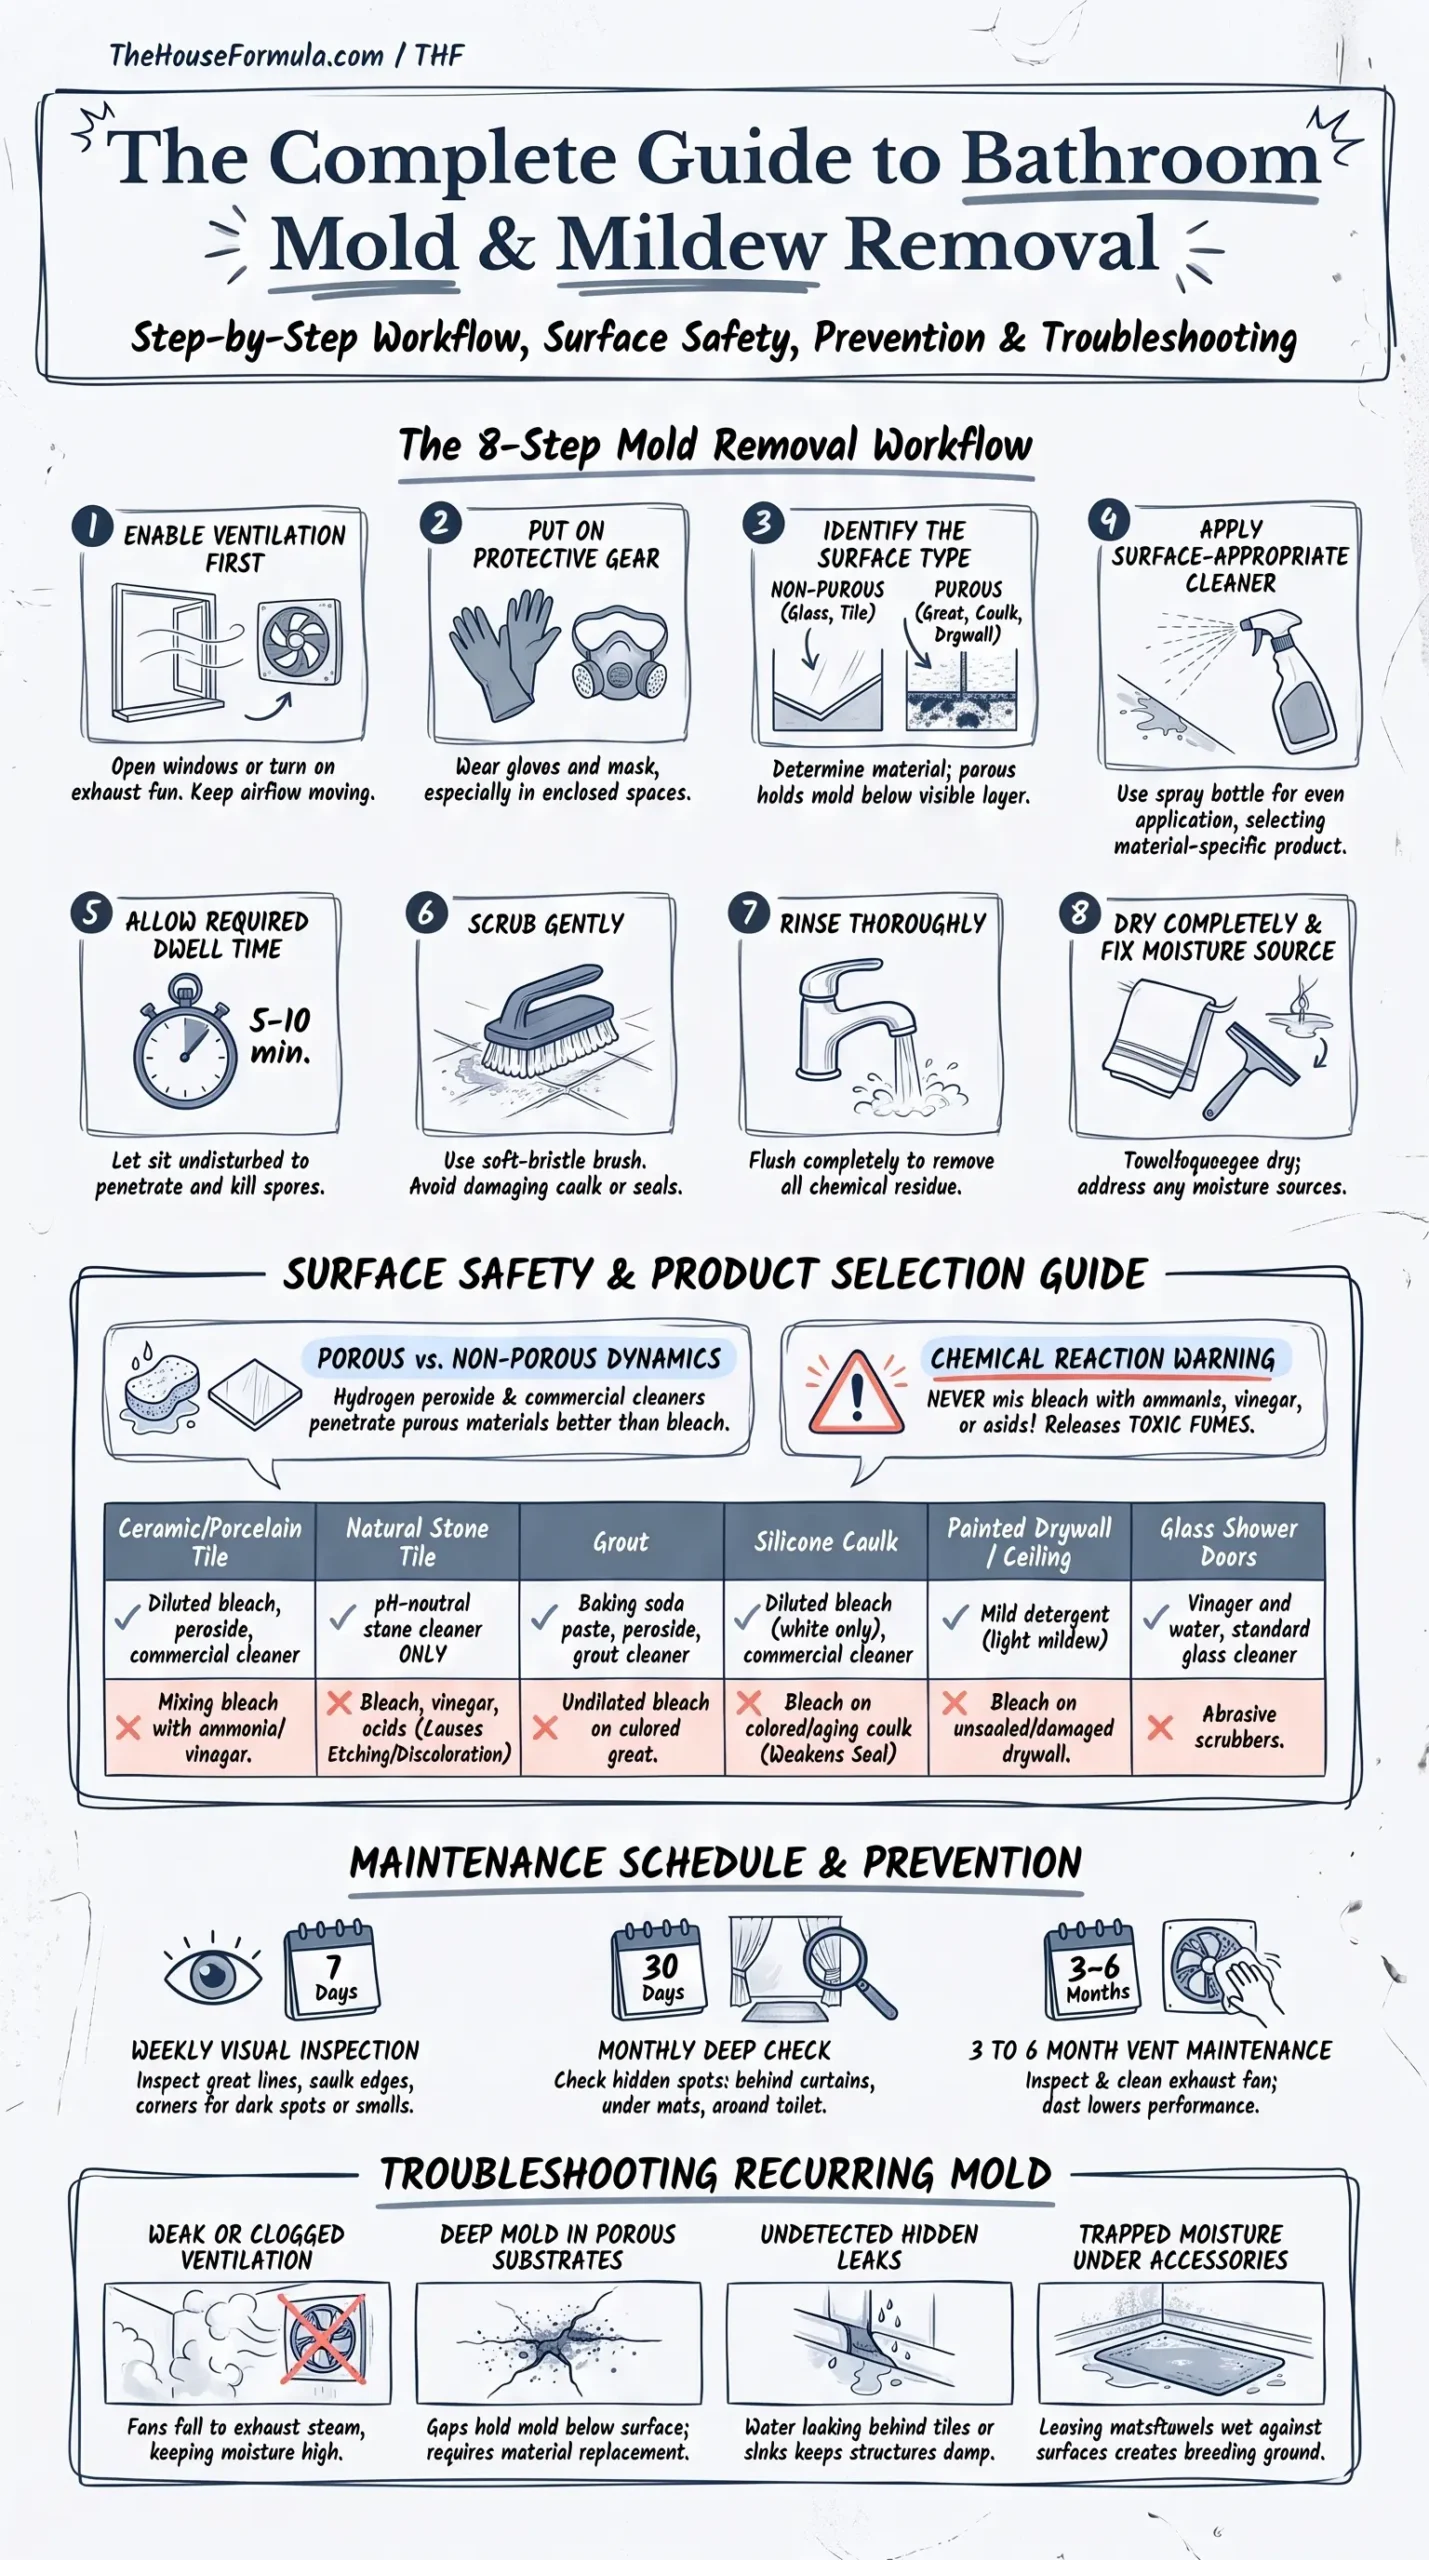
Photo Credit: Hobby Guidebook Editorial
What Products Are Safe for Mold and Mildew Removal
The right product depends heavily on the surface. Non-porous materials like tile and glass tolerate more options than porous materials like grout, caulk, or drywall, which can hold mold below the surface even after a visible stain is gone.
|
Surface |
Safe Options |
Avoid |
|
Ceramic or porcelain tile |
Diluted bleach solution, hydrogen peroxide, commercial mold cleaner |
Mixing bleach with ammonia or vinegar |
|
Natural stone tile |
pH-neutral, stone-safe mold cleaner only |
Bleach and vinegar, both can etch or discolor stone |
|
Grout |
Baking soda paste, hydrogen peroxide, grout-safe mold cleaner |
Undiluted bleach on colored grout |
|
Silicone caulk |
Diluted bleach (on white caulk only), commercial mold cleaner |
Bleach on colored or aging caulk, which can weaken it |
|
Painted drywall or ceiling |
Mild detergent for light surface mildew |
Bleach on unsealed or already-damaged drywall |
|
Glass shower doors |
Vinegar and water, glass cleaner |
Abrasive scrubbers |
Important: Bleach should never be mixed with ammonia, vinegar, or other acidic cleaners, since this combination can release harmful fumes. If a product label doesn't clearly state it's safe to combine with what you're already using, treat it as unsafe to mix. Diluted bleach can be effective on hard, non-porous surfaces like tile and white caulk, but it should always be used according to the product label's dilution instructions, in a well-ventilated space.
Porous materials deserve extra caution. Mold can grow into the small gaps in grout, caulk, or drywall, which means a surface wipe sometimes only removes the visible stain while leaving mold underneath. Hydrogen peroxide and commercial mold-specific cleaners tend to penetrate porous surfaces more effectively than bleach, which mostly works on contact and doesn't soak in the same way. For heavily affected grout or caulk that keeps coming back despite repeated cleaning, replacement is sometimes the more realistic fix than continued treatment.
Tools That Make the Job Easier
A short list of tools covers most mold and mildew situations in a bathroom:
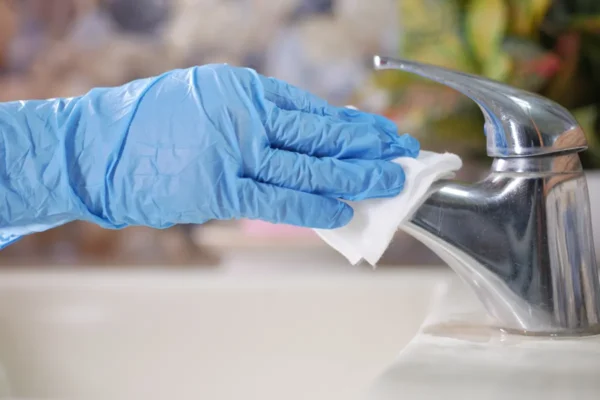
- Rubber gloves, to keep both mold spores and cleaning chemicals off your skin.
- A mask or respirator, especially useful if you're sensitive to mold or working in a small bathroom without much airflow.
- A soft-bristle grout brush or old toothbrush, gentle enough for grout and caulk without damaging the surface.
- A spray bottle, useful for applying diluted cleaners evenly rather than pouring them directly onto a small area.
- A dry towel or squeegee, for drying the surface completely once you're done.
Skip anything with bleach if you're also using or have recently used a vinegar-based or ammonia-based product nearby, even in a different part of the room. Fumes can linger, and it's safer to fully rinse and ventilate between using different chemical types.
Step-by-Step: Removing Mold from Bathroom Tile
Tile is one of the more forgiving surfaces for mold removal, since it's non-porous and holds up well to most mold-specific cleaners.
- Ventilate first. Open a window or run the exhaust fan before applying any cleaner, and keep it running throughout the process.
- Apply a mold-safe cleaner. A diluted bleach solution works well on plain ceramic or porcelain tile; hydrogen peroxide or a stone-safe cleaner is the better choice for natural stone.
- Let it sit. Give the cleaner 5 to 10 minutes on visible mold, following the product label's recommended contact time if one is listed.
- Scrub gently with a soft brush, focusing extra attention on grout lines where mold tends to be more established.
- Rinse thoroughly with clean water to remove all cleaner residue.
- Dry completely, since leftover moisture undoes much of the benefit of the cleaning itself.
- Stop and reassess if mold returns quickly after a proper clean, since this usually points to a ventilation or moisture problem rather than a cleaning gap.
Mold that keeps returning to the same spot on tile, especially in grout, often means the grout itself has become porous enough to hold mold below the surface. For a closer look at grout-specific treatment, sealing, and knowing when grout needs to be replaced rather than cleaned again, see the full Removing Mold from Bathroom Tile guide.
Step-by-Step: Treating Mold on Caulk and Silicone Seals
Caulk around the tub or shower is one of the most common places for mold to take hold, since it sits directly in the path of daily water exposure.
- Confirm the caulk color and condition. White caulk generally tolerates a diluted bleach solution, but colored or aging caulk is more likely to weaken or discolor.
- Apply cleaner directly to the caulk line, using a spray bottle for even coverage.
- Let it sit for the time recommended on the product label, since caulk often needs a longer contact time than tile to fully address mold in the material itself.
- Scrub lightly with a soft brush, avoiding aggressive pressure that could pull the caulk away from the surface.
- Rinse and dry thoroughly.
- Check for cracking or peeling while you're there, since damaged caulk lets water behind it, which creates an ongoing moisture source that no amount of surface cleaning will fix.
If mold has worked its way deep into the caulk and keeps returning even after proper cleaning, removing and replacing the caulk line is usually more effective than continued treatment. This is a straightforward project for many homeowners, though it's worth confirming your specific caulk type and application method before starting.

Photo Credit: Eva Bronzini
Dealing With Mildew Smell
A musty smell in the bathroom doesn't always mean visible mold is present. It often means moisture is trapped somewhere out of sight, like under a bath mat, inside a cabinet, or in ventilation that isn't clearing steam effectively.
Start by checking the usual hidden spots: under mats, behind the toilet, inside cabinets, and around the exhaust fan cover. If you find visible mold, treat it with the surface-appropriate method above. If the smell persists without visible mold, the issue is more likely trapped moisture or a ventilation problem than something a cleaner alone can fix. Running the exhaust fan longer after showers, and making sure mats and towels are hung to dry rather than left bunched on the floor, often resolves a lingering smell within a week or two.
For a full breakdown of tracking down a persistent bathroom smell, including spots that are easy to overlook, see the Removing Mildew Smell from a Bathroom guide. If the smell is affecting more of the home beyond the bathroom, broader guidance on musty odors and their sources is covered in the Mold & Mildew Odor Removal Guide.
What Causes Mold or Mildew to Return
Mold coming back after cleaning is common, and it almost always points to one of a few underlying causes rather than a failed cleaning attempt.
- Weak or clogged ventilation. An exhaust fan coated in dust moves less air, which means moisture lingers longer after every shower.
- Porous material holding mold below the surface. Grout and caulk can harbor mold that a surface wipe doesn't fully reach.
- A hidden leak. Water damage behind tile, under a sink, or around a toilet base can keep a spot consistently damp regardless of how well it's cleaned on the surface.
- Trapped moisture under mats or towels. Items left damp against a surface create a small, contained environment mold thrives in.
- Incomplete drying after cleaning. Mold spores that survive a cleaning, combined with leftover moisture, can regrow faster than expected.
Identifying which of these applies to your bathroom usually takes more observation than product strength. A stronger cleaner won't fix a ventilation problem, and better ventilation won't fix a hidden leak.
What to Avoid When Removing Mold and Mildew
A few habits create real risk, both for the surface and for your safety.
- Avoid mixing bleach with ammonia, vinegar, or other acidic cleaners, since this combination can release harmful fumes.
- Avoid using bleach on unsealed drywall or damaged porous material, since it addresses only the surface and not mold that's grown deeper into the material.
- Avoid skipping ventilation, even for a small spot treatment, since mold cleaning products can produce fumes that build up quickly in a small bathroom.
- Avoid vinegar or acidic cleaners on natural stone, since acid can etch and permanently dull the surface.
- Avoid scrubbing aggressively on caulk, since too much pressure can pull it away from the surface and create new gaps for water to enter.
How to Remove Mold Without Damaging the Surface
A few habits protect bathroom surfaces while still addressing mold effectively:
- Identify the surface and material before choosing a product, rather than assuming one cleaner works everywhere.
- Test any new product on a small, hidden spot first, especially on natural stone or colored caulk.
- Give the cleaner its full recommended contact time instead of scrubbing harder to speed things up.
- Dry the area completely after cleaning and rinsing.
- Address ventilation and moisture sources alongside surface treatment, since cleaning alone rarely solves a recurring mold problem.
Following manufacturer instructions on any commercial mold cleaner takes priority over general guidance, since formulas and recommended contact times vary between products.
When to Call a Professional
Most bathroom mold and mildew is manageable with routine cleaning and better ventilation. However, larger mold problems, particularly those covering a wide area, or mold that keeps returning despite addressing ventilation and moisture, may point to an issue beyond surface cleaning, such as a hidden leak or damage inside a wall. In those cases, a professional inspection is a safer and more effective route than continued at-home treatment. If anyone in the household has respiratory sensitivities or existing health conditions, it's also worth involving a professional sooner rather than relying solely on DIY methods for extensive mold.
How Long Mold and Mildew Removal Takes
A routine check and light treatment of a small mold spot on tile or caulk typically takes 15 to 20 minutes, including contact time. A fuller bathroom check, covering grout, caulk, behind the shower curtain, and under mats, usually takes 30 to 45 minutes. Recurring mold that's been established for a while may need more than one treatment session to fully clear, particularly on porous surfaces like grout.
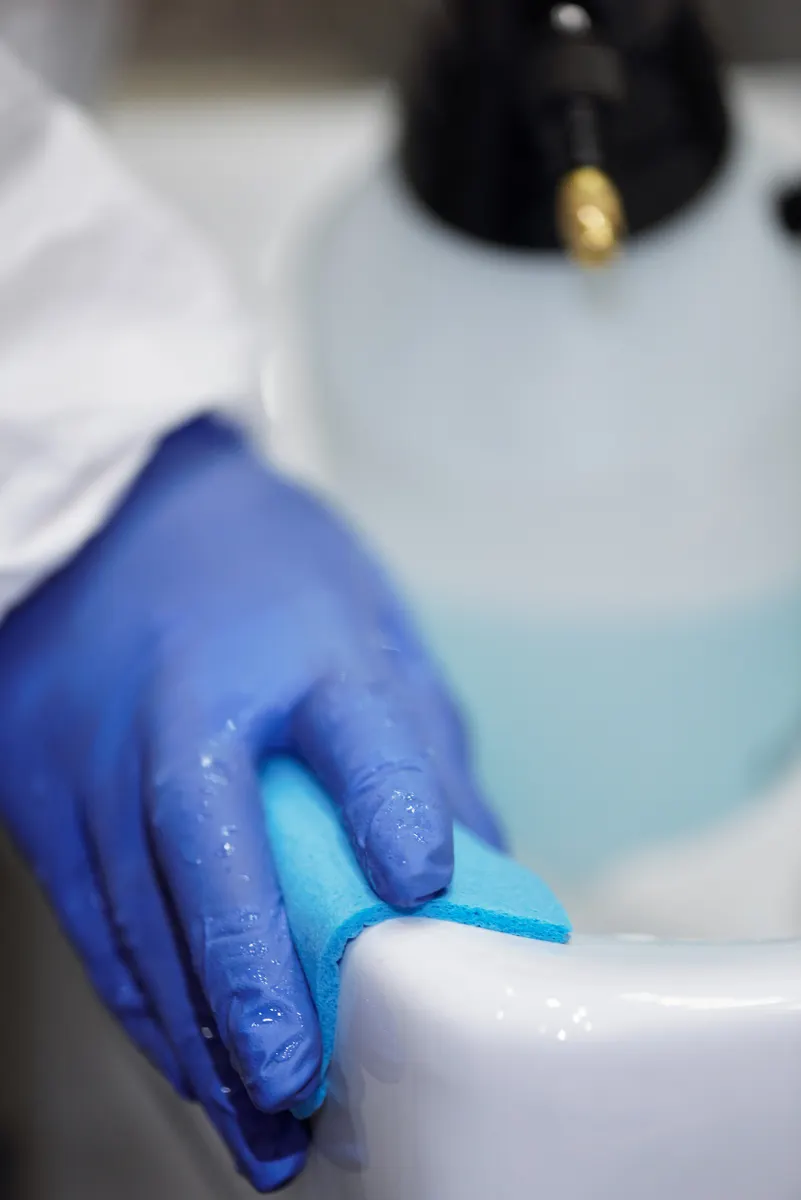
Photo Credit: Matilda Wormwood
Bathroom Mold and Mildew Removal Checklist
Use this quick checklist for a routine mold check and clean:
- Ventilate the bathroom before starting.
- Put on gloves, and a mask if needed.
- Check grout, caulk, shower corners, and under mats.
- Match the cleaner to the surface (tile, stone, grout, caulk, or painted drywall).
- Let the cleaner sit for its recommended contact time.
- Scrub gently, then rinse thoroughly.
- Dry the area completely.
- Address ventilation or moisture sources causing recurring mold.
Frequently Asked Questions
What is the best way to clean bathroom mold and mildew removal? Ventilate the space, identify the surface, apply a cleaner matched to that material, let it sit for the recommended time, scrub gently, rinse, and dry completely before addressing the moisture source.
How often should you clean bathroom mold and mildew removal? Check weekly for early signs in grout and caulk, look monthly behind curtains and under mats, and review ventilation performance every 3 to 6 months.
What cleaning products are safe for bathroom mold and mildew removal? Diluted bleach and hydrogen peroxide work on non-porous surfaces like tile and white caulk. Natural stone needs a pH-neutral, stone-safe cleaner instead.
What should you avoid when cleaning bathroom mold and mildew removal? Avoid mixing bleach with ammonia or vinegar, avoid bleach on unsealed drywall, and avoid skipping ventilation during treatment.
How can you clean bathroom mold and mildew removal without damaging them? Match the cleaner to the surface, test new products in a hidden spot, give cleaners their full contact time, and dry the area completely afterward.
What causes mold or mildew to return on bathroom mold and mildew removal? Weak ventilation, mold trapped in porous grout or caulk, hidden leaks, and moisture left under mats or towels are the most common reasons mold comes back after cleaning.
For the full room-by-room approach to bathroom care, Explore the complete bathroom cleaning guide.
A Quick Note on Safety
Mold cleaning often involves bleach, hydrogen peroxide, or other mold-specific products, so a few precautions matter. Never mix bleach with ammonia, vinegar, or other acidic cleaners, since this can release harmful fumes. Always ventilate the bathroom well, wear gloves, and use a mask if you're sensitive to mold or cleaning fumes. Follow the dilution and contact time instructions on the product label, since these vary between brands. If mold covers a large area, keeps returning despite addressing ventilation and moisture, or if anyone in the household has respiratory concerns, it's best to involve a professional rather than continuing with repeated at-home treatment.


Leave a Reply