

A plunger touches the dirtiest water in the house, then usually gets set back in a corner without a second thought. Cleaning a toilet plunger properly matters more than most people realize, since a plunger that's never disinfected becomes a place for bacteria to sit and multiply between uses, then gets picked up bare-handed the next time there's a clog.
This guide covers the best way to clean a toilet plunger, how often it needs attention, and which products are safe for the rubber or silicone head without breaking it down over time. This article is Part of Toilet Cleaning Guide, which covers the full range of toilet care tasks beyond just the bowl itself.
The Best Way to Clean a Toilet Plunger
- Rinse the plunger in the toilet bowl immediately after use, flushing a few times with the plunger head still submerged to rinse off visible waste.
- Fill a bucket with hot water and a cleaning solution, either diluted bleach or a disinfecting cleaner suited to rubber, deep enough to fully submerge the plunger head.
- Soak the plunger head for the time recommended on your chosen product's label, usually several minutes, so the disinfectant has time to actually work rather than just rinsing the surface.
- Scrub the handle separately with a cloth or brush and the same solution, since hands touch this part directly and it's easy to overlook while focusing on the head.
- Rinse the entire plunger thoroughly under running water, making sure no cleaning solution residue remains on the rubber or handle.
- Let it air dry completely before storing, ideally standing upright with the head facing down so water drains off rather than pooling inside the cup shape.
Letting the plunger dry fully before storage is one of the most important steps in the entire process, since a damp rubber head stored in a closed space is exactly the kind of environment that lets bacteria and mildew take hold.
How to Tell When a Toilet Plunger Needs Cleaning
A few signs point to a plunger that needs more than its usual quick rinse:
- A visible film or residue on the rubber head, even after rinsing under water.
- A lingering odor coming from the plunger itself, separate from the toilet or bathroom.
- Discoloration on the rubber, particularly a dull or grayish tint that wasn't there when the plunger was new.
- Visible mold or a slimy texture on the head or handle, which usually means it's been stored wet for too long between uses.
If any of these show up, a full soak and disinfecting pass is worth doing right away, rather than waiting for the plunger's next scheduled clean.
How Often Should You Clean a Toilet Plunger
|
Task |
Suggested Frequency |
|
Rinse after each use |
Every time |
|
Full disinfecting soak |
Every 1 to 2 months, or after any illness in the household |
|
Handle wipe-down |
With every full disinfecting soak |
|
Check for wear or cracking |
Every few months |
A plunger used only occasionally may go longer between full disinfecting soaks, while one used frequently, such as in a household with older plumbing or small children, benefits from more regular attention. After any household illness involving the toilet, a disinfecting soak right away is a reasonable extra step.
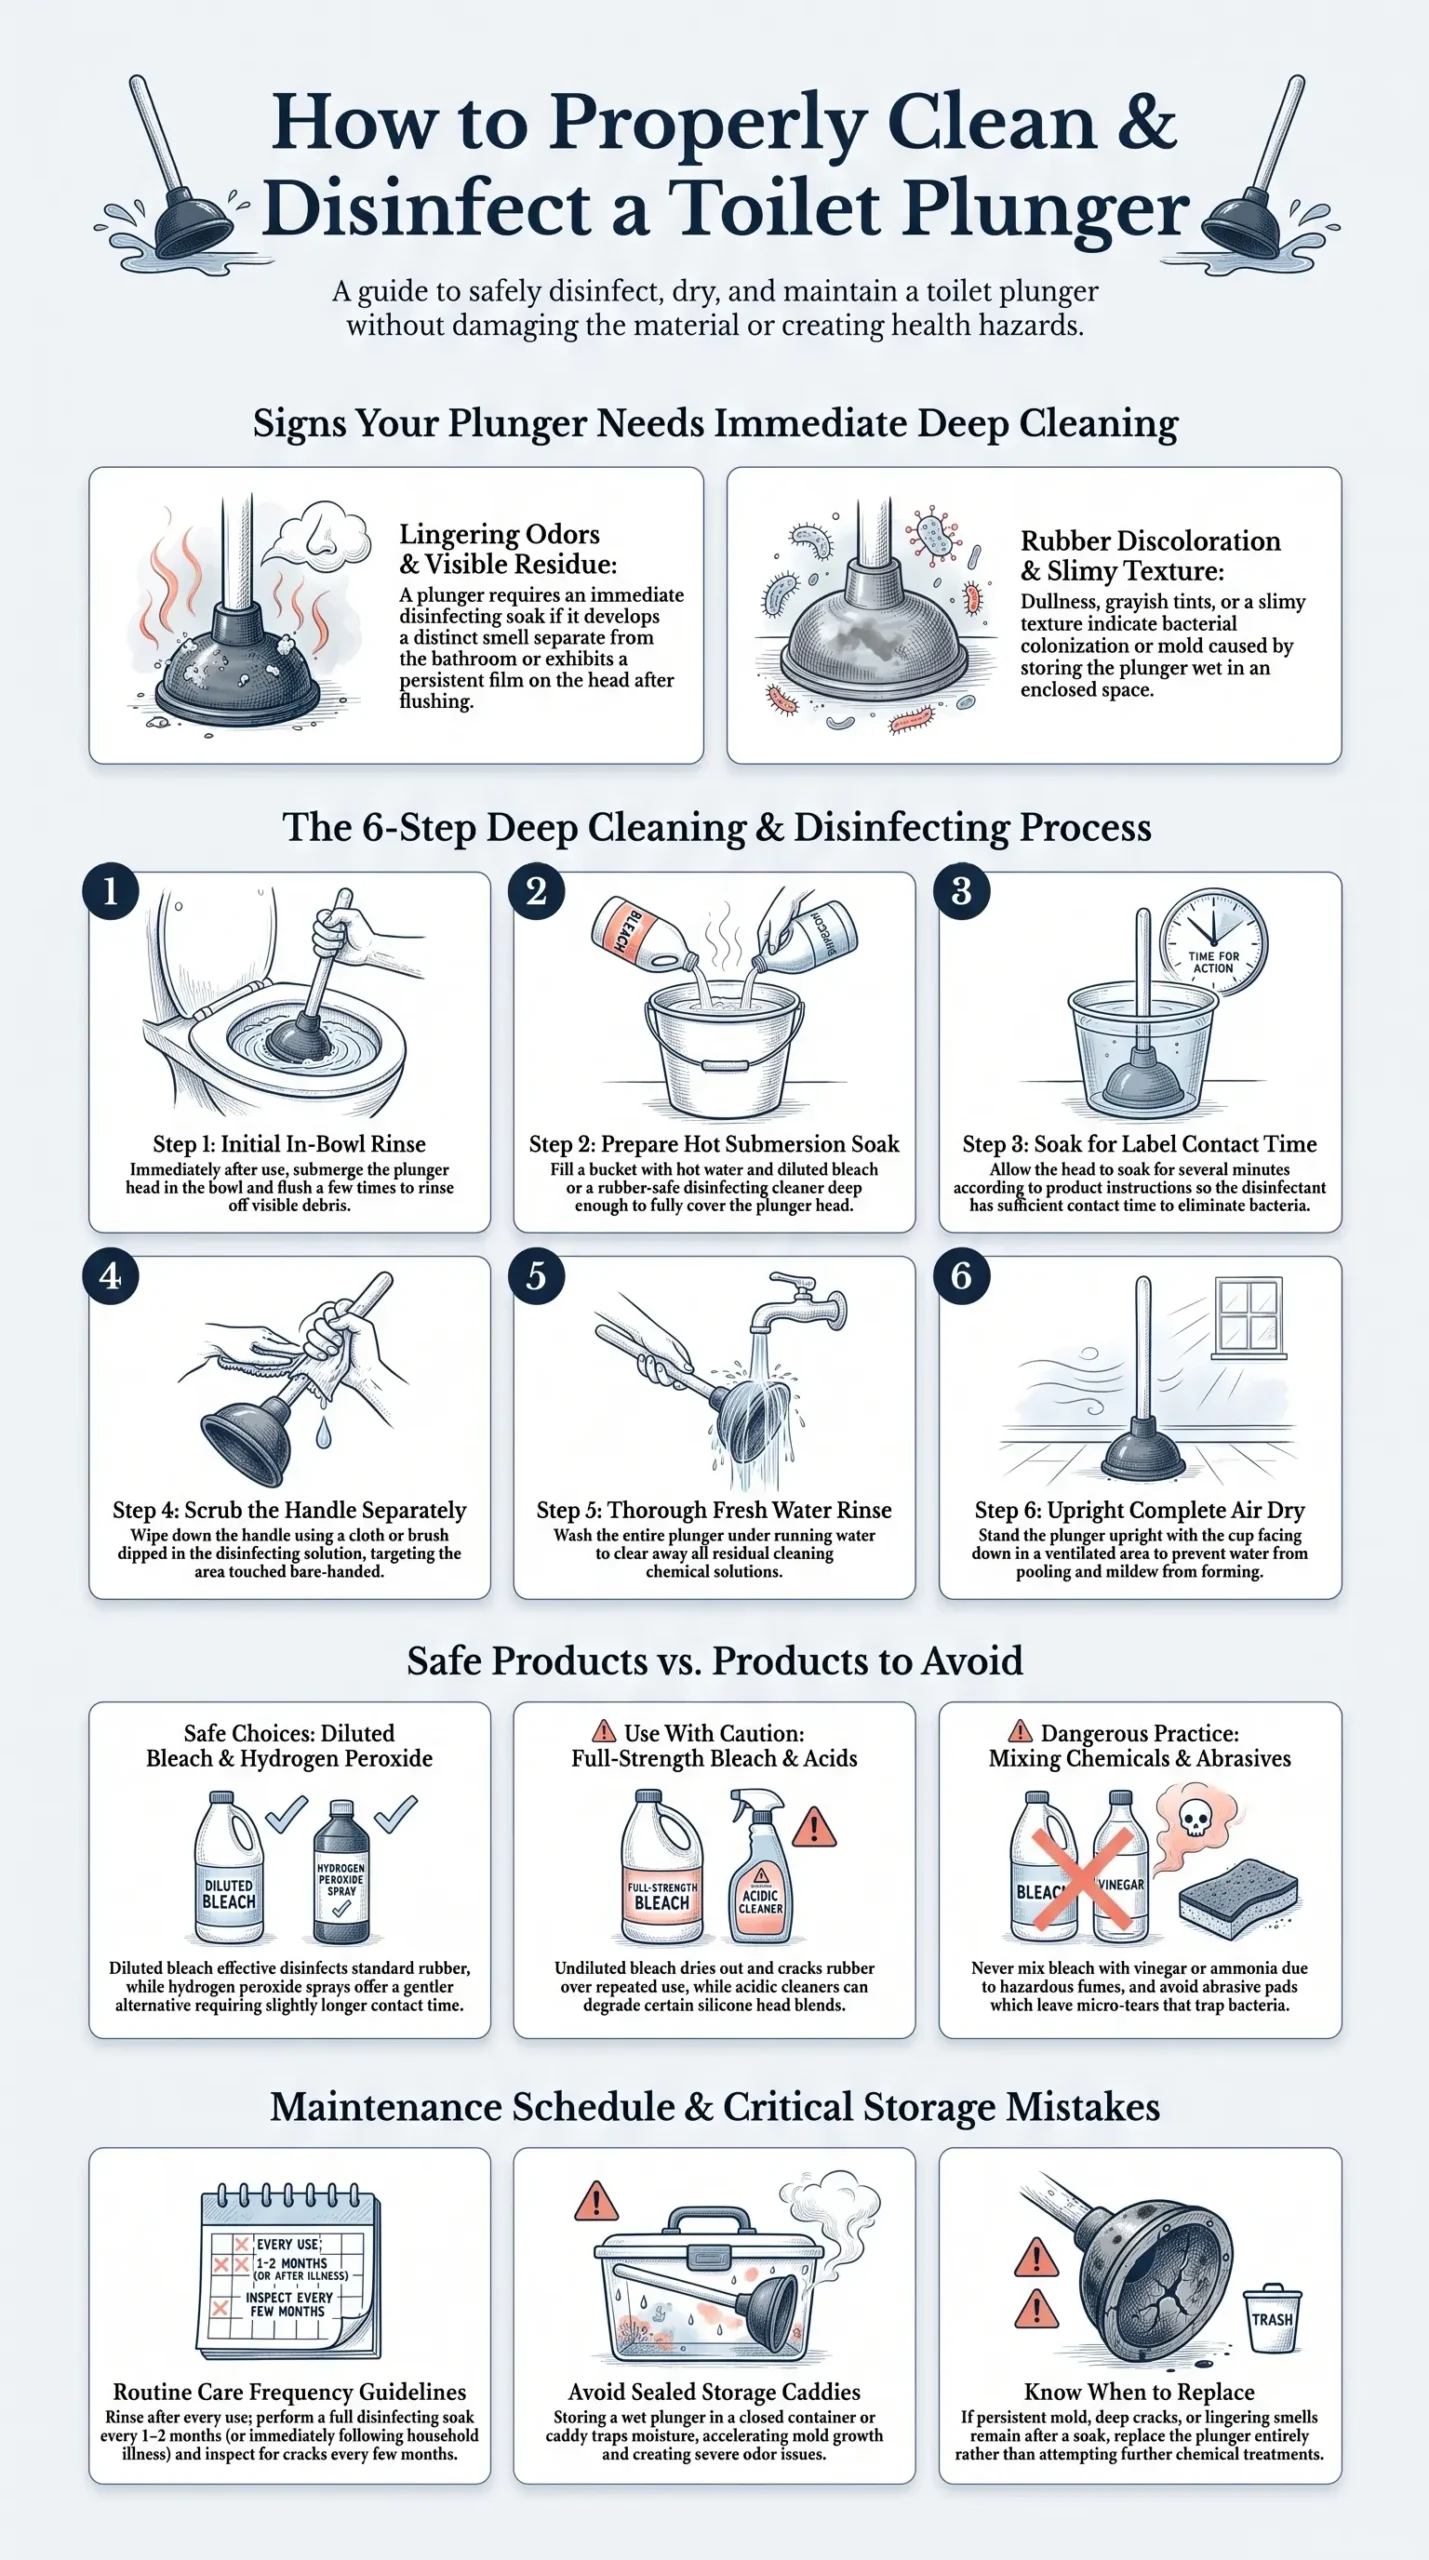
Photo Credit: Hobby Guidebook Editorial
Best Product for a Toilet Plunger
There isn't one single best product for every plunger, since the right choice depends mostly on the plunger's material and how much buildup it's carrying.
For routine disinfecting, a diluted bleach solution tends to be the most reliable option for standard rubber plunger heads, since it disinfects effectively and rinses away cleanly with no residue left behind. For plungers with a mold or mildew issue that keeps returning, a longer soak in the same diluted bleach solution, followed by a full air-dry cycle, usually resolves it more effectively than a quick rinse.
For households that prefer to avoid bleach, a hydrogen peroxide-based disinfecting spray or solution works as a gentler alternative, though it may need a longer contact time to achieve a similar level of disinfecting compared to bleach.
What Cleaning Products Are Safe for a Toilet Plunger
Generally safe:
- Diluted bleach solution, effective for disinfecting standard rubber plunger heads
- Hydrogen peroxide-based disinfecting sprays, a gentler alternative for regular use
- Dish soap and hot water, useful for a basic rinse between full disinfecting soaks
Use with caution:
- Full-strength bleach, which can degrade rubber faster than a properly diluted solution over repeated use
- Any acidic cleaner on plungers with a silicone head, since some silicone blends react differently to acids than standard rubber does
Avoid:
- Mixing bleach with vinegar, ammonia, or other acidic cleaners, which can release hazardous fumes
- Abrasive scrub pads on the plunger head, which can create small tears or grooves in the rubber where bacteria settle in more easily afterward
- Storing the plunger wet in a closed container, which traps moisture against the rubber and encourages mold growth
Manufacturer guidance should take priority if your plunger came with specific care instructions, particularly for newer designs made from specialty rubber blends or silicone rather than traditional rubber.
Common Mistakes When Cleaning a Toilet Plunger
- Only rinsing, never disinfecting. A quick flush rinse removes visible waste but doesn't address the bacteria that remain on and inside the rubber.
- Storing the plunger wet. This is the single biggest reason plungers develop odor and mold between uses.
- Using full-strength bleach repeatedly. Over time, this can dry out and crack the rubber head faster than a properly diluted solution.
- Skipping the handle. The handle gets touched directly by hand and needs the same attention as the head during a disinfecting soak.
- Storing the plunger in a sealed caddy with no airflow. Trapped moisture in an enclosed space speeds up mold growth even after a proper cleaning.
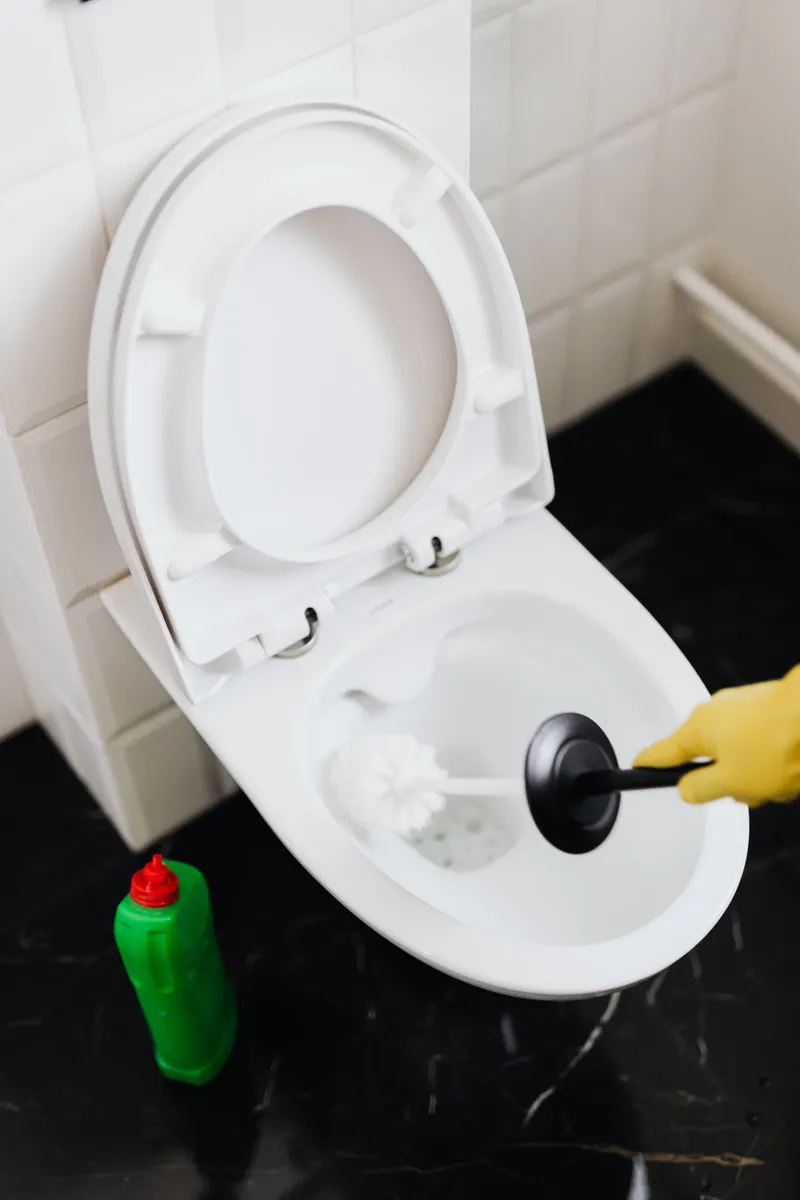
Photo Credit: https://kaboompics.com/
Cleaning a Toilet Plunger Without Damaging It
Rubber and silicone plunger heads hold up well to diluted disinfecting solutions, but repeated exposure to full-strength bleach or harsh chemicals over months and years can dry the material out, making it stiffer and more prone to cracking. Diluting bleach according to the label, rather than using it at full strength, extends how long the plunger stays flexible and effective.
Avoid scrubbing the rubber head with anything abrasive. A soft cloth or sponge is enough to remove residue after a soak, and abrasive pads risk creating small tears that are hard to see but that give bacteria more surface area to cling to.
Air drying is the simplest way to protect a plunger long-term. A plunger stored upright with airflow around it, rather than sealed in a closed caddy, dries faster and stays in better condition than one left damp in an enclosed space.
If the plunger is being cleaned as part of a broader toilet cleaning session, it's worth pairing it with a check of the bowl itself, since a properly disinfected plunger paired with a bowl that hasn't been treated the same way doesn't fully address the bacteria moving between the two. That full process is covered in Disinfecting a Toilet.
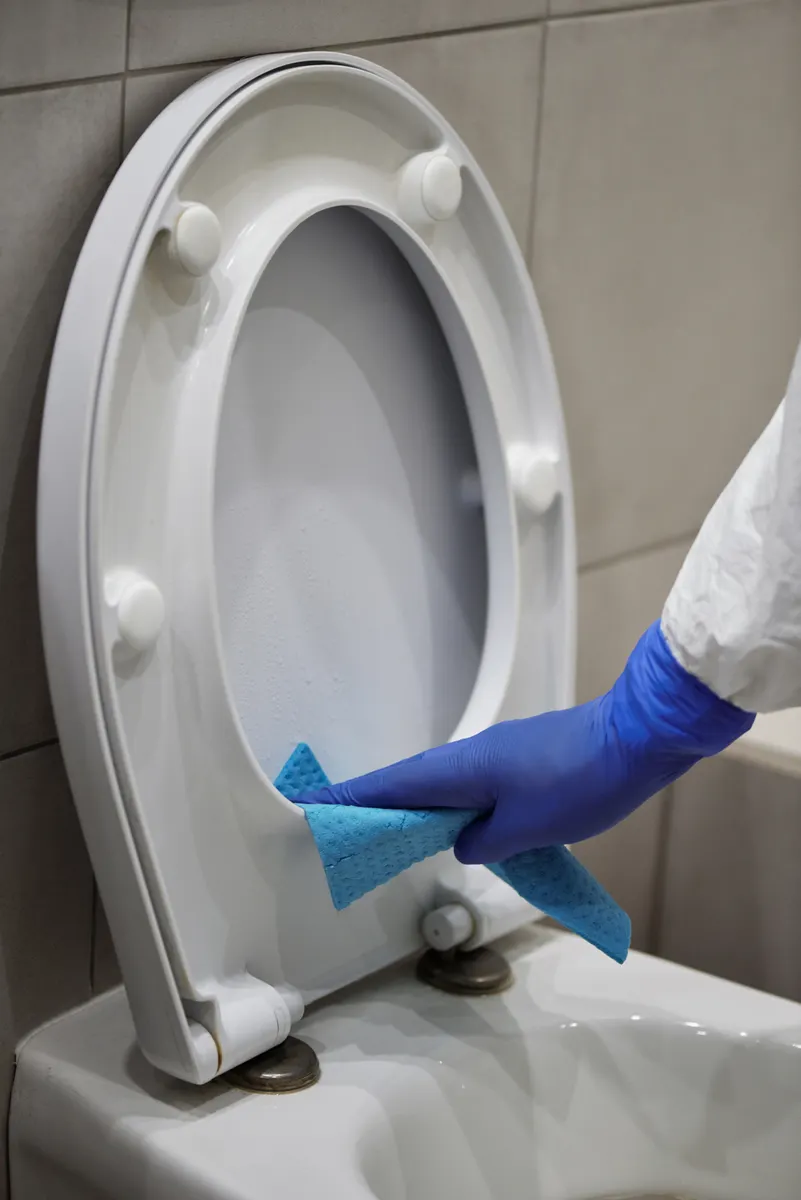
Photo Credit: Matilda Wormwood
Professional Cost to Clean a Toilet Plunger
Cleaning a toilet plunger isn't a task that professional cleaning services typically offer on its own, since it's a quick, low-cost item that most households handle themselves with basic supplies already on hand. If a plunger has reached the point of persistent odor, visible mold that won't clear with a proper soak, or cracked and deteriorating rubber, replacing it is generally more practical and affordable than attempting an extensive cleaning or seeking a professional service. Plungers are inexpensive, and a fresh one avoids the uncertainty of trying to fully disinfect a piece of rubber that's already showing real wear.
When Odor Points to More Than the Plunger
Sometimes a lingering bathroom odor gets blamed on the plunger when the real source is somewhere else in the bathroom, such as the toilet base, the drain, or ventilation issues. If a full disinfecting soak on the plunger doesn't resolve the smell, it's worth checking whether the odor is actually coming from the toilet itself rather than the plunger sitting nearby. That process is covered in more detail in Removing Toilet Odors, which walks through common odor sources beyond just the plunger.
Frequently Asked Questions
What is the best way to clean a toilet plunger? Rinse it in the bowl right after use, then soak the head in a bucket with diluted bleach or a disinfecting solution for the time listed on the product label, scrub the handle separately, rinse thoroughly, and let it air dry fully before storing.
How often should you clean a toilet plunger? Rinse after every use, and do a full disinfecting soak every one to two months, or right away after any illness in the household involving the toilet.
What cleaning products are safe for a toilet plunger? Diluted bleach and hydrogen peroxide-based disinfecting sprays are generally safe for standard rubber plunger heads. Dish soap and hot water work for a basic rinse between full soaks.
What should you avoid when cleaning a toilet plunger? Avoid mixing bleach with vinegar or ammonia, using full-strength bleach repeatedly, scrubbing with abrasive pads, and storing the plunger wet in a sealed container.
How can you clean a toilet plunger without damaging it? Use a diluted disinfecting solution rather than full-strength bleach, clean with a soft cloth instead of abrasive tools, and always let the plunger air dry completely before putting it away.
Explore the complete bathroom cleaning guide for how plunger care fits into overall toilet and bathroom upkeep.
A Quick Safety Note
Cleaning a toilet plunger often involves diluted bleach or other disinfecting products. Always follow the label for proper dilution and contact time, and never mix bleach with vinegar, ammonia, or other acidic cleaners, since this can release hazardous fumes. Keep the area ventilated while soaking or rinsing the plunger, wear gloves during handling, and replace the plunger entirely if cracking, persistent odor, or mold no longer responds to a proper cleaning.



Leave a Reply