

Mopping seems like one of the simplest chores in the house, but the kitchen floor is actually one of the easiest places to get it wrong. Too much water, the wrong mop, or skipping a step or two can leave streaks, dull the finish, or even damage certain materials over time. Getting the mopping kitchen floor technique right matters more here than in most other rooms, since kitchens deal with grease, food debris, and moisture-sensitive materials all in one space.
This guide covers the right way to mop a kitchen floor, how to adjust technique for different flooring materials, and which tools and products actually help rather than hurt. It's part of the Kitchen Floor Cleaning Guide, which covers material-specific care for hardwood, laminate, tile, vinyl, and stone kitchen floors.
The Best Mopping Technique for a Kitchen Floor (Quick Answer)
For most kitchen floors, this approach works well:
- Sweep or vacuum first to clear loose dirt, crumbs, and grit before any water touches the floor.
- Use a well-wrung mop or a lightly dampened microfiber pad, never a soaking wet one.
- Work in small sections, mopping in straight, overlapping strokes rather than random circles.
- Rinse the mop head often in clean water to avoid spreading dirty water back onto the floor.
- Dry the floor with a clean cloth or dry mop if the material is sensitive to standing moisture.
The exact product and amount of water will depend on the flooring material, but this basic sequence, sweep, mop with minimal water, rinse the mop, dry if needed, applies across almost every kitchen floor type.
Why Technique Matters More in the Kitchen
Kitchen floors face a mix of challenges that other rooms don't deal with as often: grease splatter near the stove, food residue near counters and the sink, and more foot traffic overall. On top of that, many kitchens have flooring materials that are sensitive to water, like hardwood or laminate, sitting right next to areas where spills are common.
A rushed or overly wet mopping job can push dirty water into seams and grout lines, leave streaks on grease spots instead of lifting them, or leave a floor looking clean on the surface while grime remains trapped in corners and edges. Slowing down and using the right sequence prevents most of these problems before they start.
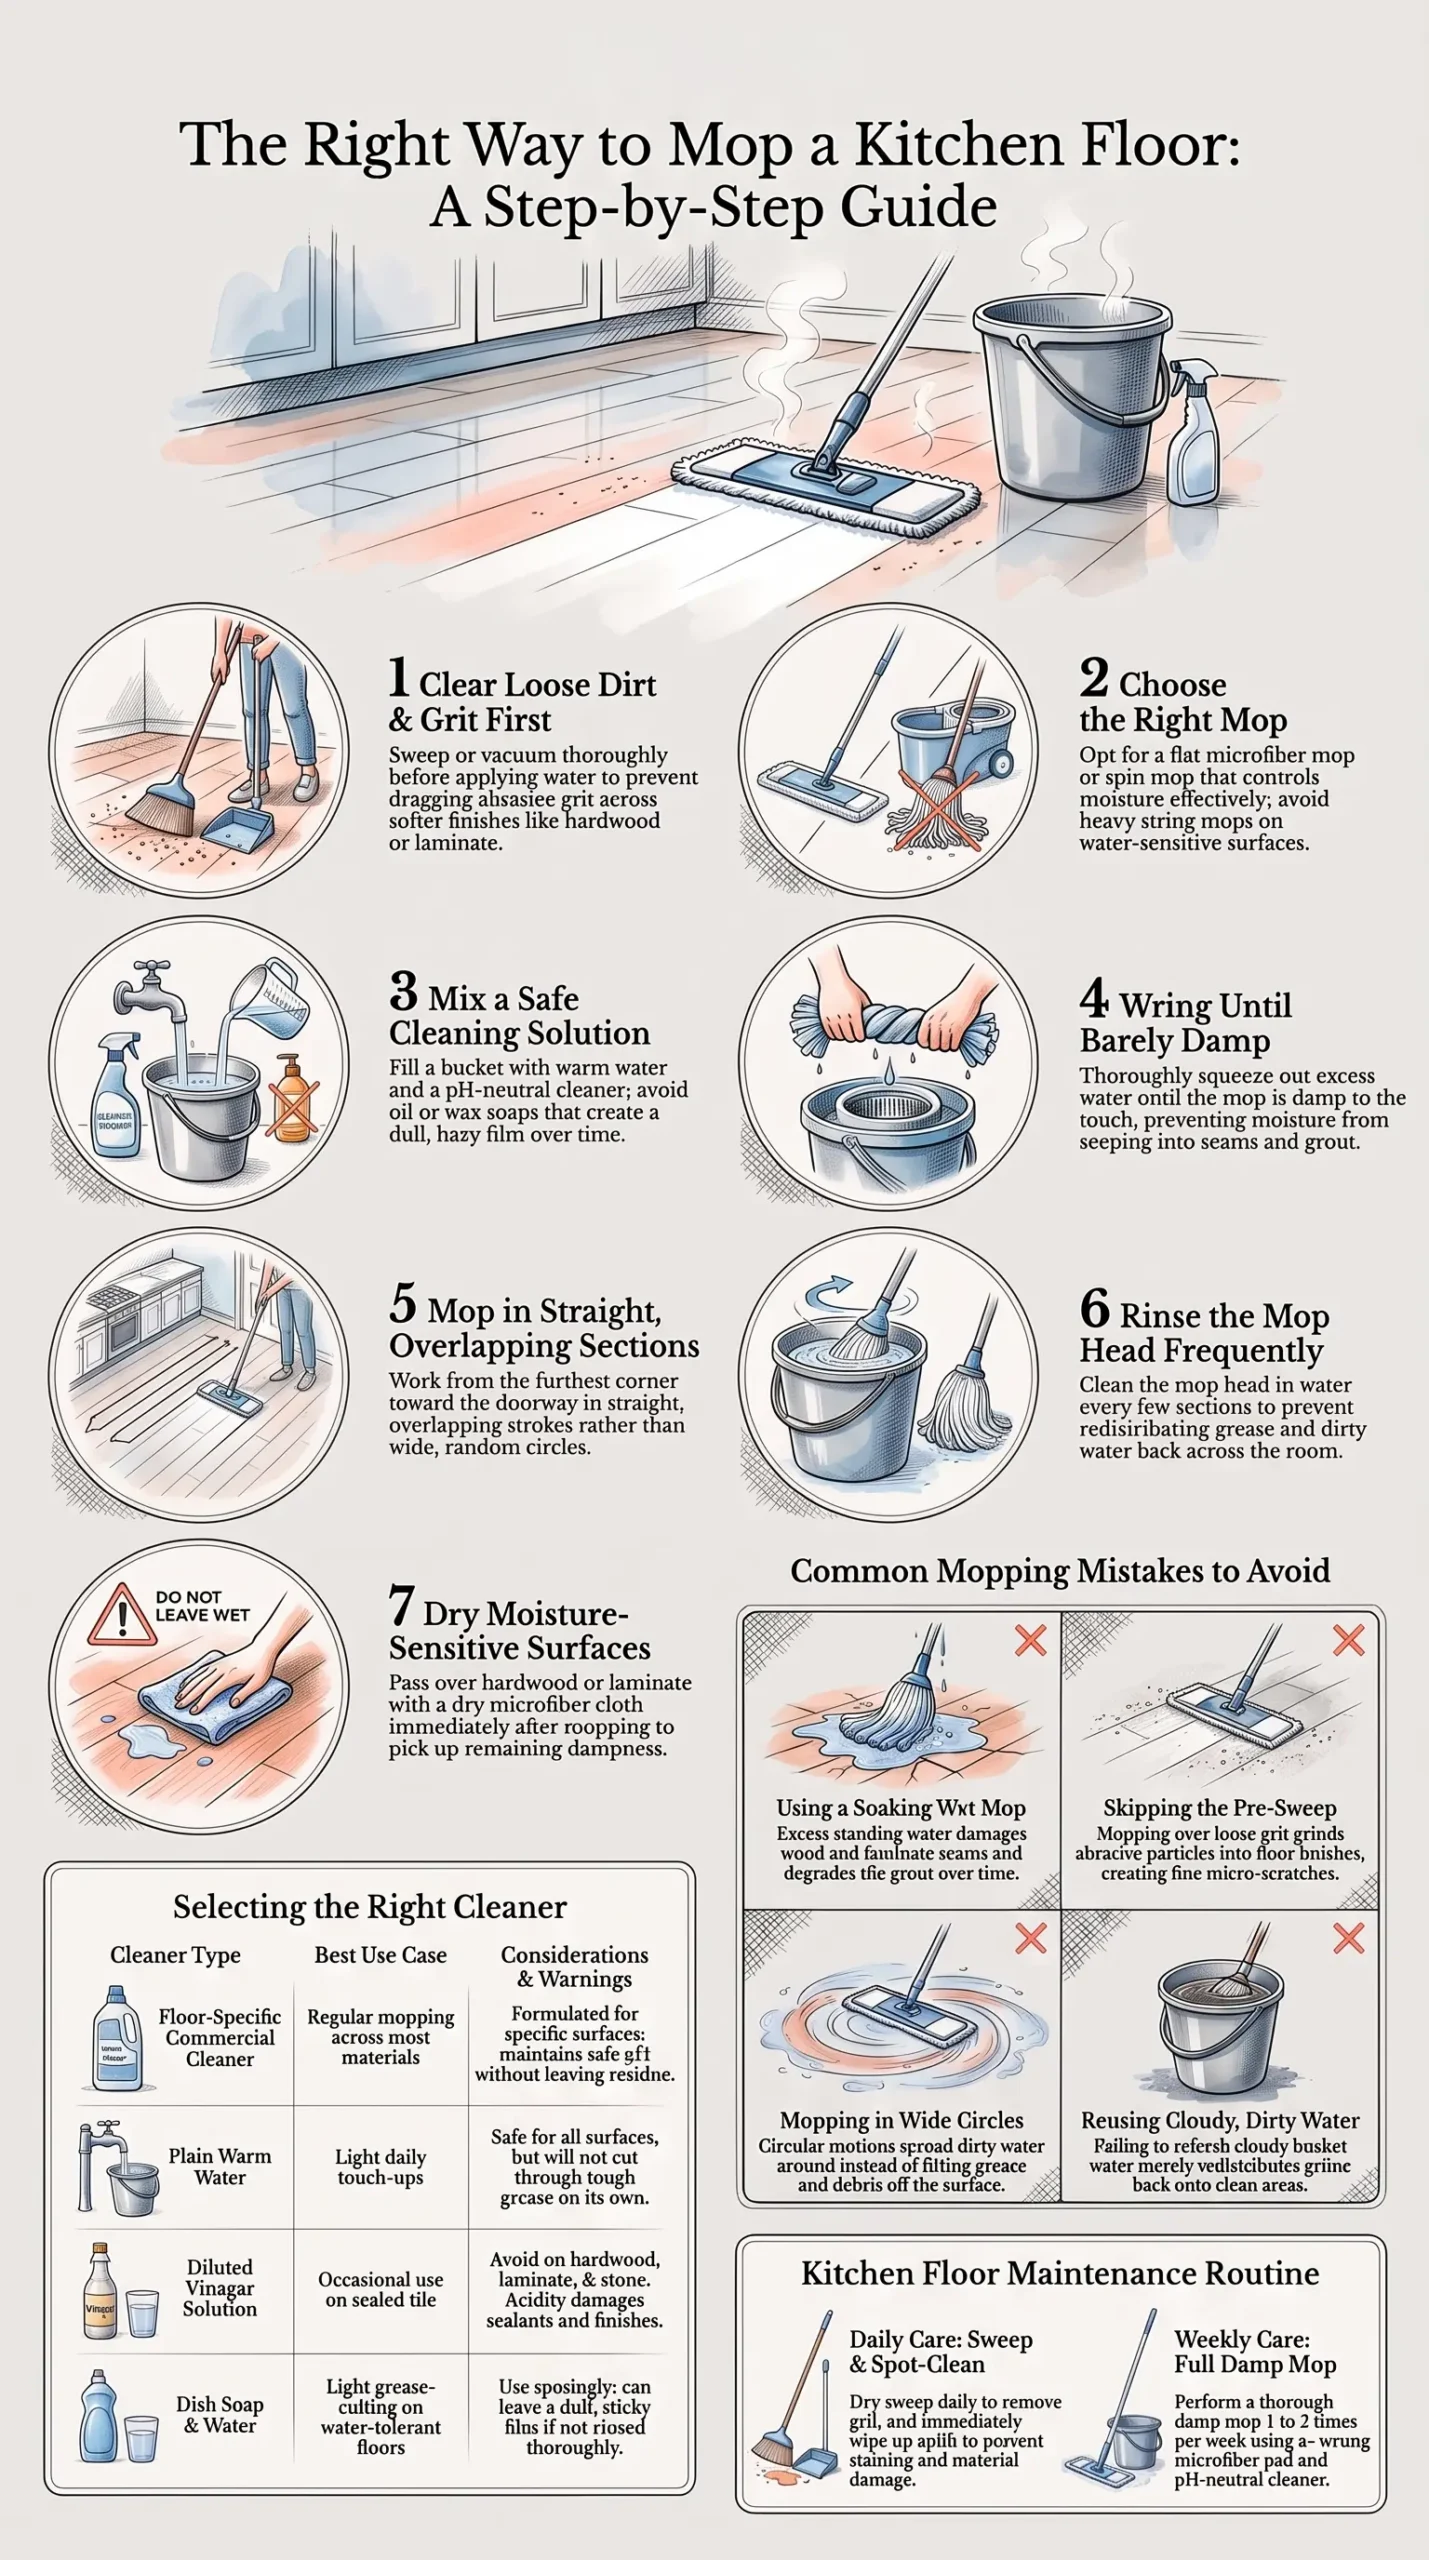
Photo Credit: Hobby Guidebook Editorial
Step-by-Step Mopping Technique
1. Clear the Floor First
Before any mopping begins, sweep or vacuum the entire floor to remove crumbs, dust, and grit. Skipping this step is one of the most common mopping mistakes, since dragging a wet mop over gritty debris just grinds it into the surface instead of lifting it away. This matters even more on softer finishes like hardwood or laminate, where fine grit can leave faint scratches over time.
2. Choose the Right Mop
Not every mop suits every kitchen floor:
- Microfiber flat mops work well across nearly all kitchen floor types, since they hold just enough water without oversaturating the surface.
- String mops hold more water and are harder to wring out evenly, which makes them less ideal for moisture-sensitive floors like hardwood or laminate.
- Spin mops offer a convenient way to wring out excess water quickly, which helps keep the mop head from staying too wet.
If the floor includes hardwood or laminate anywhere, a flat microfiber mop with a good wringing mechanism is generally the safer choice over a traditional string mop.
3. Mix the Right Solution
Fill a bucket with warm water and add a cleaning product suited to the specific floor material. A pH-neutral, floor-specific cleaner is the safest general choice, since it cleans effectively without leaving a residue that dulls the finish. Avoid using an oil-based soap or wax-based product unless the floor manufacturer specifically recommends it, since these can build up over time and leave the floor looking hazy underfoot.
4. Wring the Mop Thoroughly
This step matters more than most people realize. The mop should feel damp, not wet, before it ever touches the floor. If water drips freely when the mop is lifted, it's too wet, especially for hardwood, laminate, or any floor with seams where water can seep through.
5. Mop in Sections, Not Random Circles
Work through the kitchen in smaller sections rather than mopping the entire floor at once. Use straight, overlapping strokes, working from the far corner of the room back toward the doorway so you're not walking over the areas you've just cleaned. This keeps the water on the floor for a shorter amount of time and gives a more even, streak-free result.
6. Rinse the Mop Often
Dip and rinse the mop head in clean water every few sections, especially in a kitchen where grease and food residue accumulate faster than in other rooms. A dirty mop head just moves grime around rather than lifting it, which is a common reason a floor still looks smudged even after a full mopping session.
7. Dry the Floor When Needed
For moisture-sensitive materials like hardwood or laminate, follow up with a dry microfiber cloth or a dry mop pass to remove any remaining dampness. Tile and sealed stone floors are generally more tolerant of air-drying, but wiping up excess water still speeds up the process and reduces the chance of anyone slipping on a wet floor.
Handling Grease and Sticky Spots
Kitchen floors often develop sticky spots near the stove, under the table, or close to the trash can, and a standard pass with a damp mop sometimes isn't enough to fully lift them. These spots usually need either a slightly longer dwell time with the cleaning solution or a product specifically suited to cutting through grease, depending on the flooring material involved. Scrubbing too hard in one spot can also do more harm than good on some finishes, so it helps to know which approach fits which surface before working at a stubborn patch. Our guide on Removing Sticky Residue from Kitchen Floors covers this in more detail, including how to handle residue that's already had time to set into the surface.

Photo Credit: Jason Deines
Commercial Cleaner vs. Natural Method
|
Approach |
Best Use |
Considerations |
|
Floor-specific commercial cleaner |
Regular mopping across most materials |
Formulated for the surface; follow label dilution |
|
Plain warm water |
Light daily touch-ups |
Won't cut grease well on its own |
|
Diluted vinegar solution |
Occasional use on tile or sealed floors |
Not recommended for hardwood, laminate, or natural stone due to acidity |
|
Dish soap and water |
Light grease cutting on sealed, water-tolerant floors |
Can leave a dull film if not rinsed well |
A commercial, floor-specific cleaner is generally the more reliable choice for kitchens, since it's formulated with the right pH and won't damage a floor's finish the way an unverified natural mix might. Vinegar in particular should be avoided on hardwood, laminate, and many natural stone floors, since the acidity can affect the sealant or finish over repeated use, even if a single application looks harmless.
Common Mopping Mistakes to Avoid
- Using a soaking wet mop. Excess water is the fastest way to damage hardwood and laminate, and it can also seep into grout lines on tile.
- Skipping the sweep before mopping. Grit left on the floor gets dragged around and can scratch softer finishes.
- Mopping in wide circles instead of sections. This spreads dirty water rather than lifting it away cleanly.
- Reusing dirty mop water. Once the bucket water looks cloudy or greasy, it needs to be changed, or you're just redistributing the mess.
- Using the wrong cleaner for the floor material. A product suited to tile isn't automatically safe for hardwood or laminate, so checking the floor type first matters.
How Often Should You Mop a Kitchen Floor
Kitchen floors generally need more frequent mopping than floors in other rooms, given the amount of food debris, grease, and general traffic they deal with.
- Damp mop once or twice a week for most households, depending on how often the kitchen is used for cooking.
- Spot-clean spills immediately, regardless of the regular mopping schedule, since letting food or liquid sit is what causes most floor damage and staining.
- Sweep or dry mop daily between full mopping sessions to keep grit from building up and scratching the surface.
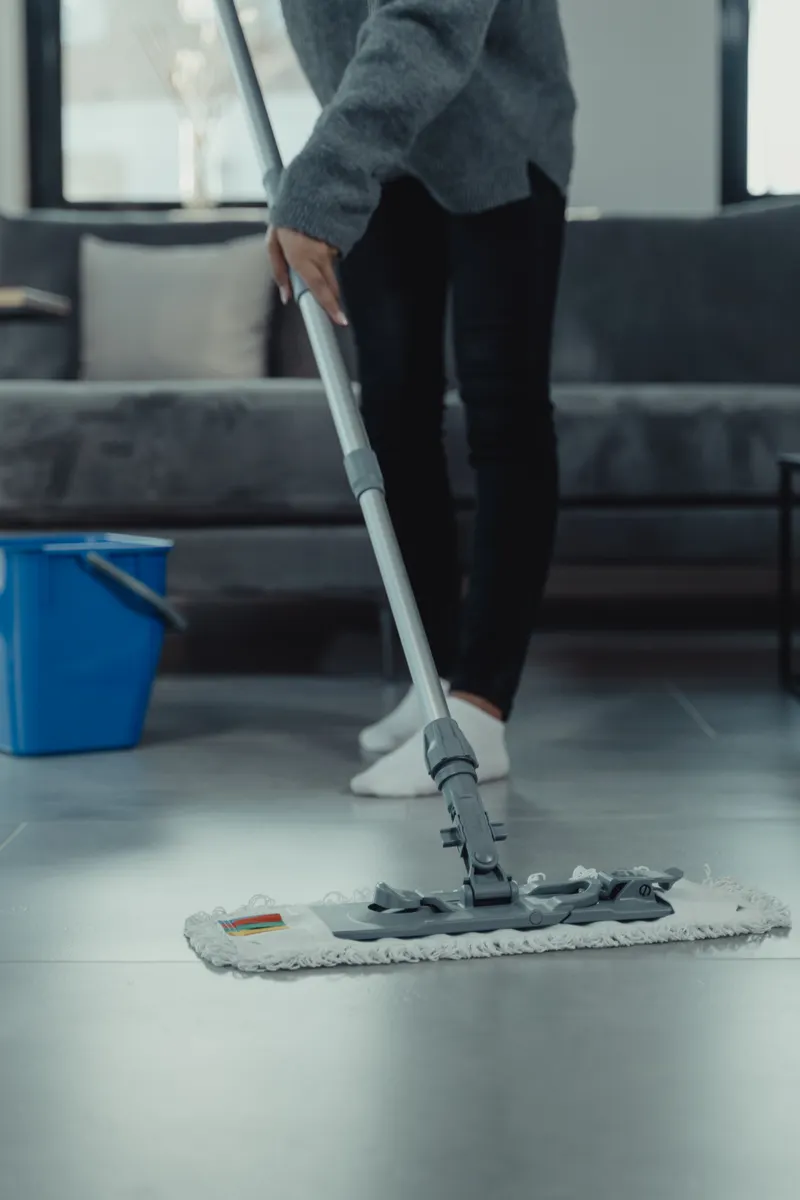
Photo Credit: Tima Miroshnichenko
Don't Forget the Mats and Rugs
Kitchen floor mats and rugs collect a surprising amount of grease, crumbs, and grit, especially near the stove or sink, and they need their own cleaning routine separate from the floor underneath them. Leaving a dirty mat down after mopping the floor around it just means the dirt works its way back out with every step. Our guide on Kitchen Floor Mats & Rugs Cleaning covers how often to wash them and which materials tolerate a machine wash versus a gentler hand clean.
FAQ
What is the best mopping technique for a kitchen floor? Sweep first, mop in small sections with a well-wrung mop, rinse the mop head often, and dry the floor afterward if the material is sensitive to moisture.
How often should you mop a kitchen floor? Most kitchens do well with mopping once or twice a week, with daily sweeping and immediate spot-cleaning for spills in between.
What cleaning products are safe for mopping a kitchen floor? A pH-neutral, floor-specific cleaner is generally the safest choice. Diluted vinegar can work on some sealed tile floors but should be avoided on hardwood, laminate, and many natural stone surfaces.
What should you avoid when mopping a kitchen floor? Avoid a soaking wet mop, reusing dirty mop water, mopping in wide circles, and using a cleaner that isn't suited to the specific floor material.
How can you mop a kitchen floor without damaging it? Use a well-wrung microfiber mop, keep water use minimal on moisture-sensitive materials, rinse the mop head regularly, and dry the floor afterward if needed.
For more flooring and appliance care throughout the kitchen, read the full kitchen cleaning guide for additional routines and schedules.



Leave a Reply