

A smelly trash can has a way of taking over an entire kitchen, even when the rest of the room is spotless. Removing trash can odor kitchen-wide starts with the bin itself, since a can that's only been rinsed out or wiped on the outside will keep producing smell no matter how many candles or sprays you use around it. This guide is part of the Kitchen Odor Removal Guide, and it covers exactly how to clean a trash can properly, how often that cleaning should happen, and which products are safe to use without damaging the bin itself.
How Do You Remove Garbage and Trash Can Odors?
The most effective way to remove trash can odor is a full clean, not just a fresh bag. Here's the basic process:
- Empty the can completely and remove the liner.
- Rinse the inside with warm water to loosen any stuck residue.
- Wash the interior with warm water and dish soap, using a scrub brush or sponge to reach the bottom and sides.
- Disinfect with a diluted bleach solution or a suitable disinfecting cleaner, following the product label for the correct dilution.
- Rinse thoroughly and let the can air dry completely before adding a new liner.
- Sprinkle a thin layer of baking soda in the bottom of the dry can to help absorb odor going forward.
This process handles most smells that come from spills, leaks, or general buildup. If the smell keeps returning quickly after cleaning, it usually points to a liner that's too thin, a lid that isn't sealing well, or a can that needs cleaning more often than it currently is.
Why Trash Cans Start to Smell in the First Place
Trash can odor almost always comes from moisture combined with food residue, not just the garbage sitting inside the bag. Liquid from food scraps, drips from a leaking bag, or condensation from warm leftovers can pool at the bottom of the can, underneath where the liner sits. Bacteria grow in that damp environment, and it's the bacteria breaking down organic material that produces the strong, sour smell most people associate with a dirty trash can. Even with a fresh bag every time, if that residue at the bottom is never actually washed away, it keeps producing odor session after session.
Plastic bins are especially prone to holding onto smell because the material is slightly porous at a microscopic level, meaning odor molecules can settle into small surface imperfections over time, especially if the can is older or has visible scratches. Metal and stainless steel bins tend to resist this a bit better since the surface is less porous, but they still need the same basic cleaning to prevent buildup at the base.

Photo Credit: Hobby Guidebook Editorial
Choosing Safe Cleaning Products
Not every cleaner is a good match for every trash can material, and using the wrong one can either fail to fully disinfect the bin or damage its finish over time. Here's a general breakdown:
|
Trash Can Material |
Safe Cleaning Option |
Avoid |
|
Plastic (standard household bins) |
Dish soap and warm water; diluted bleach solution for disinfecting |
Undiluted bleach, which can weaken and discolor plastic over time |
|
Stainless steel |
Dish soap and water; stainless-safe cleaner for the exterior |
Abrasive scrub pads that can scratch the finish |
|
Metal (painted or coated) |
Mild soap and a soft cloth or sponge |
Bleach directly on painted surfaces, since it can strip the coating |
If you choose to disinfect with bleach, always dilute it according to the product label, rinse thoroughly afterward, and make sure the area is well ventilated. Never mix bleach with vinegar, ammonia, or other acidic or ammonia-based cleaners, since the combination can produce hazardous fumes. If you're not sure what a can is made of, a mild dish soap and water wash is the safer default choice, since it works on nearly every material without risk of damage.
Cleaning Trash Can Odor Without Scratching the Surface
Scratches on a trash can aren't just a cosmetic issue. They actually make the odor problem worse, since bacteria and residue can settle into the grooves where a smooth surface would otherwise let them rinse away easily. A few practices help avoid this:
- Use a soft-bristle brush or sponge instead of steel wool or abrasive scouring pads, especially on plastic bins.
- Avoid gritty powder cleansers on plastic, since the abrasive texture can dull the surface and create micro-scratches.
- Test any new cleaner on a small, hidden spot first, particularly with stainless steel, to confirm it won't streak or discolor the surface.
- Dry the can fully with a soft cloth after rinsing, rather than letting it air dry with hard water spots that require harder scrubbing later.
- Rotate to a gentler cleaner if the current one feels gritty, since a product that feels harsh in your hand is likely harsh on the can's surface too.
For bins with a textured or ridged interior, a bit of extra time with a soft brush usually beats reaching for a stronger, more abrasive product.
Common Mistakes When Cleaning Garbage and Trash Can Odors
A few habits tend to make the smell worse or bring it back faster than expected:
- Only spraying air freshener into the can. This covers the smell temporarily without addressing the bacteria and residue actually causing it.
- Using a liner that's too thin or too small. A bag that tears or doesn't cover the full interior lets liquid reach the bottom of the can directly.
- Skipping the drying step. Putting a new liner into a can that's still damp from washing traps moisture underneath, which speeds up bacterial growth again.
- Mixing bleach with other cleaning products. Combining bleach with vinegar, ammonia, or certain multi-surface sprays can create dangerous fumes, so bleach should always be used on its own.
- Forgetting the lid. The underside of a trash can lid picks up splatter and residue just like the interior does, and it's often overlooked during cleaning.
Avoiding these mistakes usually means the difference between a can that stays fresh for weeks and one that smells again within a day or two.
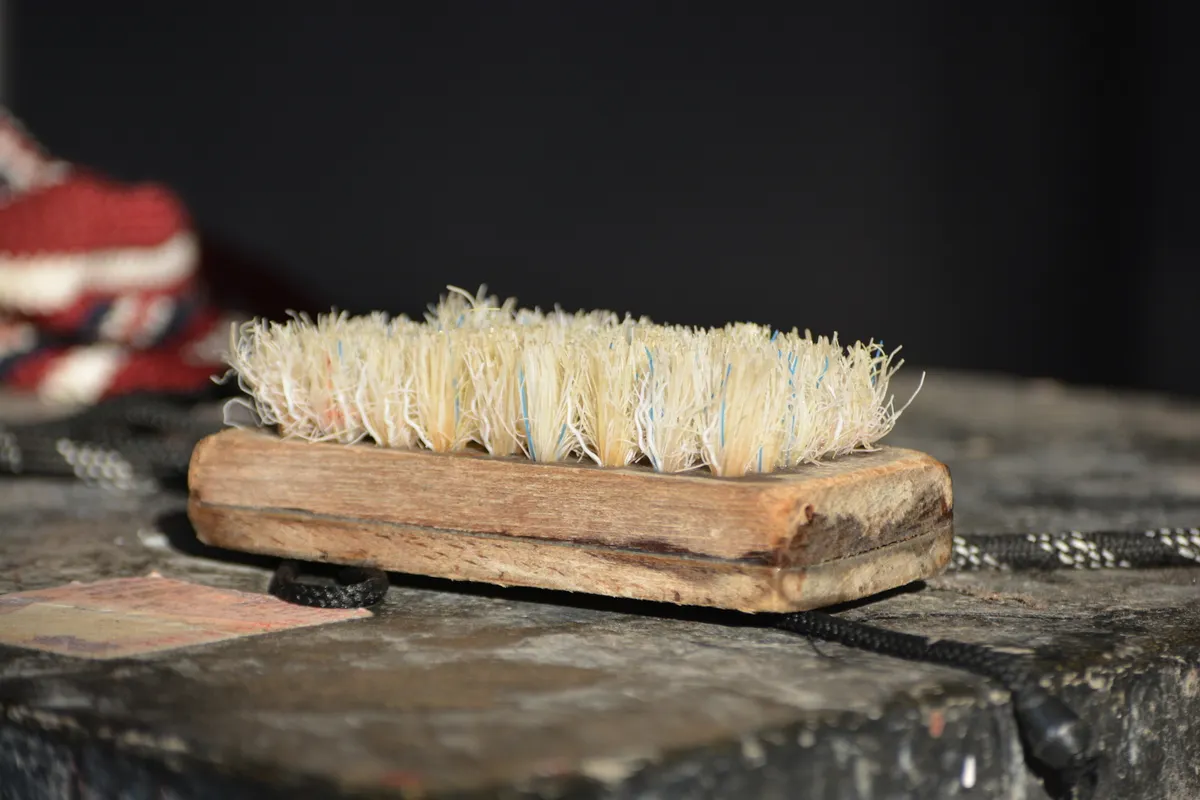
Photo Credit: AMOL NAKVE
Eco-Friendly Ways to Clean Trash Can Odor
A full bleach disinfecting session isn't always necessary for routine maintenance, and there are gentler options that work well for regular upkeep between deeper cleans:
- Baking soda sprinkled in the bottom of a dry can absorbs odor gradually and is safe for both plastic and metal.
- White vinegar diluted with water can be used to wipe down the interior for general freshening, though it shouldn't be combined with bleach at any point in the same cleaning session.
- A few drops of dish soap in warm water, scrubbed with a reusable sponge, handles most everyday grime without needing a harsher chemical cleaner.
- Sunlight and fresh air for drying the can outside, when weather allows, naturally helps reduce bacteria and speeds up the drying process.
These methods work well for routine, lighter maintenance. For a can that's developed a strong, persistent odor or visible residue buildup, the fuller wash and disinfect process described earlier is usually still needed at least occasionally.
How Often Should You Clean the Trash Can?
How often a trash can needs a full wash depends on what's typically thrown away and how the household uses it, but a general guide looks like this:
- Wipe the exterior and lid weekly, since hands and food packaging often leave residue there too.
- Do a full interior wash every two to four weeks for a typical household kitchen can.
- Wash immediately after a leak or spill inside the can, rather than waiting for the next scheduled cleaning.
- Increase frequency in warmer months, since heat speeds up bacterial growth and makes odors develop faster.
- Check under the liner occasionally, even between full washes, to catch any pooling liquid early.
A can that consistently smells within a day or two of being emptied is usually a sign that the current cleaning schedule needs to move up, or that the liner being used isn't holding up well enough for what's being thrown away.
Managing Odor Between Full Cleanings
Between full washes, a few small habits keep the smell from building up too quickly. Double-bagging particularly wet or smelly waste, like meat scraps or dairy containers, adds a layer of protection against leaks reaching the bottom of the can. Taking out the trash before the bag is completely full also helps, since an overstuffed bag is more likely to tear or leak during removal. If odor tends to build up noticeably in the day or two before the next scheduled pickup, a few simple in-between steps can help control it without needing a full wash each time, which is covered in more detail in Removing Kitchen Trash Odor Between Pickups.
When the Smell Isn't Really Coming from the Trash
Sometimes a kitchen smell gets blamed on the trash can when the actual source is something else nearby, like a damp cabinet under the sink or a musty spot behind the can where moisture has collected on the floor. If you've cleaned the can thoroughly, dried it fully, and the odor persists even with a fresh liner, it's worth checking the surrounding area for a separate moisture or mildew issue. Removing Musty & Mildew Odors from the Kitchen walks through how to identify and handle that kind of smell specifically, since it requires a different approach than a straightforward trash can cleaning.

Photo Credit: Curtis Adams
Keeping the Area Smelling Fresh Afterward
Once the can itself is clean and dry, keeping the surrounding area smelling fresh is mostly about small, consistent habits rather than heavy air fresheners. A bowl of baking soda nearby, a natural sachet, or a simmered pot of citrus and water can help maintain a neutral smell in the kitchen without relying on strong artificial scents that only mask odors temporarily. Natural Kitchen Air Fresheners covers a few simple, low-cost options that pair well with a properly cleaned trash can, rather than trying to cover up a can that still needs washing.
Frequently Asked Questions
How do you remove garbage and trash can odors? Empty the can, wash the interior with warm soapy water, disinfect with a diluted bleach solution or suitable cleaner, rinse well, and let it dry fully before adding a new liner.
How often should you clean garbage and trash can odors? Wipe the exterior weekly and do a full interior wash every two to four weeks, cleaning sooner after any spill or leak inside the can.
What cleaning products are safe for garbage and trash can odors? Dish soap and warm water work for most materials, while diluted bleach can disinfect plastic bins when used alone and rinsed thoroughly. Stainless steel does best with a non-abrasive, stainless-safe cleaner.
What should you avoid when cleaning garbage and trash can odors? Avoid mixing bleach with vinegar or ammonia, using abrasive scrub pads that scratch the surface, and putting a new liner into a can that hasn't fully dried.
How can you clean garbage and trash can odors without damaging them? Use a soft brush or sponge instead of gritty scouring pads, avoid undiluted bleach on plastic, and dry the can completely with a cloth rather than letting water spots sit.
A Quick Note on Safety
Cleaning a trash can often involves bleach or other disinfecting products, so a few precautions are worth keeping in mind. Always dilute bleach according to the product label, and never mix it with vinegar, ammonia, or other acidic or ammonia-based cleaners, since this can produce hazardous fumes. Work in a well-ventilated area, and rinse the can thoroughly after disinfecting so no residue remains before the next bag goes in. If you're unsure what your trash can is made of or how it will react to a particular cleaner, start with mild dish soap and water, which is safe across nearly every common material.
Read the full kitchen cleaning guide for more practical ways to keep every part of the kitchen clean and odor-free.



Leave a Reply