
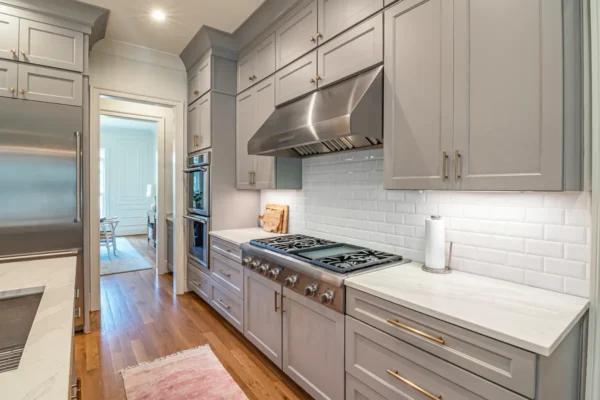
Grease, baked-on food, and burnt spills build up fast around the two hardest-working spots in your kitchen. Oven and stovetop cleaning isn't complicated once you know which method fits which surface, but using the wrong tool or product on the wrong material can leave scratches, dull finishes, or stubborn residue that's even harder to remove later.
This guide covers everything you need to know about cleaning oven and stovetop surfaces, from quick daily wipe-downs to a full deep clean. For a look at how this task fits into your broader kitchen routine, Back to the complete kitchen cleaning guide covers every area of the kitchen in one place.
The Best Way to Clean an Oven and Stovetop (Quick Overview)
The best approach follows a simple order: clear loose debris, apply a cleaner suited to the surface, let it sit if needed, then wipe and rinse.
- Remove loose crumbs and debris from the stovetop and oven floor.
- Wipe the stovetop with warm, soapy water or a surface-appropriate cleaner.
- Treat baked-on spots with a paste (like baking soda and water) and let it sit before scrubbing.
- Clean the oven interior using the manufacturer-recommended method for your oven type.
- Wash removable parts (racks, drip pans, knobs) separately in warm soapy water.
- Wipe down the exterior, including the control panel and handle, with a soft cloth.
The exact products and scrub level change depending on whether you're working with glass, gas grates, porcelain, or a self-cleaning oven interior, which is why material matters as much as method.
How Often Should You Clean Your Oven and Stovetop?
Stovetops need attention far more often than ovens because grease and food splatter accumulate with every meal.
- Stovetop: Wipe after each use once it's cool, and do a more thorough clean weekly.
- Oven interior: A light wipe-down monthly is enough for most households. Plan a deeper clean every 3 to 4 months, or sooner if you notice smoke or burning smells when the oven heats up.
- Spills: Clean any spill as soon as it's safe to touch the surface. Baked-on food is much harder to remove once it hardens and carbonizes under heat.
- Racks and drip pans: Clean these during your deeper oven cleaning sessions, roughly every 1 to 3 months depending on use.
Households that cook frequently, fry often, or bake with sugary or dairy-heavy recipes should lean toward the more frequent end of these ranges, since sugar and fat residue burn on faster than dry crumbs.
Your Oven and Stovetop Cleaning Checklist
Having the right supplies on hand before you start makes the job faster and reduces the temptation to reach for something that isn't actually safe for the surface.
|
Supply |
Best Used For |
|
Dish soap and warm water |
Daily stovetop wipe-downs, racks, drip pans |
|
Baking soda |
Paste for baked-on grease on ovens and cooktops |
|
White vinegar (used alone) |
Cutting grease film, deodorizing (not on natural stone) |
|
Soft microfiber cloths |
Wiping glass, ceramic, and stainless surfaces |
|
Non-abrasive sponge or nylon scrubber |
Stovetop grates, oven interior, stubborn spots |
|
Cookware-safe glass cooktop cleaner |
Ceramic and glass stovetops specifically |
|
Rubber gloves |
Any deep clean involving degreasers or oven cleaner sprays |
|
Plastic scraper (not metal) |
Lifting hardened food without scratching glass or ceramic |
Skip anything abrasive, like steel wool or scouring powder, on glass, ceramic, or coated surfaces. These can leave permanent scratches that trap grease and make future cleaning harder, even if the immediate mess comes off.
Keep this checklist somewhere visible in the kitchen so a quick clean doesn't turn into a search for supplies halfway through the job. A stocked cleaning caddy under the sink, with soap, baking soda, a scraper, and cloths together, saves time on both routine wipe-downs and deeper sessions.
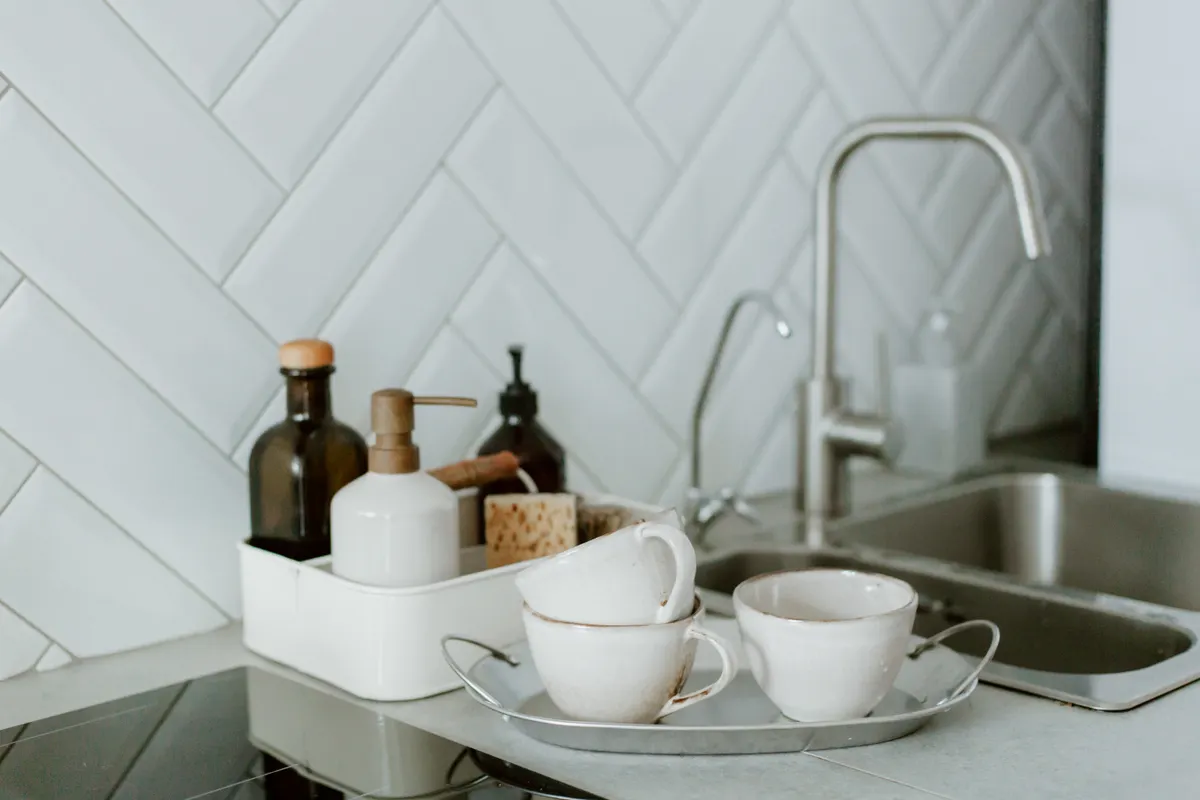
Photo Credit: Ron Lach
Cleaning Your Stovetop by Material Type
Not all stovetops respond to the same products or tools. Matching your method to the material protects the finish and gets better results.
Gas Stovetops
Gas stovetops usually have removable metal grates and a porcelain or stainless base. Remove the grates and burner caps, then soak them in warm soapy water while you wipe the base with a soapy cloth or a degreasing spray. Baked-on spots often loosen with a baking soda paste left on for 10 to 15 minutes. Dry the grates fully before placing them back, since moisture near the burner ports can affect ignition.
Electric Coil Stovetops
Never submerge coil elements in water. Unplug them from their sockets (most coils lift out), wipe the drip pans and surrounding surface with soapy water, and clean the coils themselves with a barely damp cloth. Let everything dry completely before reconnecting and using the burners again.
Glass and Ceramic Stovetops
These smooth surfaces look sleek but scratch easily. Use a cleaner made specifically for glass cooktops, or a baking soda paste, along with a non-abrasive sponge. Never scrub with steel wool, and never clean the surface while it's still warm, since sudden temperature changes can stress the glass. A plastic scraper held at a low angle can lift hardened spots without marking the surface.
Induction Stovetops
Induction tops use the same smooth glass or ceramic surface as standard glass cooktops, so the same gentle cleaning rules apply. The main difference is that the surface stays cooler overall since only the cookware itself heats up, which makes spills less likely to bake on immediately. Still wipe up sugar-based spills quickly, since sugar can pit the glass if it's allowed to burn onto the surface.
|
Stovetop Type |
Safe Cleaner |
Avoid |
Typical Cleaning Time |
|
Gas |
Dish soap, baking soda paste |
Submerging burner caps too long, wire brushes on porcelain |
15 to 20 minutes |
|
Electric coil |
Dish soap, damp cloth |
Submerging coils in water |
10 to 15 minutes |
|
Glass/ceramic |
Cooktop-specific cleaner, baking soda paste |
Steel wool, cleaning while hot |
10 to 15 minutes |
|
Induction |
Cooktop-specific cleaner |
Abrasive pads, letting sugar spills sit |
10 minutes |
If you're not sure what your stovetop is made of, check the owner's manual or the manufacturer's website before using anything beyond plain soap and water. When it comes to specific stains, like scorched sugar or rust rings on porcelain, a dedicated stain-removal approach may work better than general cleaning; that kind of detail goes beyond what a routine kitchen clean needs to cover.
Step-by-Step Stovetop Cleaning Method
For a standard weekly clean, this order works across most stovetop types with the material-specific adjustments noted above.
- Let the stovetop cool completely. Cleaning a hot surface, especially glass, is both a burn risk and a crack risk.
- Remove grates, caps, or knobs if your stovetop has them, and set them aside to soak.
- Clear loose debris with a dry cloth or paper towel before adding any liquid.
- Apply your cleaner (soap and water, or a cooktop-specific product) and let it sit for a minute or two on stubborn spots.
- Wipe with a soft cloth or sponge, working in small sections rather than scrubbing the entire surface at once.
- Rinse and dry with a clean, dry cloth to avoid streaks or water spots, especially on stainless and glass.
- Reassemble grates or knobs only once they're completely dry.
Stop and switch to a gentler method if you notice the cleaner isn't lifting residue after a couple of minutes of light scrubbing. Pressing harder or switching to an abrasive pad often causes more damage than the stuck-on food itself.
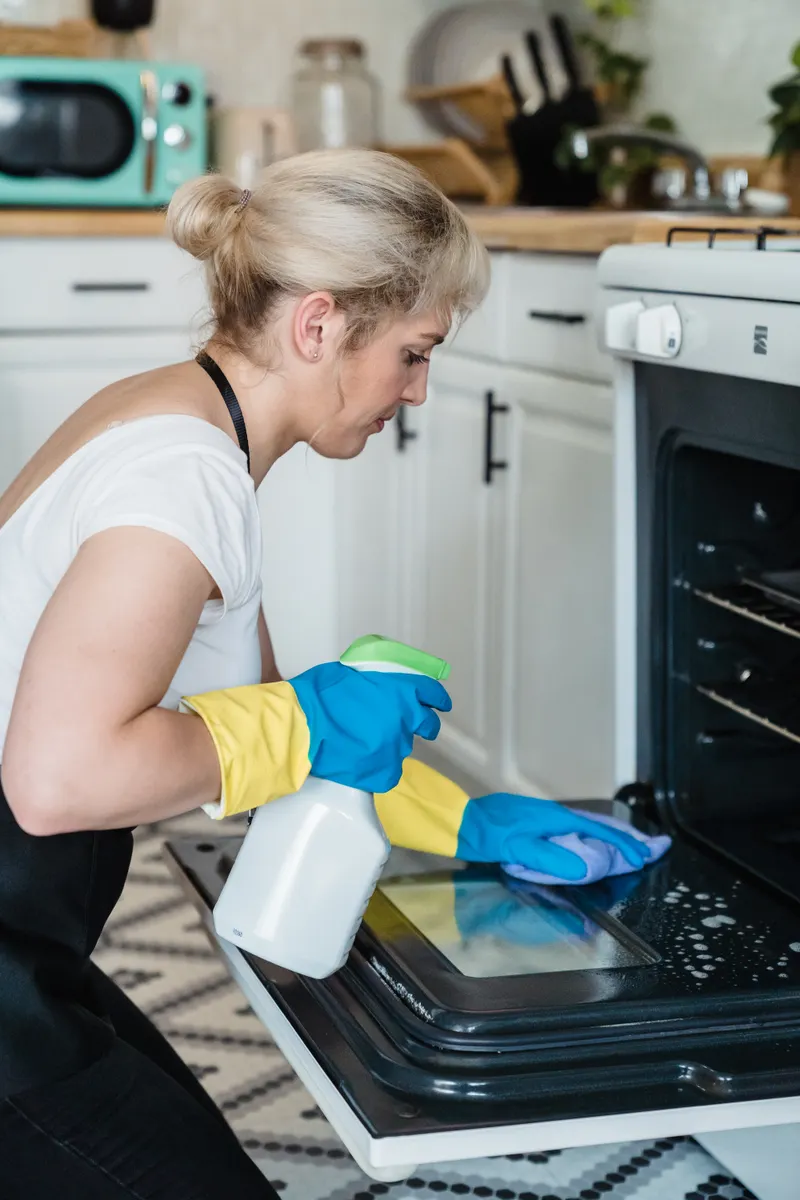
Photo Credit: Liliana Drew
Step-by-Step Oven Cleaning Method
Oven interiors take more time than stovetops because grease and food residue bake directly onto metal surfaces under repeated heat cycles.
Cleaning the Oven Interior
Start by removing the racks so you can access the walls, floor, and ceiling of the oven without obstruction. Wipe out loose crumbs first. For most ovens, a baking soda paste applied to the interior surfaces (avoiding the heating elements) and left to sit for several hours, or overnight, softens baked-on grease so it wipes away with less scrubbing. A detailed, room-by-room breakdown of interior techniques, including how to handle heavier buildup, is covered in Oven Interior Deep Cleaning.
Manual Deep Clean with Baking Soda Paste
Mix baking soda with a small amount of water until it forms a spreadable paste. Coat the interior surfaces, avoiding any exposed heating elements, and let it sit for at least a few hours. Wipe away with a damp cloth, using a plastic scraper for stubborn spots. A light vinegar spray afterward helps cut through any remaining baking soda film, since the two react together and lift residue as they fizz. Wipe the vinegar off promptly rather than letting it sit on the metal.
Self-Cleaning Oven Cycles: What to Know
Many ovens include a self-cleaning cycle that uses very high heat to turn interior residue to ash. If your oven has this feature, check the manufacturer's manual before using it, since some models require removing racks first and the cycle can produce noticeable smoke or odor. Ventilate the kitchen well during and after the cycle, and never use oven cleaner spray on a self-cleaning oven's special coating unless the manufacturer specifically says it's safe, since the two can interact poorly. Let the oven cool completely and follow the manual's guidance before wiping out the ash afterward.
If your oven doesn't have a self-cleaning cycle and you choose to use a commercial oven cleaner spray, work in a ventilated space, wear gloves, and follow the label instructions exactly, including recommended contact time and rinsing steps. Never mix oven cleaner with other household chemicals, particularly bleach or ammonia-based products, since combining cleaning chemicals can produce hazardous fumes.
Cleaning Oven Racks
Oven racks collect the same grease and carbon buildup as the oven interior, but they're easier to clean once removed. Soaking them in warm water with dish soap, sometimes combined with a dryer sheet to help loosen residue, for a few hours or overnight softens baked-on grime enough to wipe or scrub away with a non-abrasive pad. For racks with heavier buildup or rust spots, a more detailed method is covered in Oven Racks Cleaning, including how to handle different rack finishes without damaging the coating.
Let racks dry fully before sliding them back into the oven. Moisture left on the rails can cause sticking or minor rust over time, especially in ovens that see frequent use.
Cleaning Oven Exterior, Knobs, and Control Panel
The outside of the oven and stovetop needs a lighter touch than the interior, since finishes like stainless steel, painted metal, or plastic controls can scratch or fade with the wrong product. Wipe the exterior with a soft cloth and mild soapy water, drying afterward to prevent streaking, particularly on stainless steel.
Stovetop knobs often pull off for easier cleaning. Wash them in warm soapy water, and dry them completely before returning them so moisture doesn't get trapped inside the stem. Wipe the control panel with a barely damp cloth only, since electronic touch panels and digital displays can be damaged by excess moisture or spray cleaners applied directly. Spray any cleaner onto the cloth first rather than onto the panel itself.
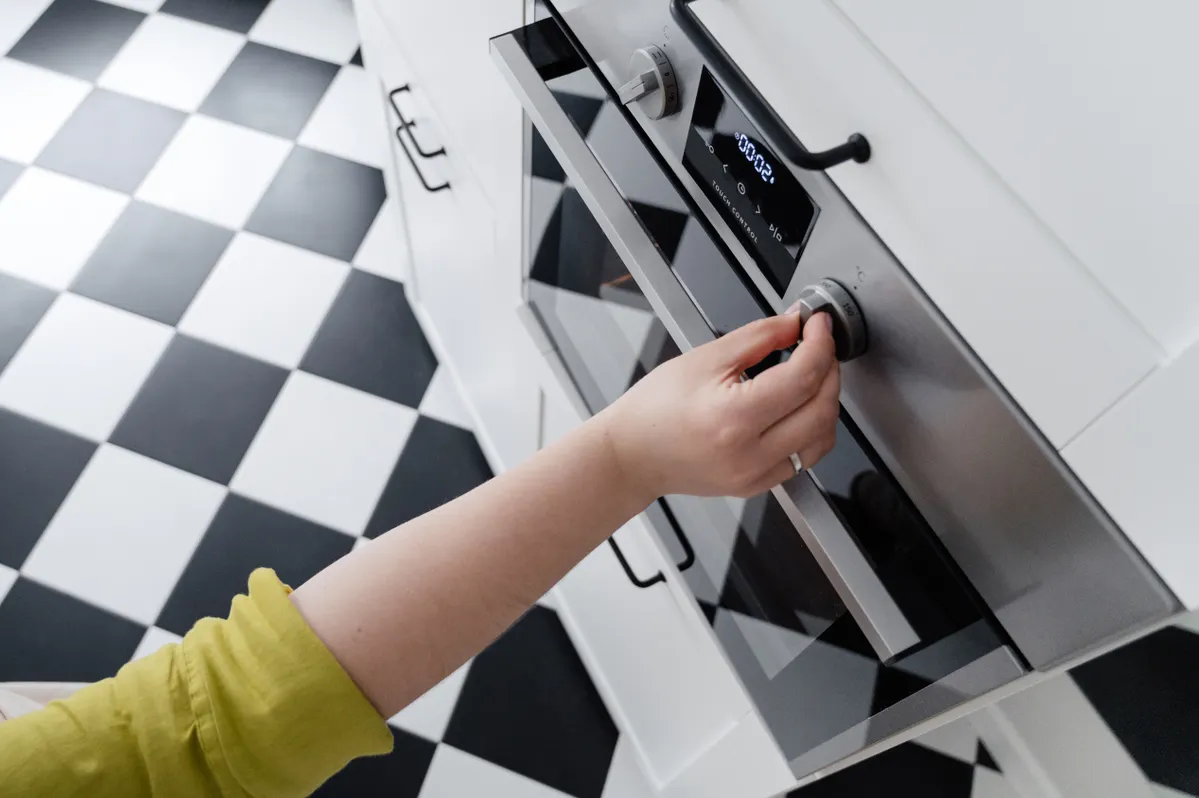
Photo Credit: SHVETS production
What Cleaning Products Are Safe for Oven and Stovetop?
The safest choice depends on the surface, but a few products cover most routine needs across oven and stovetop cleaning:
- Dish soap and warm water for general grease and food residue on most surfaces.
- Baking soda paste for baked-on spots inside the oven and on stovetops.
- White vinegar, used alone, for cutting grease film and deodorizing (skip this on natural stone surfaces nearby, since vinegar's acidity can etch stone).
- Cooktop-specific cleaners for glass and ceramic surfaces, formulated to avoid scratching.
- Commercial oven cleaner sprays, used according to label instructions, for heavier interior buildup on ovens without a delicate coating.
Always check your appliance's manual before applying anything beyond soap and water, since some manufacturers restrict certain products on specific finishes, particularly self-cleaning oven coatings and induction cooktop surfaces.
What to Avoid When Cleaning Oven and Stovetop
A few products and habits cause more harm than the mess they're meant to remove:
- Steel wool or abrasive scouring pads on glass, ceramic, or coated surfaces, which leave permanent scratches.
- Mixing bleach with ammonia, vinegar, or other cleaning products, which can create dangerous fumes. Stick to one product at a time and rinse thoroughly before switching.
- Using oven cleaner spray on delicate coatings without checking the manual first, since some finishes react poorly to strong alkaline cleaners.
- Submerging electric coil elements or knobs with internal wiring in water.
- Cleaning a hot or warm glass stovetop, which risks cracking from sudden temperature change.
- Metal scrapers on glass or ceramic, which can gouge the surface even when used carefully.
Common Mistakes to Avoid
Beyond product choice, a few process mistakes trip people up during routine oven and stovetop cleaning:
- Letting spills sit too long. Fresh spills wipe away easily; baked-on spills need soaking or pastes and more time.
- Skipping ventilation when using oven cleaner sprays or running a self-cleaning cycle, which allows fumes and smoke to build up indoors.
- Reassembling racks or grates while still wet, leading to sticking, staining, or minor rust.
- Scrubbing too hard, too fast instead of letting a paste or cleaner sit and loosen residue first.
- Ignoring the manufacturer's manual, especially for self-cleaning cycles, induction surfaces, or coated oven interiors, where the wrong product can void a warranty or damage the finish.
Preventing Grease and Buildup Between Cleanings
A few small habits keep both surfaces easier to manage over time. Wipe the stovetop after each cook session once it's cool, rather than waiting for grease to layer up. Use a splatter screen when frying to reduce grease reaching the burners and surrounding surface. Line the oven floor with a removable oven-safe liner or a baking sheet placed on a lower rack to catch drips, instead of letting spills land directly on the oven floor where they bake on with every use. Address spills the same day they happen whenever possible, since same-day cleanup takes a fraction of the time that a hardened, weeks-old stain requires.
How Long Does a Full Oven and Stovetop Clean Take?
A routine stovetop wipe-down takes about 10 to 20 minutes depending on material and how much buildup has accumulated. A full oven and stovetop clean, including a baking soda soak for the interior, rack cleaning, and exterior wipe-down, typically takes 2 to 3 hours from start to finish, though most of that is passive soaking or sitting time rather than active scrubbing. If you're using a self-cleaning cycle, add the cycle's runtime (often 2 to 4 hours depending on the oven) plus cooling time before wiping out the ash.
Frequently Asked Questions
What is the best way to clean oven and stovetop? Clear loose debris, apply a cleaner suited to the surface material, let baked-on spots sit with a paste if needed, then wipe, rinse, and dry. The oven interior and racks generally need a separate, longer soak or sit time compared to the stovetop.
How often should you clean oven and stovetop? Wipe the stovetop after each use and do a deeper clean weekly. Clean the oven interior lightly once a month, with a full deep clean every 3 to 4 months or sooner if you notice smoke or odors.
What cleaning products are safe for oven and stovetop? Dish soap, baking soda paste, plain white vinegar, and cooktop-specific cleaners for glass or ceramic surfaces cover most routine needs. Commercial oven cleaner sprays work for heavier interior buildup when used per label instructions.
What should you avoid when cleaning oven and stovetop? Avoid abrasive pads on glass or ceramic, mixing cleaning chemicals like bleach and ammonia, submerging electrical parts in water, and using oven cleaner on delicate coatings without checking the manual first.
How can you clean oven and stovetop without damaging them? Match the cleaner to the material, let the surface cool before cleaning glass or ceramic tops, use non-abrasive tools, and dry parts fully before reassembling them.
What common mistakes should you avoid with oven and stovetop? Letting spills bake on, skipping ventilation during oven cleaner use or self-cleaning cycles, scrubbing too aggressively instead of letting products sit, and reassembling wet parts are the most common mistakes.
For more on keeping the rest of your kitchen in shape, Explore the complete kitchen cleaning guide for step-by-step routines on every surface and appliance.
Safety note: Always follow the manufacturer's manual for your specific oven and stovetop, especially for self-cleaning cycles and coated interior surfaces. Never mix cleaning chemicals, particularly bleach with ammonia, vinegar, or other acids, since this can produce hazardous fumes. Use gloves and proper ventilation when working with commercial oven cleaner sprays or degreasers, and contact a qualified appliance technician for gas connection issues or any electrical concerns you're not comfortable handling yourself.





Leave a Reply