

Kitchen cabinets and drawers collect more grime than most people expect. Grease from cooking, fingerprints near handles, and dust on top of upper cabinets build up slowly, so the mess is easy to miss until it becomes sticky or discolored. This guide walks through kitchen cabinet cleaning from start to finish, covering exteriors, interiors, drawers, and hardware, so you can get the whole job done without damaging your cabinets.
This article focuses on the cleaning process itself. For a broader look at keeping your whole kitchen in shape, head back to the complete kitchen cleaning guide.
The Best Way To Clean Kitchen Cabinets and Drawers
The most reliable approach is a simple three-part process:
- Clear the surface. Remove items from countertops near the cabinets and empty out the drawer or shelf you are working on.
- Wipe with a mild, damp solution. Use warm water with a small amount of dish soap for everyday grime, or a dedicated degreaser for heavier buildup near the stove.
- Dry the surface immediately. Standing water and excess moisture can damage wood, laminate, and painted finishes over time.
This method works for most cabinet materials when you keep the cleaning solution mild and avoid letting water sit on the surface. Heavier grease near the stove may need a second pass with a stronger degreasing product.
How Often Should You Clean Kitchen Cabinets and Drawers?
Cabinets near the stove and cooktop need attention more often than cabinets on the other side of the kitchen. As a general guide:
- Wipe cabinet fronts near the stove weekly. This area collects grease and cooking splatter fastest.
- Wipe other cabinet fronts every two to four weeks. Fingerprints and dust build up more slowly here.
- Clean interiors and drawers two to four times a year. A deeper clean removes crumbs, spills, and shelf liner buildup that daily wiping does not reach.
- Wipe cabinet tops (if exposed) every one to two months. Dust and grease film settle on top of cabinets even if you never open them.
Households that cook frequently, fry food often, or have young children may need to clean more often. A kitchen used mainly for reheating meals can usually stretch these timelines a bit longer.
Kitchen Cabinet and Drawer Cleaning Checklist
Before you start, gather what you need. A short kitchen cabinet and drawer cleaning checklist makes the job faster and keeps you from stopping halfway through to search for supplies.
What you need:
- Warm water
- Mild dish soap
- A soft microfiber cloth or two
- A soft-bristle brush or old toothbrush (for corners and hardware grooves)
- A degreasing cleaner labeled safe for your cabinet material
- A dry towel for drying surfaces
- A vacuum with a brush attachment or a small handheld vacuum (for drawers and crumb debris)
Avoid abrasive scrub pads, steel wool, and anything labeled "heavy-duty scouring." These can scratch finishes, dull paint, and strip the protective coating on wood cabinets.
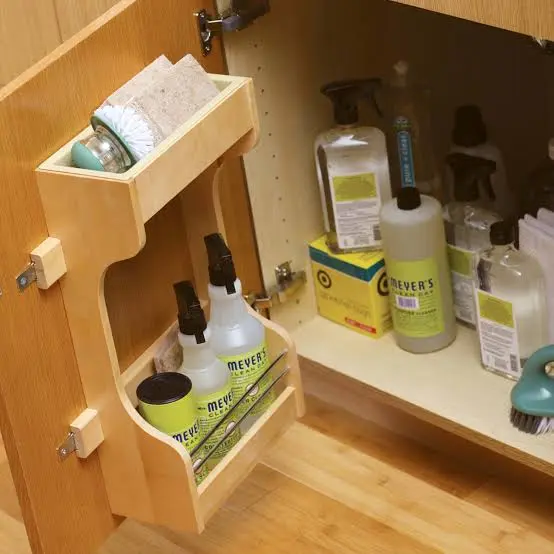
Photo Credit: Internet
Cleaning Kitchen Cabinet Exteriors
Cabinet fronts are usually the dirtiest part of the cabinet because they get touched constantly and sit closest to cooking splatter. This is also the part guests see first, so it is worth doing carefully.
Everyday Wipe-Down
- Mix a few drops of mild dish soap into a bowl of warm water.
- Dip a soft cloth into the solution and wring it out well. The cloth should be damp, not wet.
- Wipe cabinet fronts in the direction of the wood grain or panel lines, working from top to bottom.
- Pay extra attention to areas around handles and pulls, where hand oils build up fastest.
- Dry immediately with a clean towel.
Grease Buildup Near the Stove
Cabinets near the cooktop develop a sticky film over time, even with regular wiping. This film is usually a mix of cooking oil, food particles, and dust, and plain soap and water often struggle to cut through it.
For this kind of buildup, a degreasing cleaner formulated for kitchen use works better than dish soap alone. Spray or apply a small amount to a cloth rather than directly on the cabinet, then wipe in small sections. Let the product sit for the time listed on its label, usually a minute or two, before wiping it away. Rinse the area with a clean, barely damp cloth afterward to remove any cleaner residue, then dry.
If the grease film is thick, avoid the temptation to scrub hard. Aggressive scrubbing can push grime into grain lines or scratch a painted or lacquered finish. A second gentle pass with fresh cleaner usually works better than one forceful pass.
Cleaning Cabinet Interiors and Shelves
Interior shelves collect crumbs, spilled liquids, and dust that daily wiping never reaches. A full interior clean two to four times a year keeps things from getting out of hand.
- Remove everything from the shelf. Set items aside on a towel or countertop.
- Vacuum or brush out loose debris. Crumbs and dust should come out before you introduce any liquid.
- Wipe with a mild soap and water solution. Use the same light touch as the exterior cleaning method.
- Dry completely before replacing items. Closing the cabinet on a damp shelf can trap moisture and encourage mildew, especially in humid kitchens.
- Check and replace shelf liner if needed. Sticky or stained liner is easier to swap out than to fully clean.
While shelves are empty, it is a good time to check for any signs of pests, moisture stains, or loose hardware that might need attention.
Cleaning Kitchen Drawers
Drawers get overlooked because they are out of sight, but food debris, spilled liquids, and utensil residue collect at the bottom over time.
- Remove all items and set them aside.
- Take out any drawer organizers or trays and wash them separately in warm, soapy water.
- Vacuum the inside of the empty drawer to remove crumbs and dust.
- Wipe the interior with a damp, soapy cloth, paying attention to corners where debris tends to gather.
- Dry the drawer fully before returning organizers and items.
- Wipe down utensils or items before placing them back if they picked up any dust or residue.
Drawers near the sink or dishwasher may need slightly more frequent attention, since nearby splashes can carry moisture and soap residue into the drawer interior.
Material-Specific Considerations
Not every cabinet surface reacts the same way to cleaning products. Matching your method to the material protects the finish and avoids unnecessary repairs.
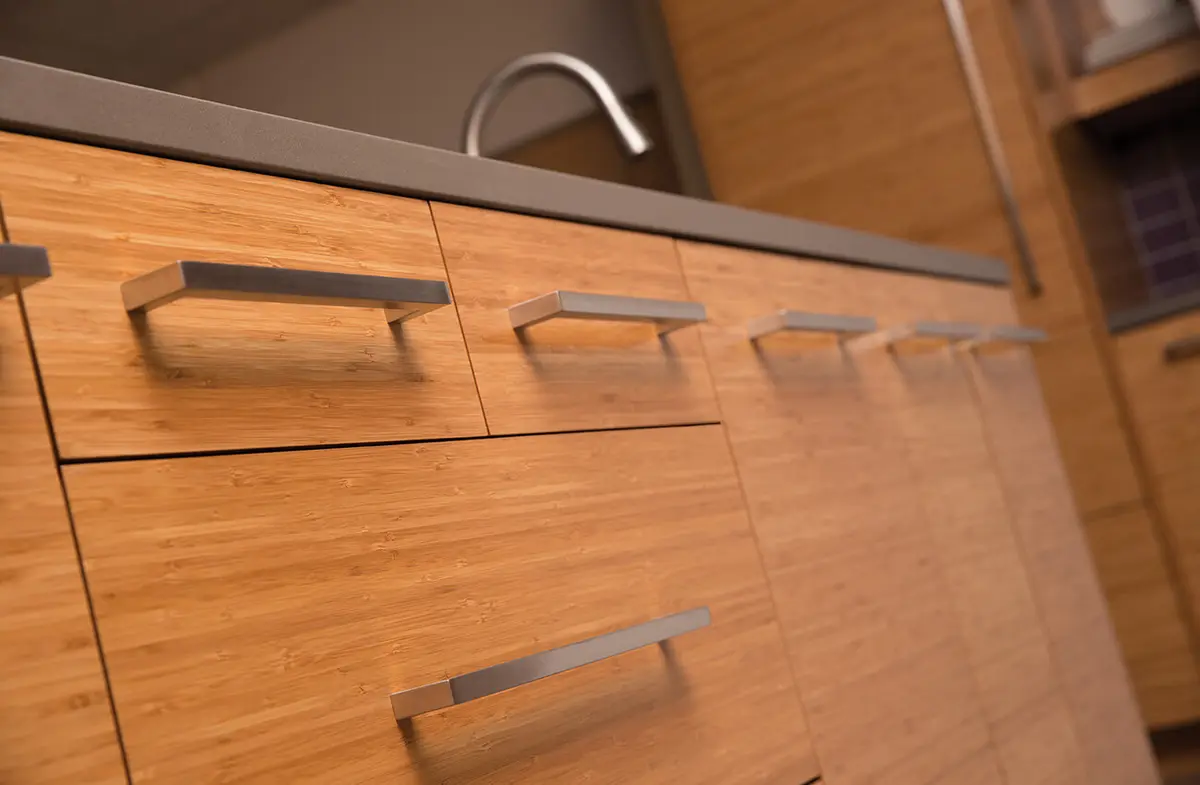
Photo Credit: Internet
Wood cabinets are sensitive to excess water and harsh chemicals, which can dull the finish, cause warping, or strip protective coatings over time. If your cabinets are solid wood or wood veneer, it is worth reading the full Wood Cabinet Cleaning guide before using anything beyond mild soap and water.
Painted cabinets can show scratches, dulling, or chipping more easily if scrubbed with abrasive tools or strong solvents. A gentle, non-abrasive approach protects the paint layer. For a closer look at safe methods and what to avoid on painted surfaces, see the Painted Cabinet Cleaning guide.
Laminate cabinets generally tolerate mild soap and water well, but abrasive pads can scratch the surface layer and leave permanent dullness.
Metal or stainless cabinet fronts should be wiped in the direction of any visible grain and dried immediately to avoid water spots.
If you are unsure what material your cabinets are, start with the gentlest method (warm water and a small amount of mild dish soap) and avoid stronger cleaners until you know how the surface responds. Testing any new product on a small, hidden spot first, such as the inside edge of a door, is a simple way to check for discoloration or damage before applying it more broadly.
What Cleaning Products Are Safe for Cabinets and Drawers
Most kitchen cabinets respond well to gentle, non-abrasive products. Generally safe options include:
- Warm water with a small amount of mild dish soap
- A microfiber cloth (dry or lightly damp)
- Cabinet-safe degreasing sprays labeled appropriate for your material
- A small amount of white vinegar diluted with water for light grease on sealed, non-porous surfaces (avoid on unsealed wood or stone-look laminate, since acidity can dull certain finishes over time)
Avoid using bleach-based cleaners on cabinet fronts unless the product label specifically states it is safe for the material. Never mix bleach with ammonia, vinegar, or other acidic cleaners, since this can create hazardous fumes. Stick to one product at a time and rinse thoroughly before applying anything else.
Abrasive powders, steel wool, and scouring pads are not safe for most cabinet finishes and should generally be avoided altogether.
Common Mistakes To Avoid
Even a simple task like cabinet cleaning goes wrong in predictable ways. Watch for these common mistakes:
- Using too much water. Excess moisture is one of the leading causes of swelling, warping, and finish damage on wood and laminate cabinets.
- Skipping the drying step. Wiping and walking away without drying leaves moisture sitting on the surface longer than necessary.
- Scrubbing instead of wiping. Hard scrubbing can scratch finishes and push grime deeper into seams and grain lines.
- Spraying cleaner directly onto the cabinet. Overspray can seep into seams, corners, and hardware, where it is hard to fully wipe away. Apply cleaner to the cloth instead.
- Using the wrong product for the material. A degreaser safe for laminate is not automatically safe for painted or unsealed wood surfaces.
- Ignoring hardware. Handles, hinges, and pulls collect grime from hands and cooking splatter, and skipping them leaves an obviously dirty spot even after the rest of the cabinet looks clean.
- Forgetting to check corners and grooves. Detail work with a soft brush or old toothbrush catches buildup that a cloth alone misses.
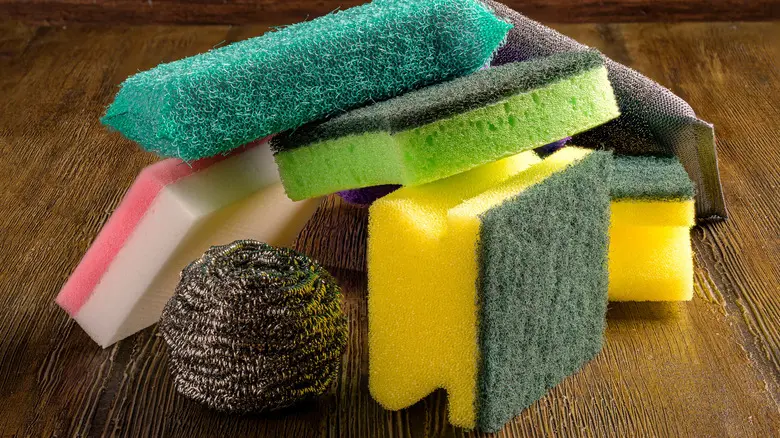
Photo Credit: Internet
Avoiding these mistakes protects your cabinets and saves time, since damaged finishes are far harder to fix than they are to prevent.
Cleaning Hardware: Handles, Knobs, and Hinges
Hardware is easy to skip but makes a noticeable difference in how clean a kitchen looks overall.
- Wipe handles and knobs with a damp, soapy cloth, working into any grooves or textured details.
- Use a soft-bristle brush or old toothbrush for detailed hardware with ridges or carvings.
- Dry hardware thoroughly, since some metal finishes can spot or tarnish if left wet.
- Check hinges for grease buildup and wipe gently, avoiding excess liquid near screws or moving parts.
If hardware is heavily tarnished or discolored beyond a simple wipe-down, that typically points to a material-specific issue rather than a general cleaning problem, and may be worth addressing separately from the rest of the cabinet.
Cleaning vs Organizing Your Cabinets
Cleaning and organizing are two different tasks that often get combined into one project, but they solve different problems. Cleaning removes dirt, grease, and residue from surfaces. Organizing arranges what goes inside the cabinet so it is easier to find and use.
While your cabinets and drawers are already empty for a deep clean, it is a practical time to also sort through what you are putting back. If your cabinets feel cluttered or hard to navigate even when clean, the Kitchen Cabinet Organization Guide covers layout, storage strategies, and practical systems for keeping items accessible.
How Long a Full Kitchen Cabinet and Drawer Clean Takes
For an average kitchen, expect the following rough time ranges:
|
Task |
Estimated Time |
|
Wiping all cabinet fronts |
15 to 25 minutes |
|
Cleaning one drawer (empty, wipe, dry) |
5 to 10 minutes |
|
Cleaning one interior shelf |
5 to 10 minutes |
|
Full kitchen (all cabinets and drawers) |
2 to 4 hours |
A full kitchen cabinet and drawer clean, covering every exterior, interior, and drawer, typically takes an afternoon for an average-sized kitchen. Breaking the job into smaller sessions, such as one cabinet section per day, makes it easier to manage without dedicating an entire weekend to the task.
Frequently Asked Questions
What is the best way to clean kitchen cabinets and drawers? Wipe surfaces with warm water and a small amount of mild dish soap, use a dedicated degreaser for heavy grease near the stove, and dry every surface right after cleaning to prevent moisture damage.
How often should you clean kitchen cabinets and drawers? Wipe cabinet fronts near the stove weekly, other fronts every two to four weeks, and do a full interior and drawer clean two to four times a year.
What cleaning products are safe for kitchen cabinets and drawers? Mild dish soap and warm water are safe for most materials. Cabinet-safe degreasers work well for grease buildup. Avoid bleach unless the label confirms it is safe for your specific cabinet material, and never mix bleach with ammonia or acidic cleaners.
What should you avoid when cleaning kitchen cabinets and drawers? Avoid abrasive scrub pads, steel wool, excess water, spraying cleaner directly onto the surface, and using strong solvents on painted or unsealed wood finishes.
How can you clean kitchen cabinets and drawers without damaging them? Match your cleaning product to the cabinet material, test new products on a hidden spot first, wipe gently instead of scrubbing, and dry every surface immediately after cleaning.
What common mistakes should you avoid with kitchen cabinets and drawers? The most frequent mistakes are using too much water, skipping the drying step, scrubbing instead of wiping, and ignoring hardware like handles and hinges until grime builds up.
A Quick Safety Note
Some kitchen cabinet cleaners, including degreasers and bleach-based products, can produce strong fumes or react badly if combined with other cleaning products. Always check the product label for material compatibility, ventilate the area while cleaning, and never mix bleach with ammonia, vinegar, or other acidic cleaners. If you are unsure whether a product is safe for your cabinet material, test it on a small, hidden area first, and follow the manufacturer's instructions over any general guidance whenever the two conflict.
Once your cabinets and drawers are clean, you can move on to the rest of the kitchen. Head back to the complete kitchen cleaning guide for the full room-by-room checklist.





Leave a Reply